Hey, lovely bloom! Thanks for wandering into my little paper flower garden. 🌸
Difficulty: ★★☆☆☆
Time: About 30 minutes per flower
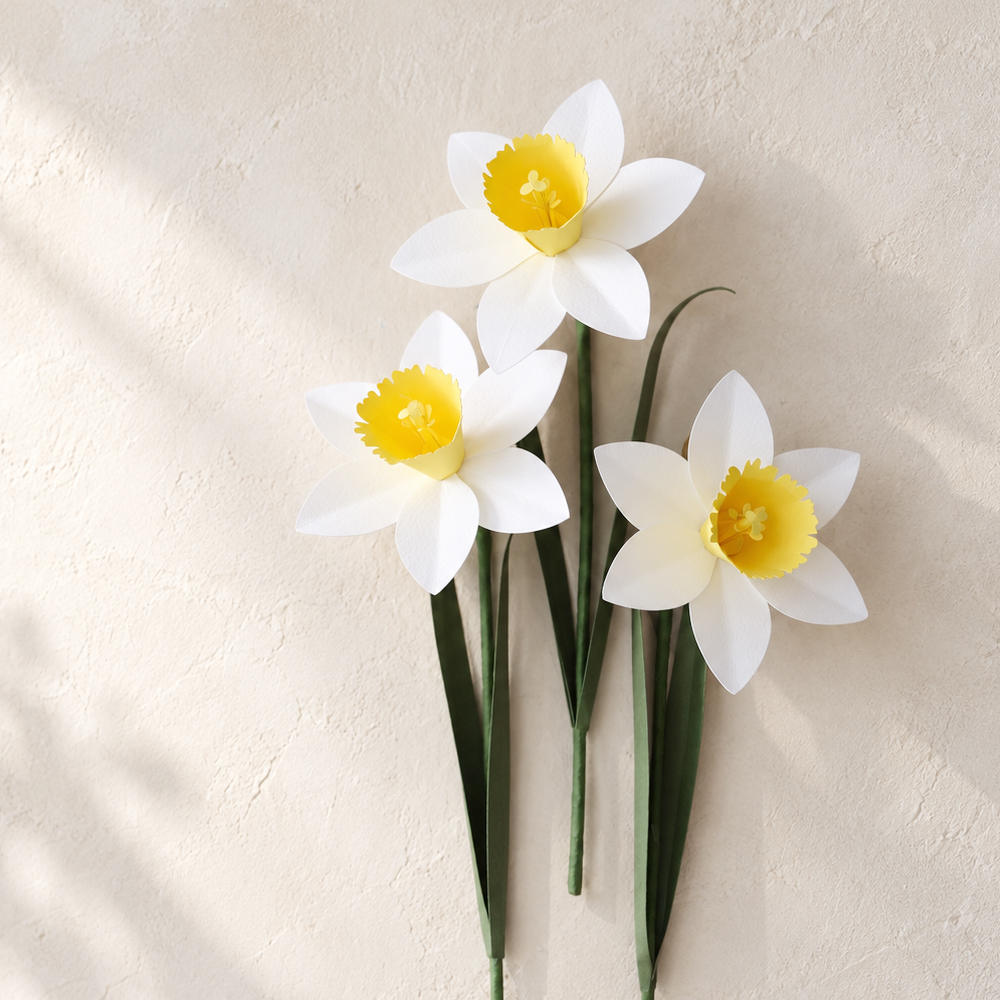
Today, we’re going to make a beautiful paper daffodil using cardstock and a cutting machine. 🌼
Daffodils have only a few large petals, so the pieces are simple to cut, shape, and assemble—even if you’re new to making paper flowers. ✂️
With a cutting machine, you can prepare the flower pieces quickly and neatly, but you can also cut them by hand with scissors if you prefer.
Follow along with my detailed YouTube tutorial and the step-by-step instructions below, and you’ll see how easily this elegant paper daffodil comes together. ^^
Take your time and enjoy the process—you might be surprised at how polished your very first flower can look. 🌿
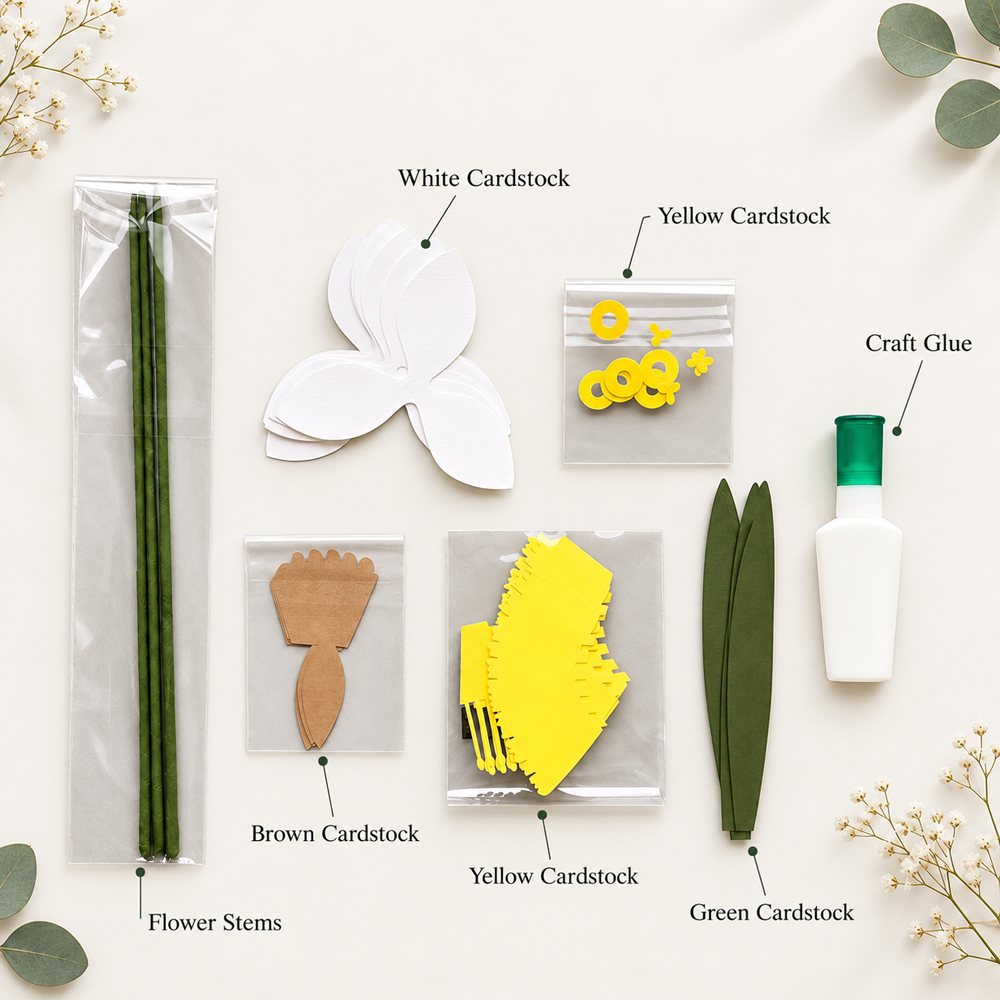
Materials
- 150–180g white cardstock
- 150–180g yellow cardstock
- 150–180g green cardstock
- 80–120g brown cardstock
- 4 mm floral stem
- Wood glue
- Scissors
- Hot glue gun
For this project, we’re making a clean and elegant paper daffodil with a cutting machine and cardstock. 🌼
The petals, pistil, stamens, and leaves can all be cut quickly and precisely with a cutting machine. If you don’t have one, that’s completely fine—you can also cut each piece by hand with scissors. ^^
The yellow trumpet-shaped center of the flower is called the corona, and it’s one of the most distinctive features of a daffodil.
For this version, I used white cardstock for the petals and yellow cardstock for the corona. You can also make both parts in yellow for a brighter, more classic daffodil look. 💛
For the stem, I used a sturdy 4 mm floral stem. If you don’t have one, you can bundle about five pieces of 18-gauge paper-covered wire together and wrap them with crepe paper to create a similar thickness.
The papery sheath around the base of the flower is called the spathe. Brown cardstock or kraft paper works well for this part.
Because we’ll gently crumple and unfold it to create a more natural texture, paper around 120g works better than very thick cardstock. It gives the spathe a softer, more realistic finish.
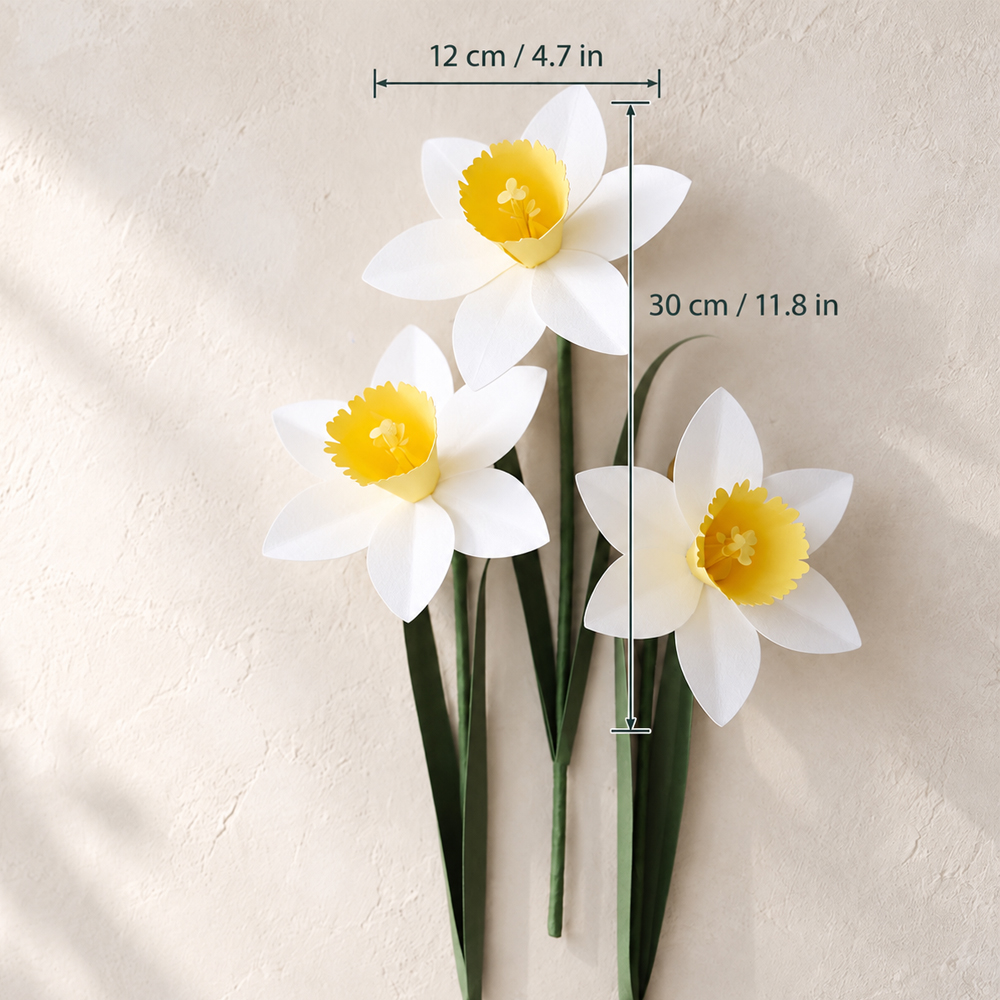
The finished paper daffodil is about 12 cm (4.7 in) in diameter and 30 cm (11.8 in) tall.
If you plan to place the flower in a pot, remember that the lower part of the stem will be hidden inside the pot. So it’s best to decide the visible height first and then add a little extra length for planting.
For example, if you want the flower to stand about 30 cm above the pot, make the stem around 35 cm long so you have about 5 cm extra to insert into the pot. 🌿
How to Make a Paper Daffodil💕

STEP.1⬆️
Cut the yellow cardstock into the stamen shape, then wrap and glue it around the floral stem as shown.

STEP.2⬆️
Lift the stamens upward, then apply wood glue to secure them in place.

STEP.3⬆️
Attach the pistil to the center.

STEP.4⬆️
Cut a small donut-shaped piece from yellow cardstock and glue it beneath the stamens.
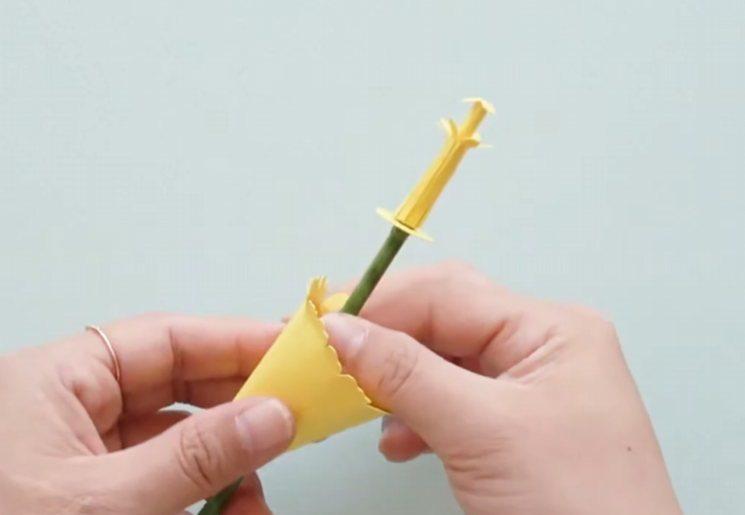
STEP.5⬆️
Roll the yellow trumpet-shaped piece into a cone, glue it together, then attach it below the stamens.
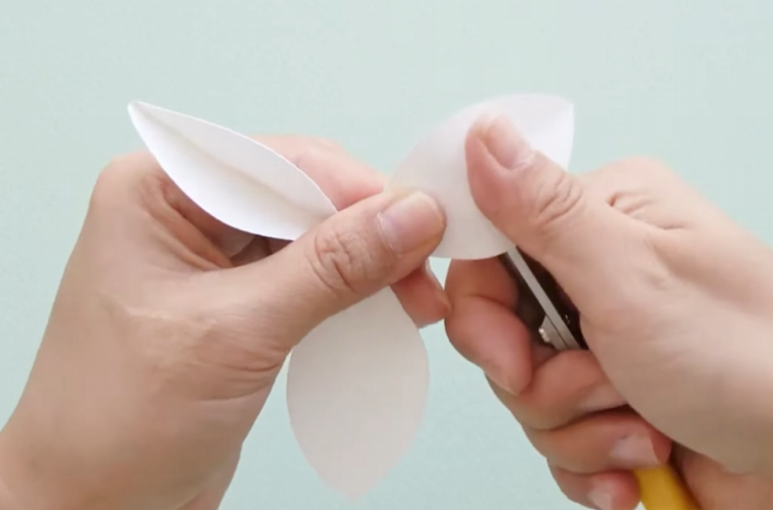
STEP.6⬆️
Cut the white cardstock into petal shapes, then use scissors to gently curl the petals backward.
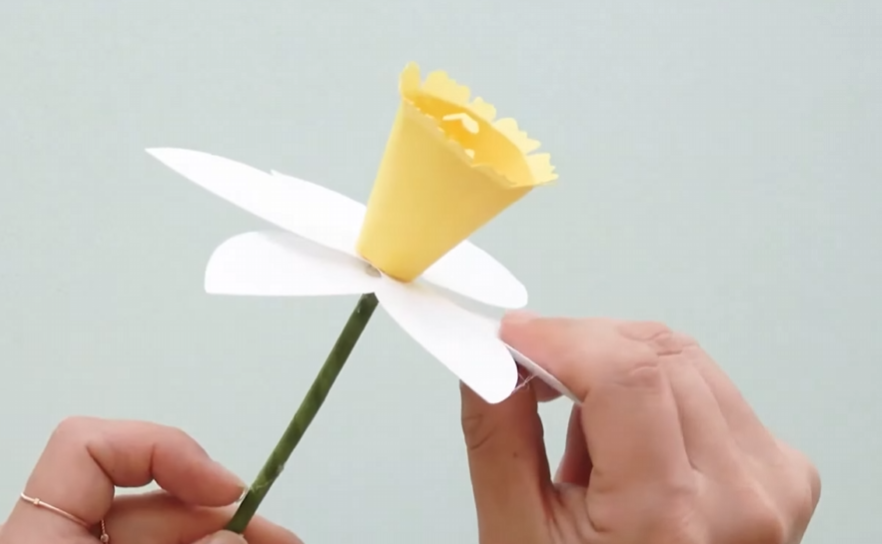
STEP.7⬆️
Glue the petals underneath the yellow trumpet-shaped corona.
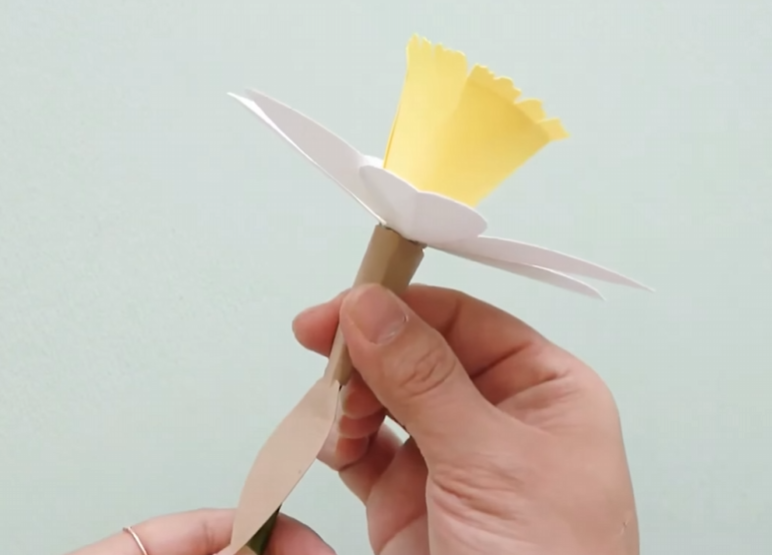
STEP.8⬆️
Cut the brown cardstock into the spathe shape, roll and glue it into shape, then slide it into place beneath the petals.
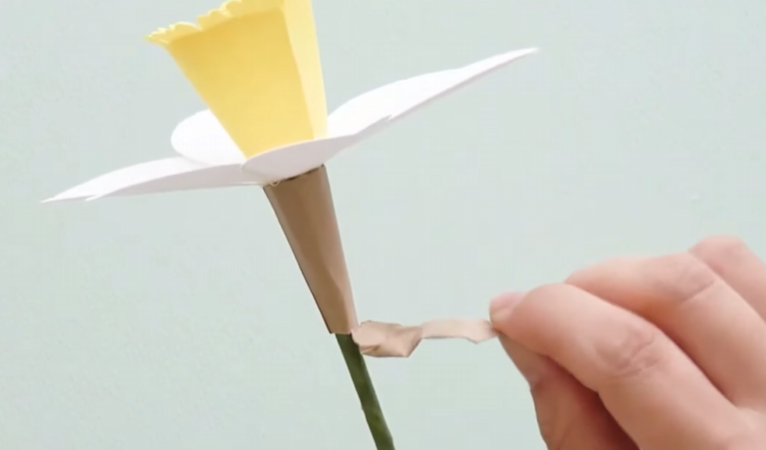
STEP.9⬆️
Crumple the brown spathe gently, then unfold it to create a more natural papery texture.
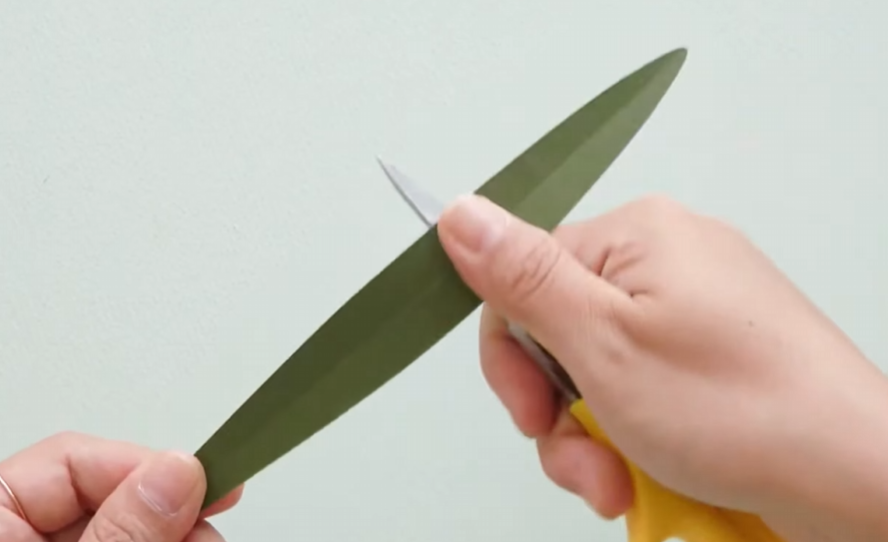
STEP.10⬆️
Fold each green cardstock leaf in half and open it again, then use scissors to gently pull and curl the leaf.
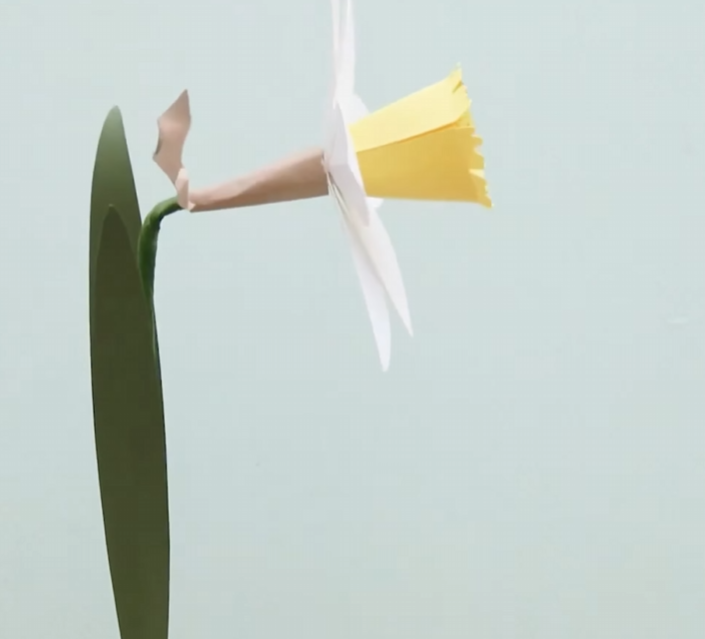
FINAL STEP💕
Attach two leaves opposite each other near the lower part of the stem, and your paper daffodil is complete! 🌼
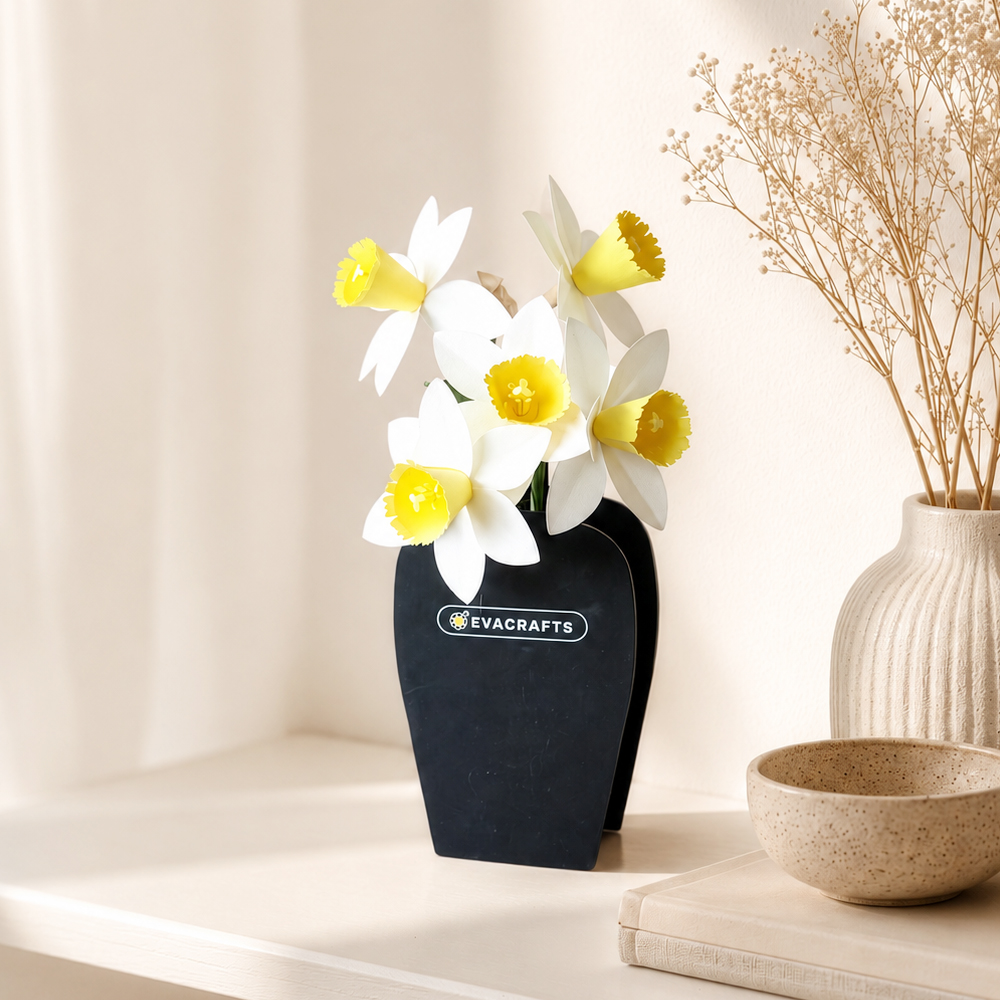
Eva’s Tip 🌿
When rolling and gluing the stamens with wood glue, hold them firmly in place for at least 30 seconds so the glue has time to set. If you release them too quickly, the rolled paper may begin to open again. ^^
When curling the petals and leaves with scissors, avoid using too much pressure. A light pulling motion with a gentle wrist movement is enough to create a soft, natural curve.
Attach the leaves so they face each other, positioning them slightly above the bottom of the stem. Leave a little stem exposed underneath so you still have enough length to insert the flower securely into a pot. 🌱
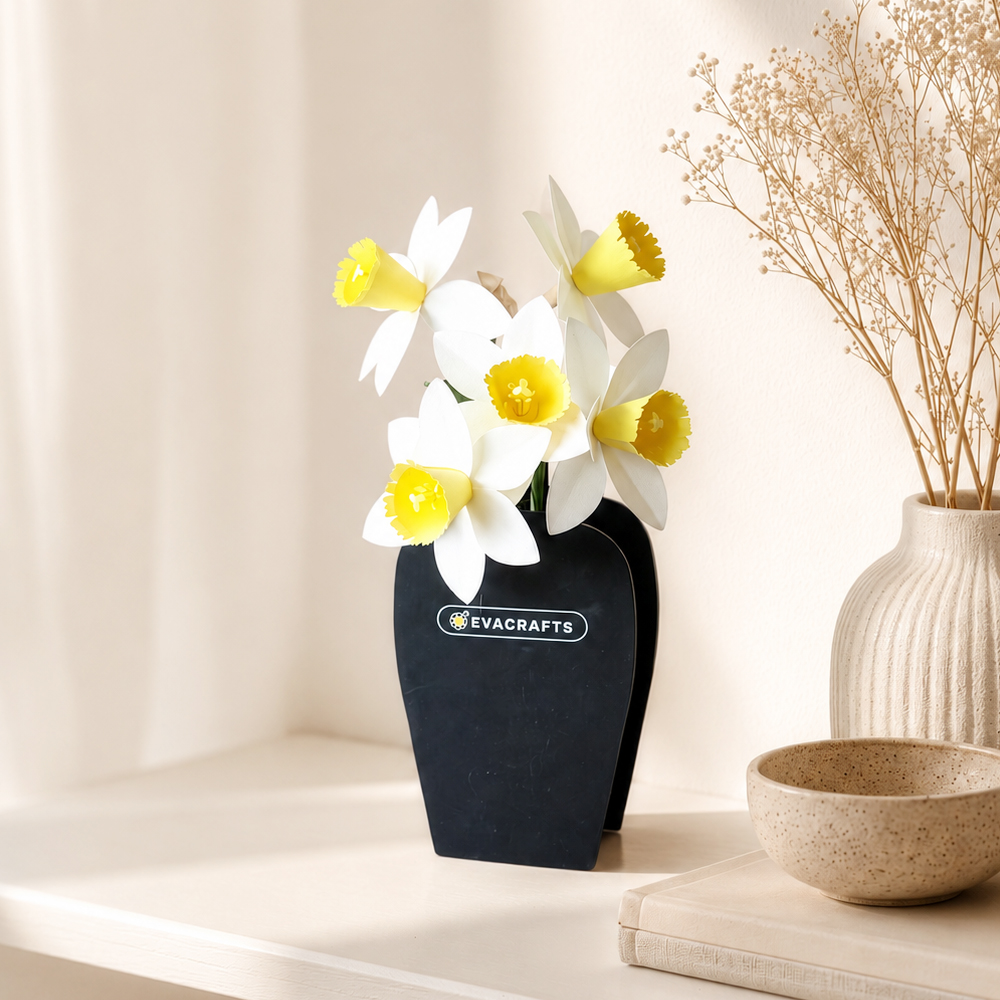
Once your paper daffodils are finished, try making several stems and arranging them together in a vase or flower pot. A small group of flowers can create a beautiful handmade decoration for your home. 🌼
This is also a great cutting machine paper flower project because you can achieve a polished result without using complicated techniques. The calm, repetitive process of cutting, shaping, and assembling each piece can make it a relaxing craft for adults of any age.
As you make more flowers and your collection begins to grow, your cutting, shaping, and assembling skills will naturally improve. Seeing all those finished flowers together can also give you a wonderful sense of accomplishment. ^^
My lovely blooms, your support means so much to me. Purchasing the pattern is a huge help and allows me to keep creating and sharing more paper flower tutorials with you. ^^
If it’s difficult to find all the materials individually, I’ve also prepared a complete one-project kit with everything you need.
So please don’t give up before you start—I hope you’ll give it a try, enjoy the process, and experience the joy of creating something beautiful with your own hands. 🌼

Leave a Reply