Difficulty: ★★☆☆☆
Time: About 2 hours
Hey, lovely bloom! Thanks for wandering into my little paper flower garden. 🌼
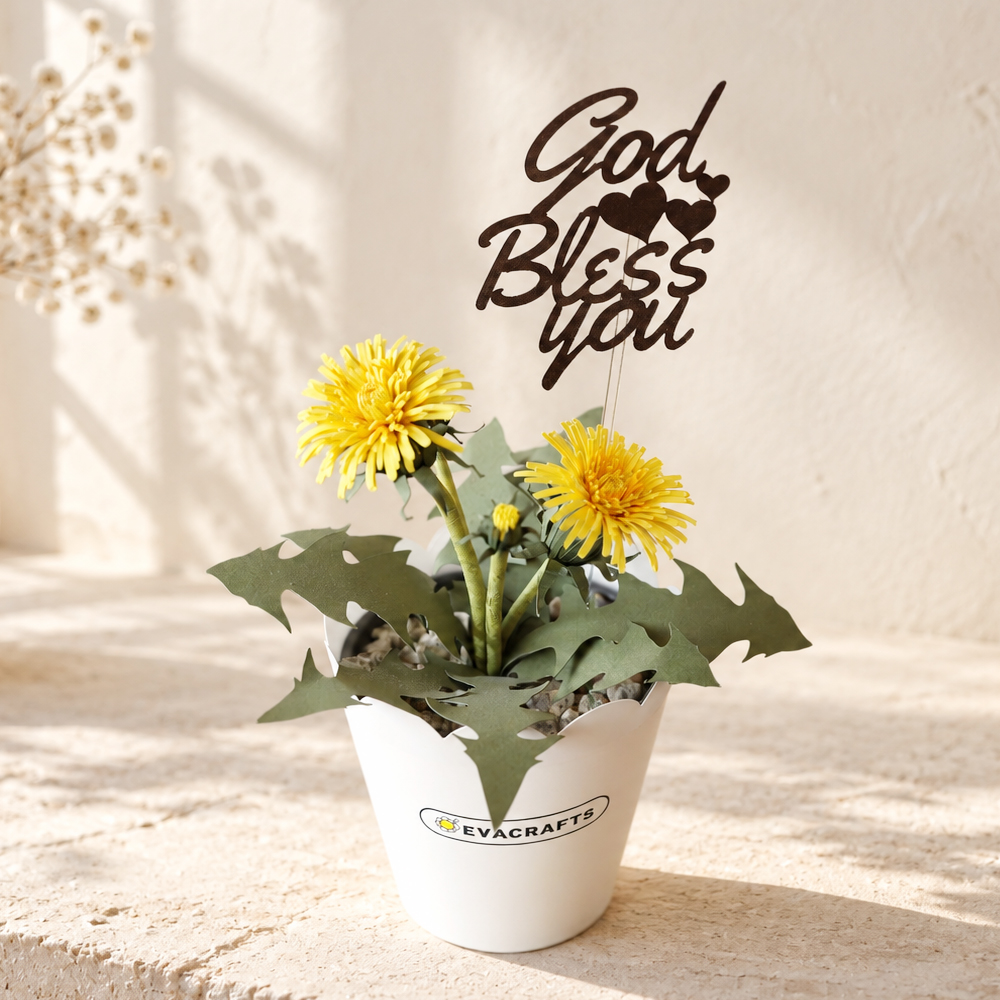
Today, we’re going to make a cheerful dandelion flower pot that can beautifully brighten up a desk, windowsill, or any little corner of your home. 🌼
Even elementary school kids can follow along with this project quite well.
That’s because there’s no complicated technique involved—you simply roll the thinly cut petals around and around until they turn into a flower. 😊
If you make this pretty dandelion yourself and place it somewhere in your home, even an ordinary space can instantly feel brighter and more cheerful.
And every time you look at it, you can enjoy that little sense of pride and happiness that comes from knowing, “I made this myself.” 💛
In this post, I’ll show you the making process in detail with photos.
For the parts that are hard to explain with words alone, I’ve also prepared a detailed YouTube video, so following along with both the post and the video will make the process even easier. 🎥✂️
If a dandelion that you made with your own hands can stay in your home without ever wilting, I think it can keep bringing a bright and happy feeling to your space for a long time. 🌼✨
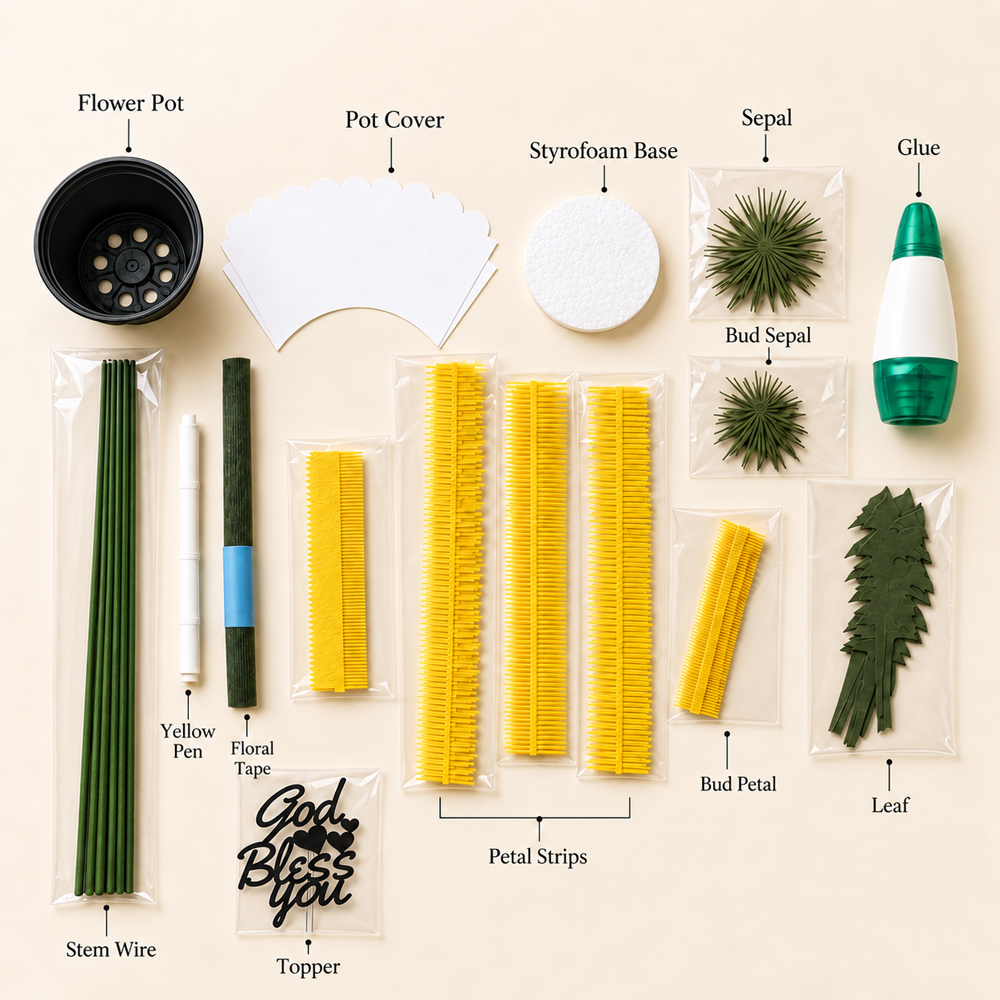
Materials ✂️🌼
- Scissors
- Hot glue gun
- 4 mm flower stem
- 90 gsm green crepe paper
- Yellow marker
- 150–180 gsm yellow cardstock
- 150–180 gsm green cardstock
- Wood glue
- Styrofoam
- Flower pot
- Pot cover
- 180–200 gsm topper paper in bronze
- Topper stick
- Small pebbles
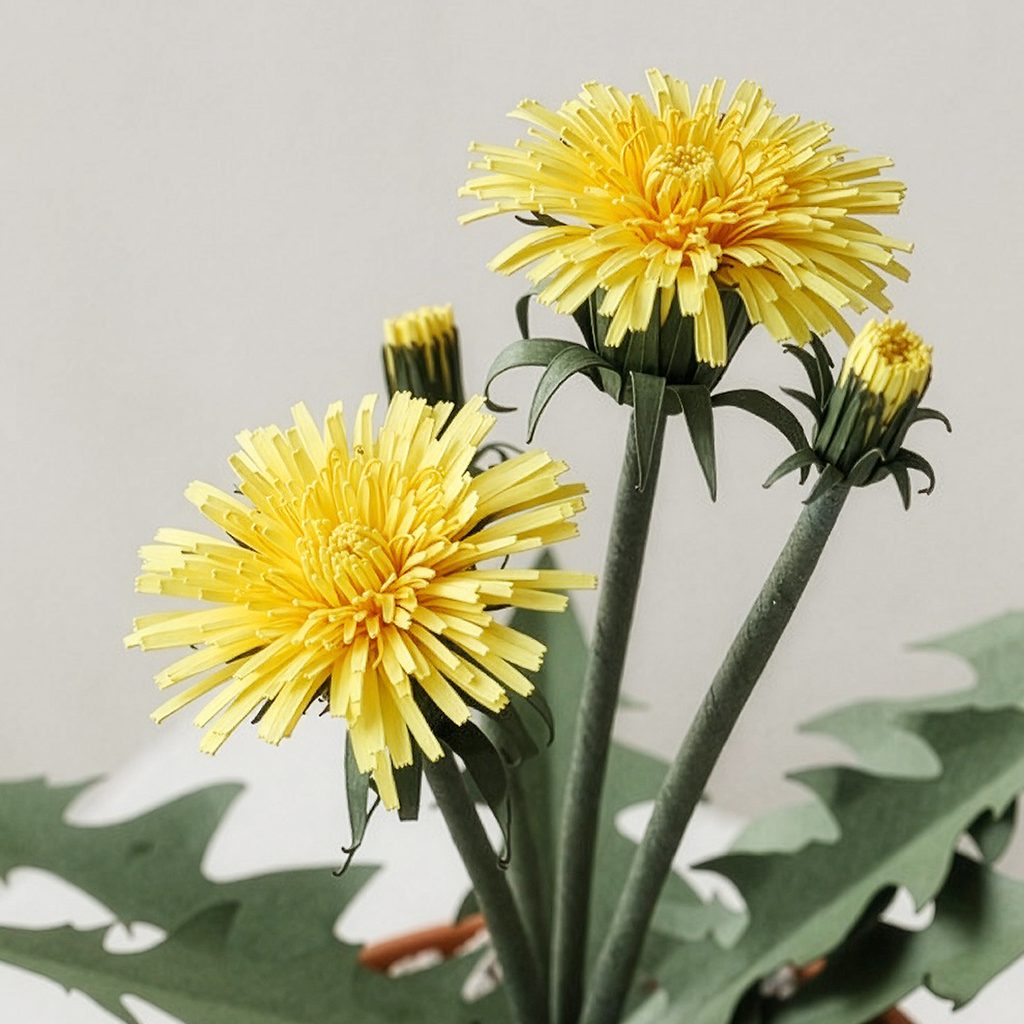
The thin petals are simply rolled from the center, so this is a beginner-friendly paper flower with very few complicated techniques. 🌼
Unlike crepe paper flowers, you don’t need to shape each petal one by one, which makes it easier for first-time makers to get started. 😊
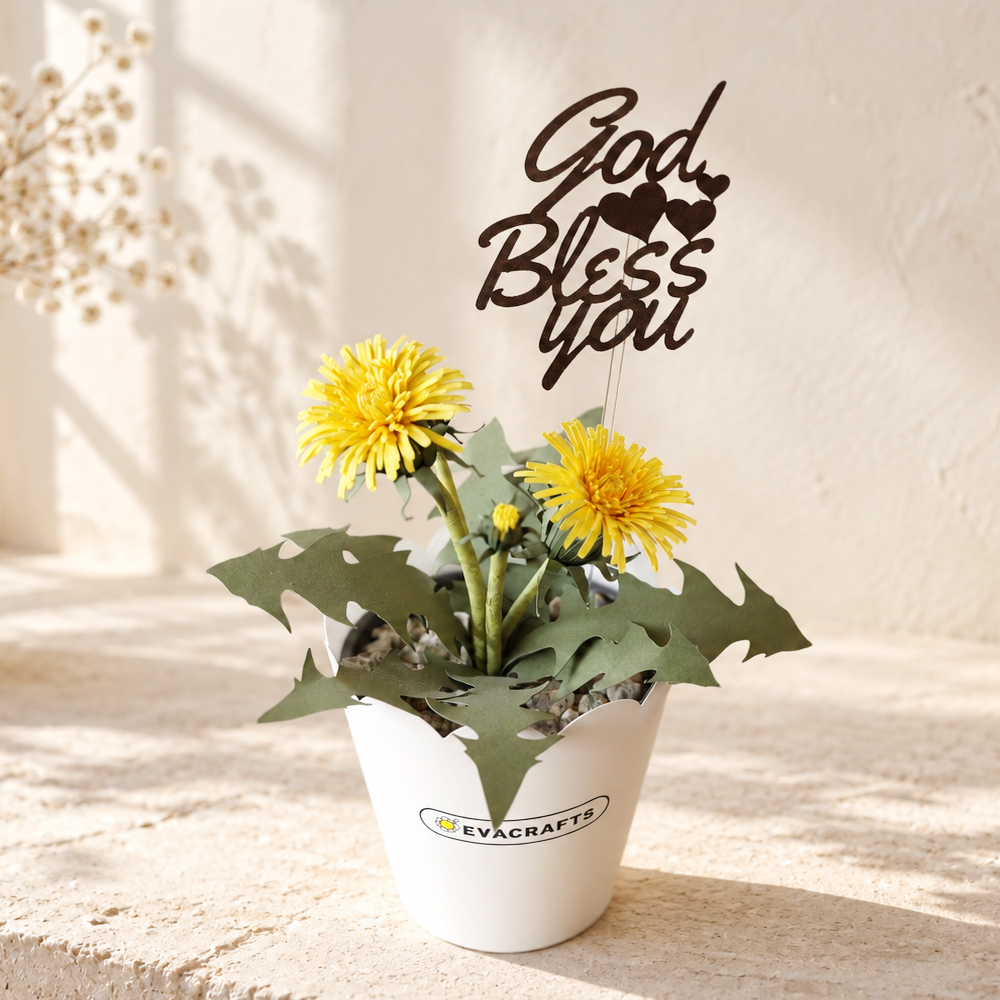
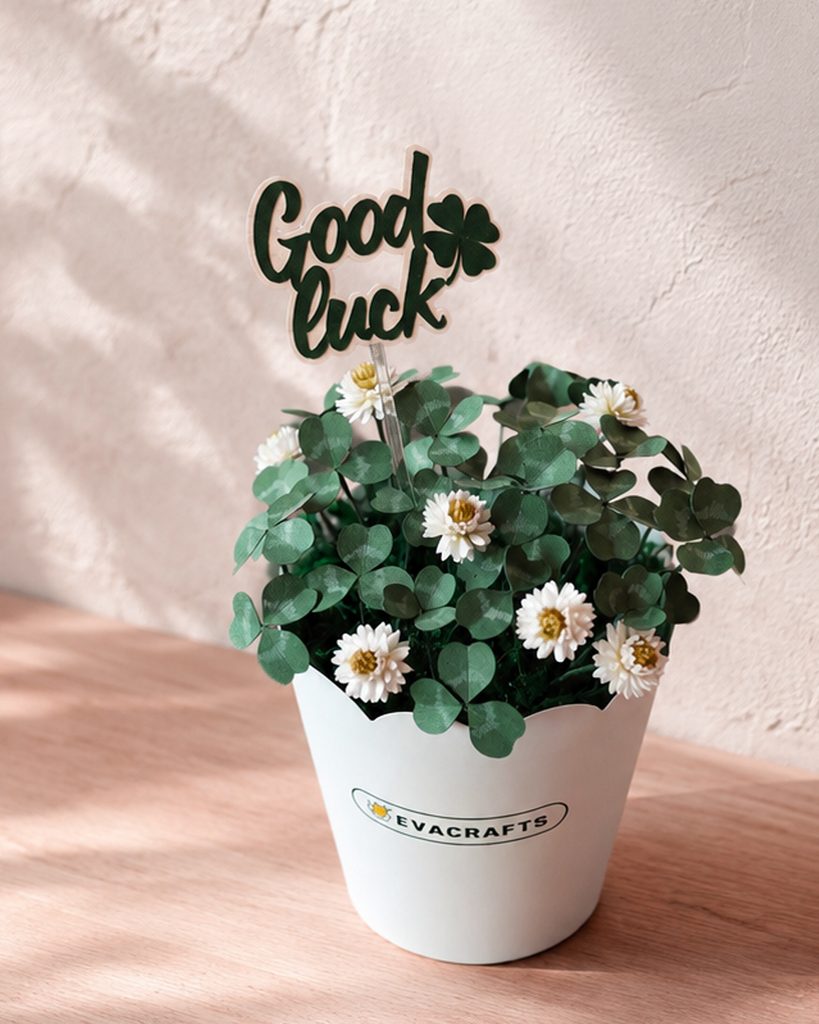
Try adding a message topper such as “God Bless You” to the finished dandelion pot. 💛
It turns your handmade flower into a thoughtful little gift as well. 🎁
Dandelions look most natural when arranged in a flower pot rather than a bouquet or vase.
Place it on a desk, windowsill, or shelf, and it can instantly brighten up an empty little corner. 🌿✨
I used 180 gsm yellow and green cardstock.
To keep the petals and leaves from drooping, I recommend using cardstock that is at least 150 gsm.
For the topper, I used 200 gsm bronze cardstock, but you can choose any color you like.
If you don’t have a clear topper stick, a thin wooden stick works beautifully too. 😊
I cut the petals, leaves, and sepals with a cutting machine.
Because dandelion petals are very thin and need to be cut evenly, using a Silhouette or Cameo cutting machine is much easier than cutting them all by hand. ✂️
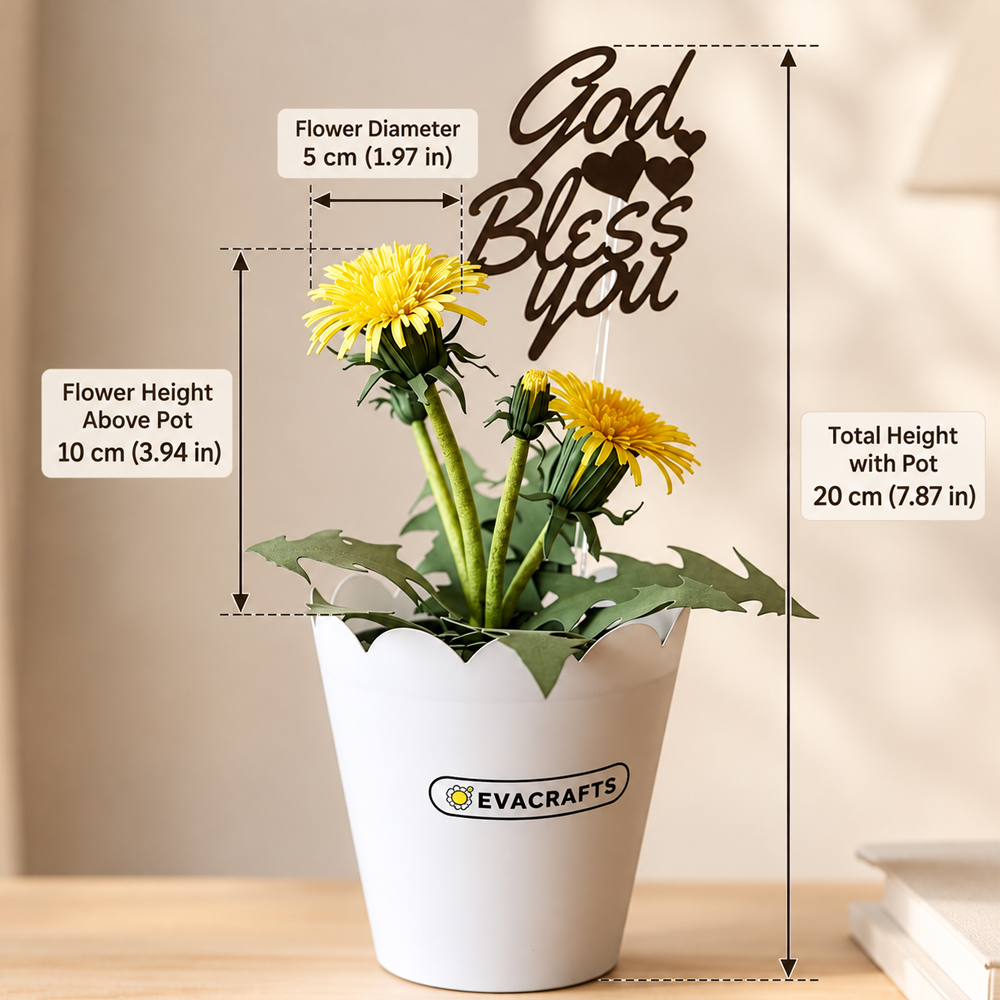
The flower is about 5 cm (1.97 in) in diameter, with the flower stems reaching about 10 cm (3.94 in) above the pot. The total height, including the pot, is approximately 20 cm (7.87 in). 🌼
It’s a nice size for a desk, windowsill, dining table, or shelf without taking up too much space. ✨
A flower pot around 10 cm wide gives the arrangement the most balanced look.
How to Make It ✂️🌼

STEP.1 ⬆️
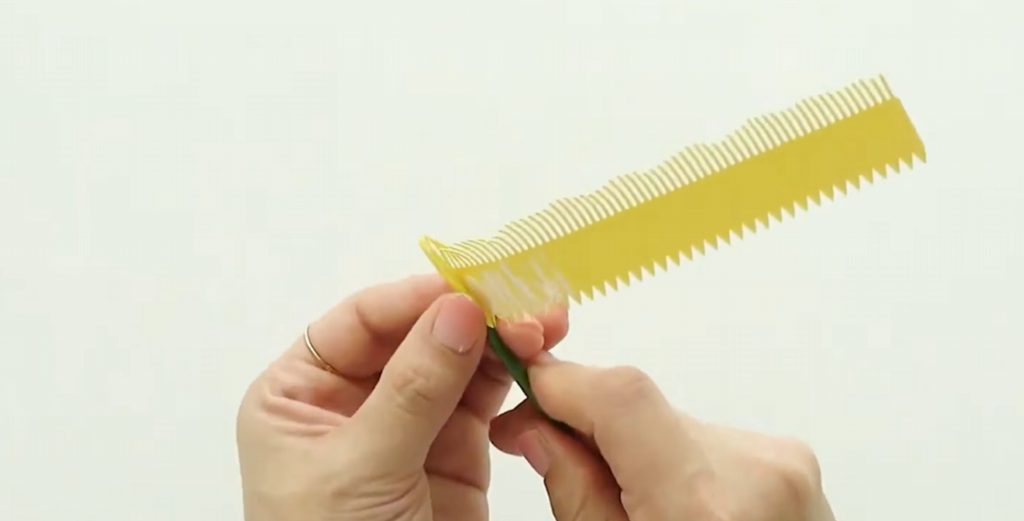
Cut the yellow cardstock using Petal Pattern 1.
Then gently pull the edge with scissors to curve the petals outward.
STEP.2 ⬆️
Wrap Petal 1 around the top of the flower stem and glue it in place.

STEP.3 ⬆️
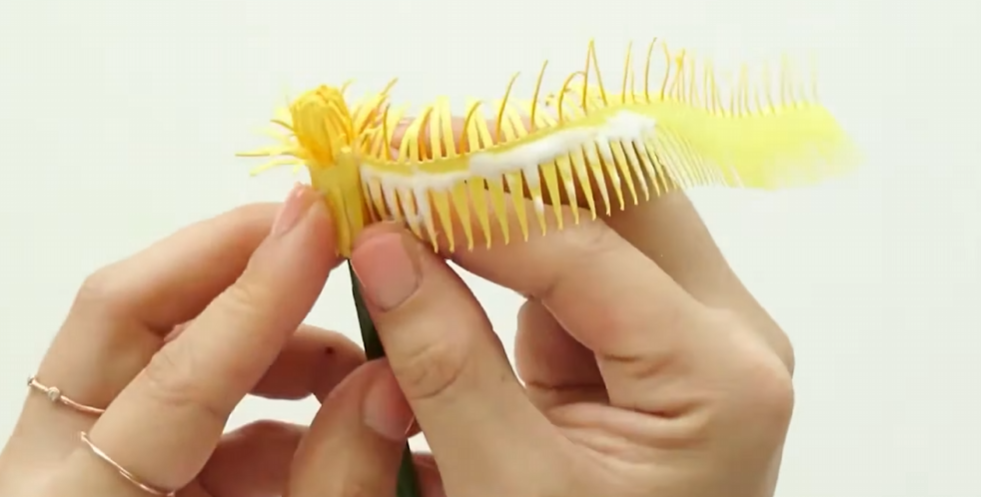
Color only the thin tips of Petal 2 with a yellow marker. 🖍️
STEP.4 ⬆️
Wrap Petal 2 around the outside of Petal 1 and glue it in place.
STEP.5 ⬆️
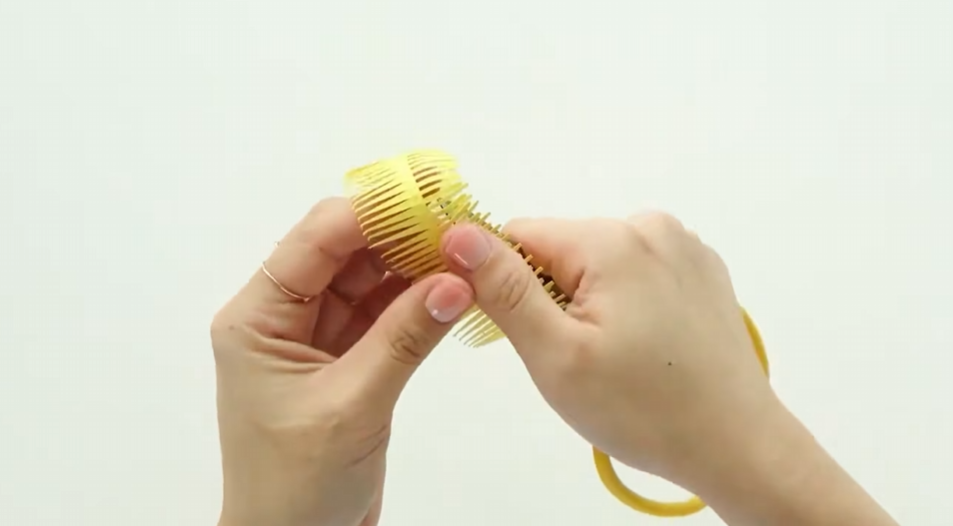
Shape Petals 3 and 4 by pulling them outward with scissors, then attach them around Petal 2.
STEP.6 ⬆️
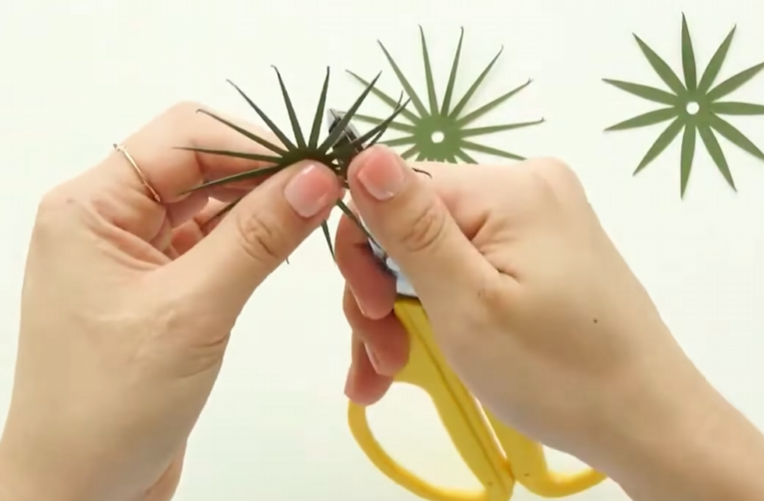
Cut the green cardstock using the sepal patterns.
Curl the two thin sepal pieces outward with scissors. 🌿
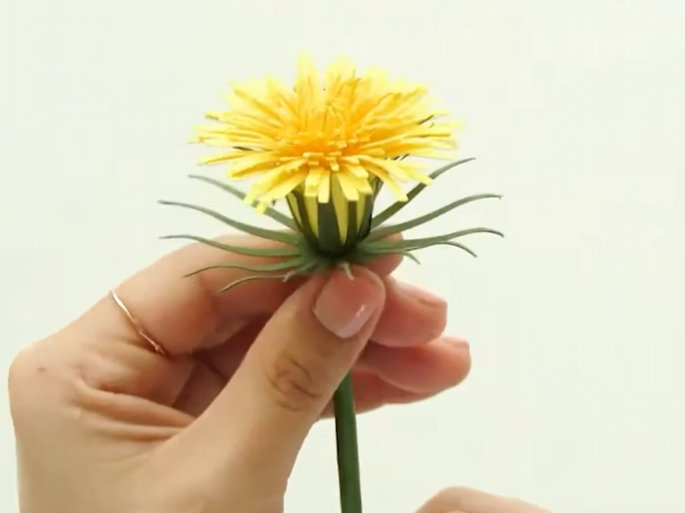
STEP.7 ⬆️
Apply a small amount of wood glue and attach the two thin sepals under the flower.
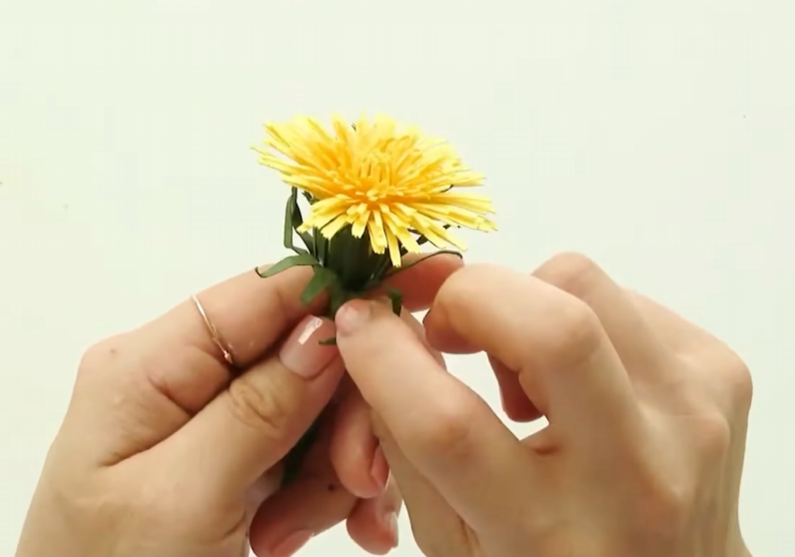
STEP.8 ⬆️
Gently crumple the wider sepal, open it again, and bend the ends outward for a more natural shape.
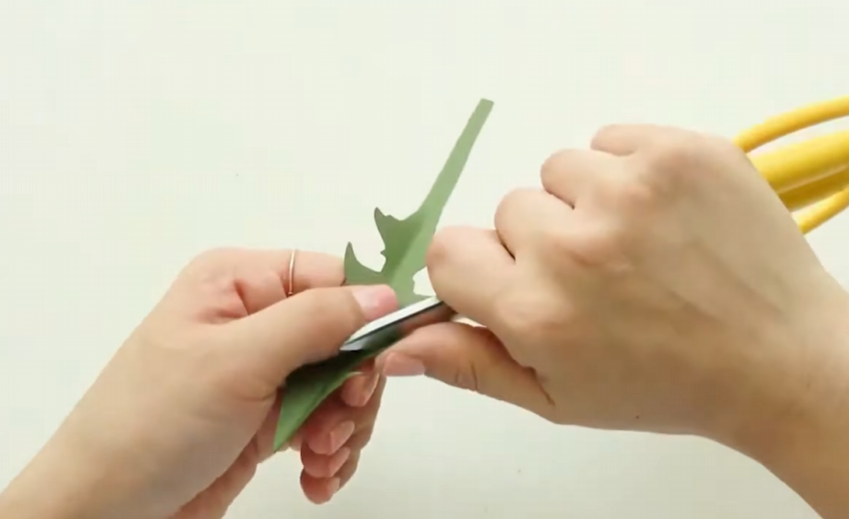
STEP.9 ⬆️
Cut the green cardstock using the leaf pattern, then curve the edges gently with scissors. 🍃
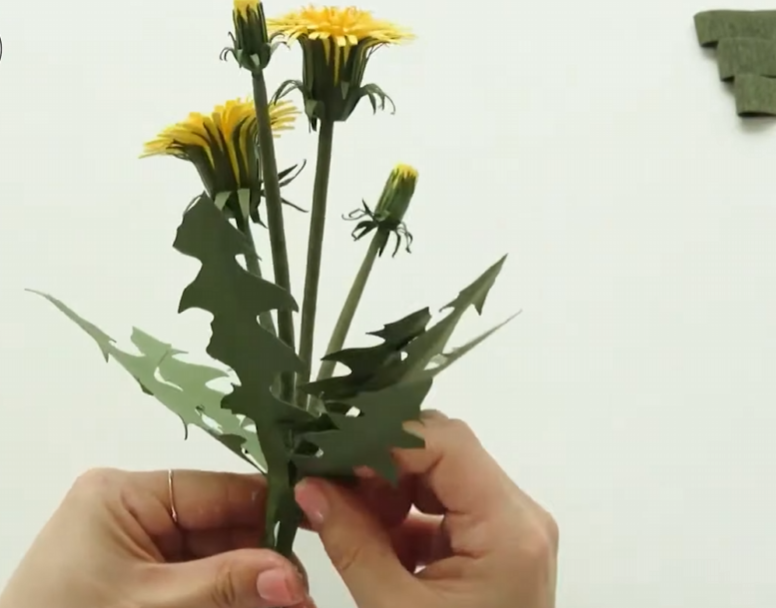
STEP.10 ⬆️
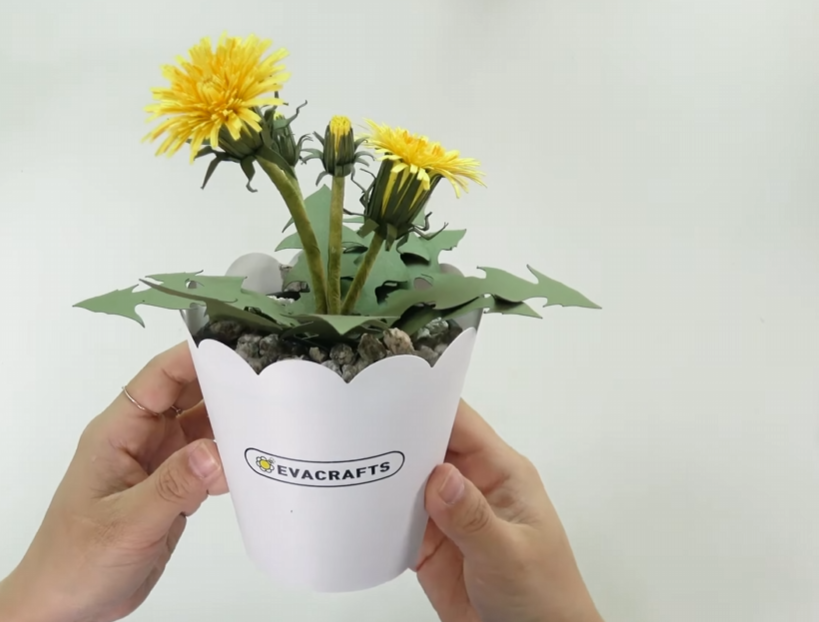
Combine the finished flowers and leaves to build the dandelion arrangement.
STEP.11 ⬆️
Place the flowers in the pot and finish by covering the surface with small pebbles. 🌼✨
Eva’s Tip 🌼
When curling the dandelion petals with scissors, make the curl a little stronger than you think you need. ✂️
The petals will loosen slightly as you wrap them around the stem, so starting with a firmer curl helps the finished flower keep its shape.
When attaching the two sepal pieces, try not to overlap them in the same position.
Place them so they cross between the gaps instead. This makes the base of the flower look fuller and more natural. 🌿
For the leaves, leave about 7–8 cm (2.8–3.1 in) between the flower and the leaf.
If the leaves sit too close to the flower, the arrangement can look crowded.
And when coloring the petal tips with a yellow marker, don’t be afraid to make the color a little stronger. 💛
Because the petals are so thin, the color softens once everything is rolled together and becomes a nice detail rather than looking too bold.
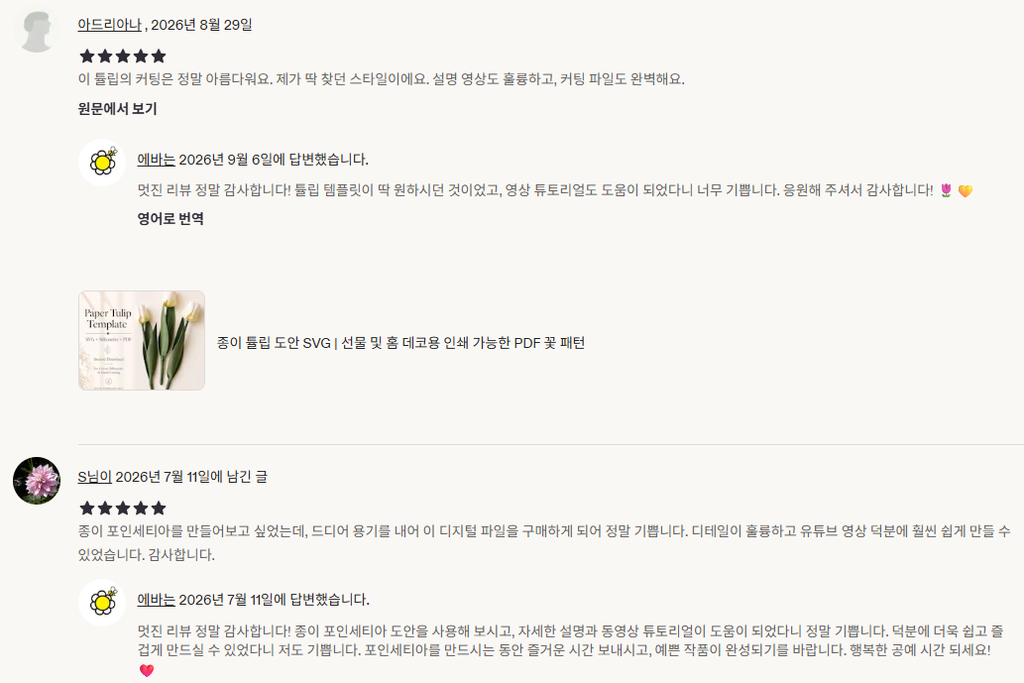
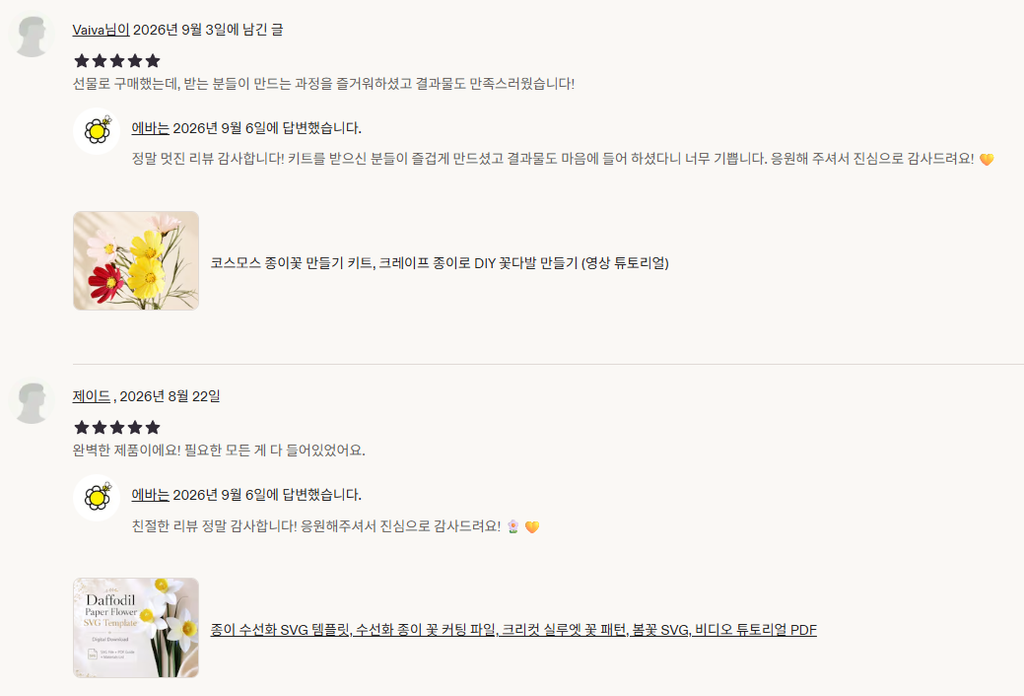
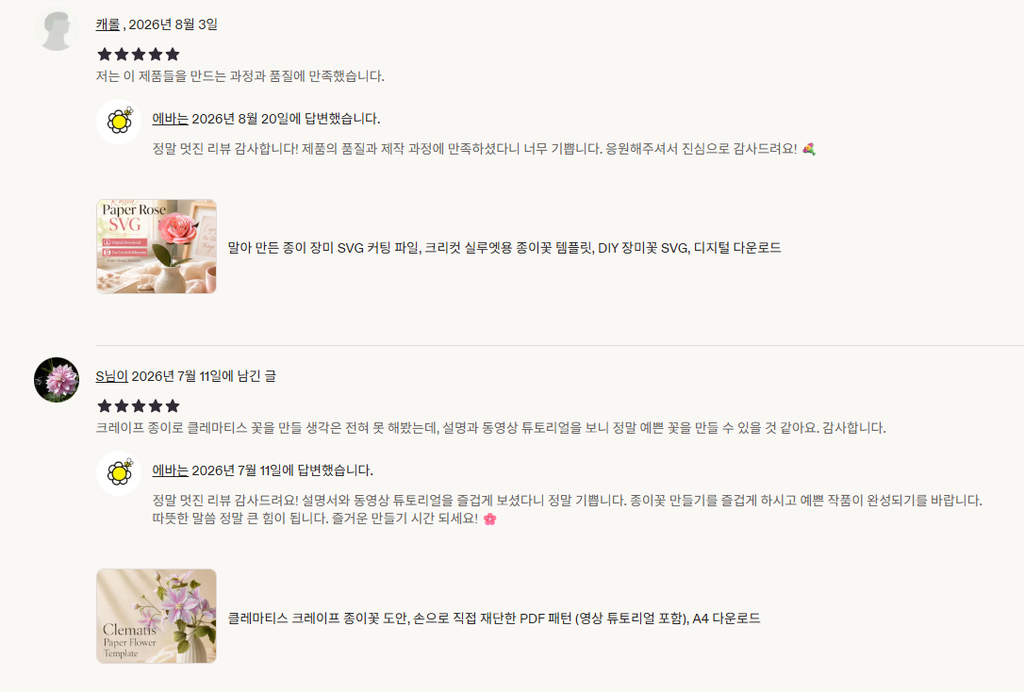
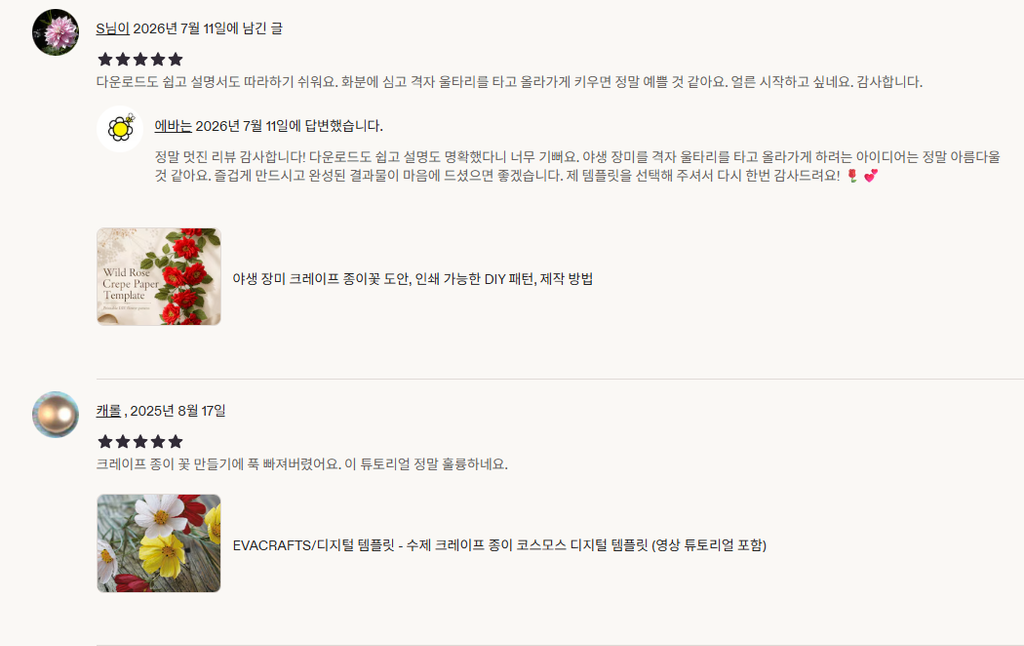
You can feel a sense of accomplishment, brighten up the atmosphere of your home, and actual Etsy customer reviews also say that the flowers are beautiful and the instructions and videos are easy to follow, so even beginners can feel more confident about giving it a try. 💛
My lovely blooms, purchasing the pattern is a huge help and allows me to keep creating and sharing more paper flower tutorials with you. ^^ 🌼💛
If finding all the materials one by one feels like too much work, I’ve also prepared a complete kit with everything you need for one project. ✂️🌿
So don’t give up before you even begin. I hope you’ll enjoy making your own beautiful flower and feel the happiness and sense of accomplishment that comes from creating something with your own hands. 🌼✨
Thanks for stopping by my little paper flower garden, my lovely bloom. 🌼 See you among the petals again!

Leave a Reply