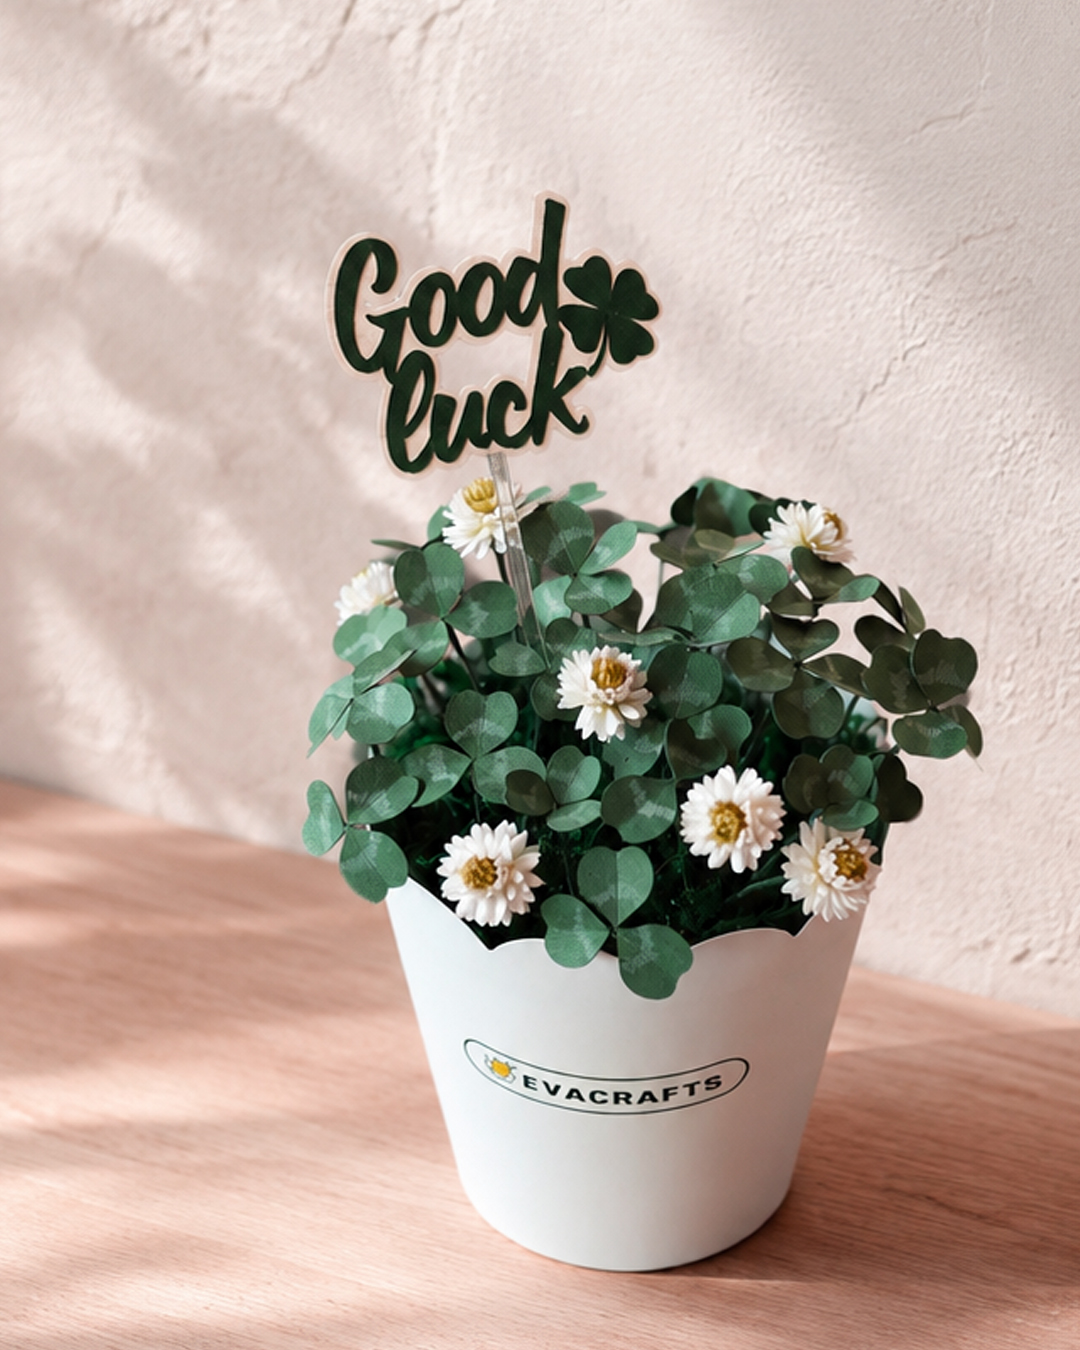
Hey, lovely bloom! Thanks for wandering into my little paper flower garden. 🌸
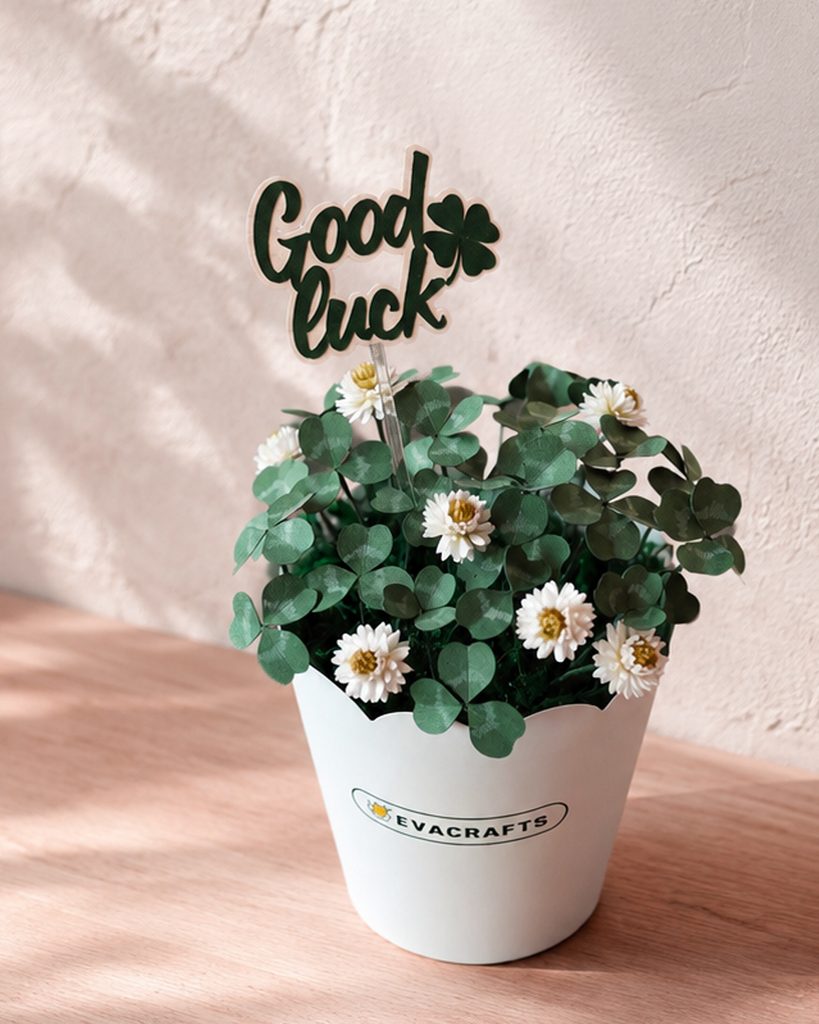
Difficulty: ★☆☆☆☆
Estimated Time: About 3 Hours
Today, we’re making paper shamrocks, inspired by the clover plants you can often spot along the roadside. 🍀
Today, we’re making paper shamrocks, inspired by the clover plants you can often spot along the roadside. 🍀
This shamrock craft is one of the projects I highly recommend for beginners. Even if you’ve never tried paper crafting before or don’t feel very confident with your hands, you can still make a beautiful paper flower pot by following the video tutorial I shared on YouTube and the step-by-step instructions here on the blog. 🙂

Materials Needed
- Scissors
- Tweezers
- Green cardstock, 150–180 gsm
- White cardstock, 120–160 gsm
- Light green brush pen
- White colored pencil
- Green floral tape
- 23-gauge green floral wire
- Wood glue
- Styrofoam
- Artificial moss
- Flower pot
For a more polished and elegant look, I recommend using a slightly deeper shade of green for your paper shamrocks. Green cardstock around 150–180 gsm works especially well because the leaves stay firm and hold their shape, while still being easy enough to cut and fold. ^^
I used a brush pen to add color to the small flowers, but you can use watercolor paint, pastels, or any coloring material you prefer. I chose a brush pen simply because it’s easy to use and convenient to store between projects.
When drawing the patterns on the shamrock leaves with a white colored pencil, feel free to make them however you like. You don’t need to make every leaf look exactly the same. Slight differences actually help the finished paper shamrocks look more natural. ^^😍

The finished paper shamrock flower pot measures approximately 13 cm (5.1 in) wide and 15 cm (5.9 in) tall.
It’s a nice compact size for displaying on a desk, table, shelf, or other small space as a decorative paper plant. 🙂
How to Make It
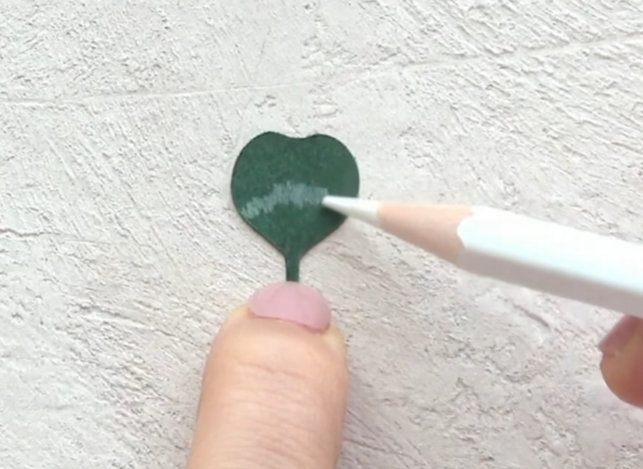
STEP.1⬆️
Draw a simple pattern on the green paper shamrock leaf with a white colored pencil, following the photo as a guide.
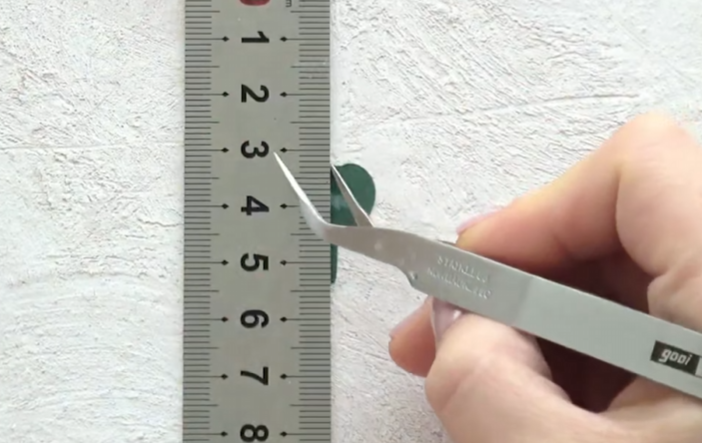
STEP.2⬆️
Place a ruler along the leaf, then use the pointed tip of the tweezers to lightly score a line down the center.

STEP.3⬆️
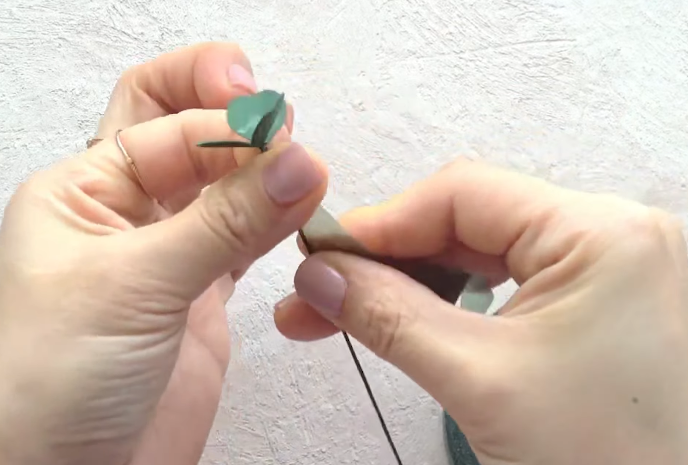
Using wood glue, attach 3–4 paper shamrock leaves to each 23-gauge floral wire stem.😘
STEP.4⬆️
Wrap the floral wire with green floral tape.
STEP.5⬆️
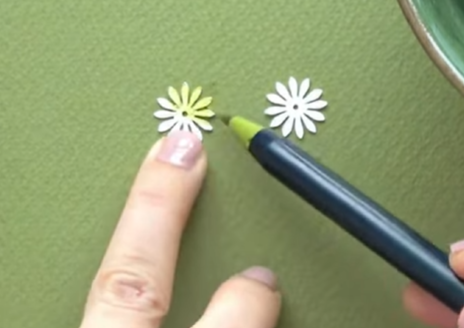
Cut two flower shapes from white cardstock as shown in the photo, then color the centers with a light green brush pen.
STEP.6⬆️
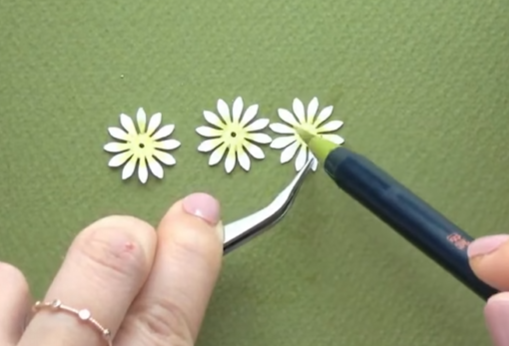
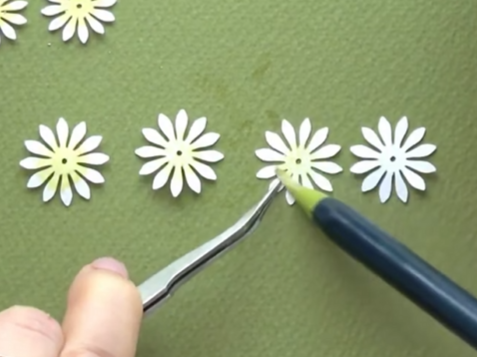
Cut three more flower shapes slightly larger than the first ones, then color only the centers.
Next, cut four more flower shapes slightly larger than the second set, and again color only the centers.
STEP.7⬆️
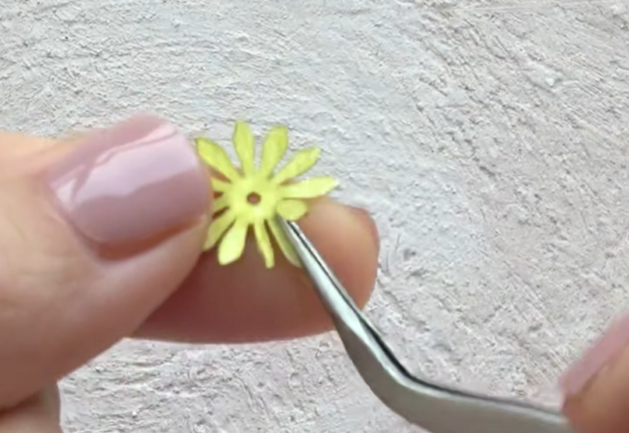
Use tweezers to fold the edges of all the petals on the smallest flower.

STEP.8⬆️
Starting with the second flower size, use tweezers to pinch only the base of each petal so the petals gather slightly inward.

STEP.9⬆️
Insert the smallest paper flower onto the floral wire stem.


STEP.10⬆️
Attach all the flower layers to the wire in order, starting from the smallest and ending with the largest.
Then wrap the wire stem with floral tape.

FINAL STEP⬆️
Once all the paper shamrock leaves and flowers are arranged in the pot, your paper shamrock flower pot is complete. :)😍

This is the paper shamrock flower pot we made today. 🍀
With just a few simple steps, you can create a paper flower project that looks surprisingly natural and lifelike. ^^
Eva’s Tip
One part that beginners often find surprisingly tricky is wrapping the stem with floral tape.
The key is to keep a little tension on the tape with your fingers and wrap it around the stem at a slight diagonal angle. This helps the tape lie smoothly without bunching up. After practicing just a few times, it should become much easier. ^^
When coloring the flower petals, it’s better to build up the color gradually with several light layers.
Beginners sometimes try to get the final color in one pass and end up making the petals too dark. A softer, lighter finish usually looks more natural and delicate. ^^❤️
I hope you had another fun and relaxing time making paper flowers with Eva today. 🙂
Purchasing my cutting machine flower template is a big help in supporting the work I put into creating and sharing these tutorials—haha!
And one more thing! If you don’t have a Cricut or another cutting machine, I also have a DIY kit prepared so you can still try making this paper shamrock project yourself. I hope you’ll give it a try. ^^
Try Making This Too 🌸
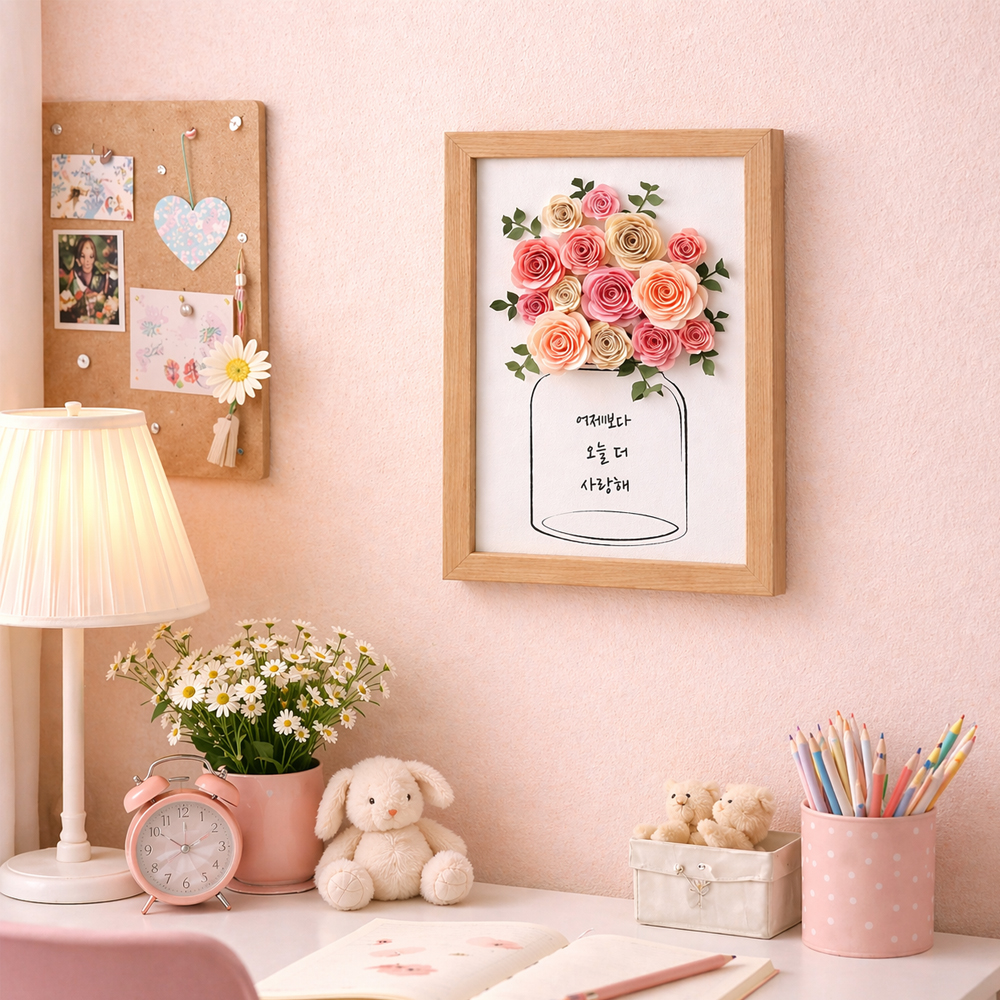
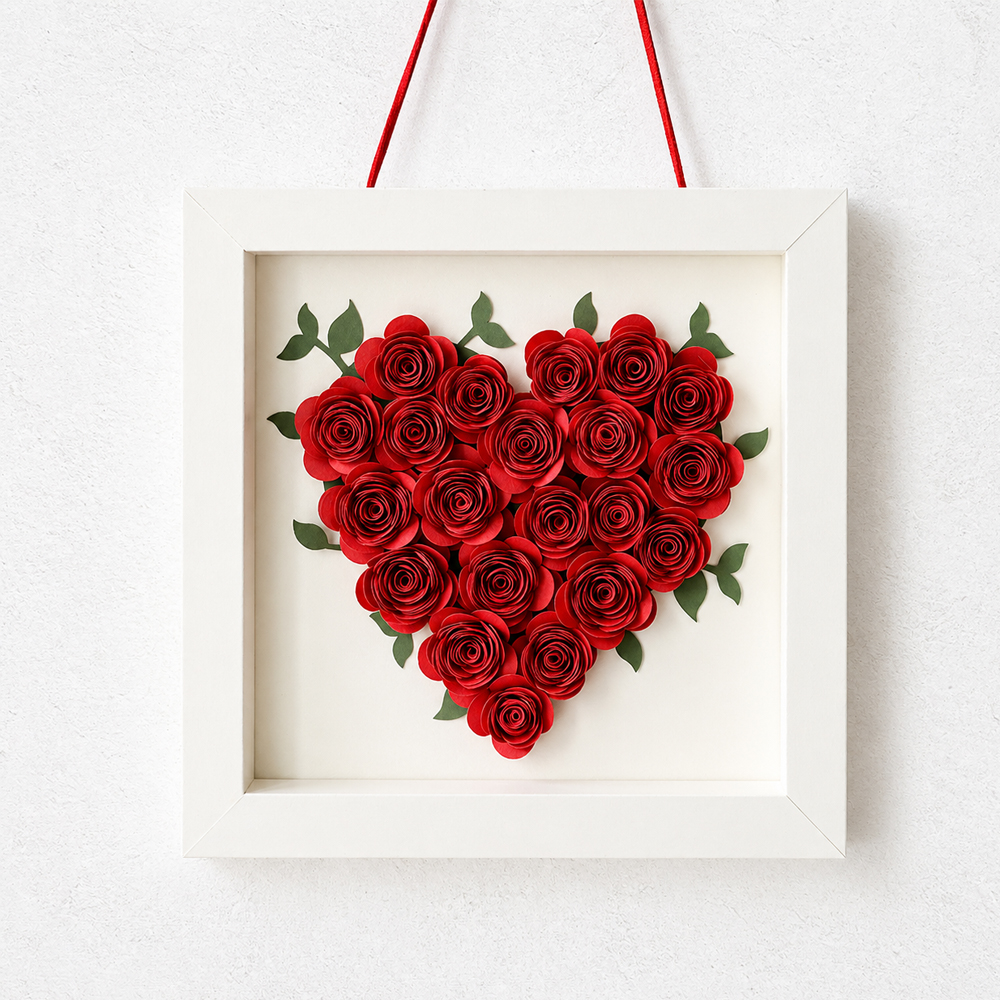
3D Paper Flower Wall Art: Romantic Rose Frame Decor
Try this romantic 3D paper rose frame next—it’s a beautiful paper flower wall art project for home decor.

Leave a Reply