Hey, lovely bloom! Thanks for wandering into my little paper flower garden. 🌸
Today, we’re going to make a beautiful 3D paper rose frame using simple strips of colored paper rolled into roses.
This project is incredibly easy, so almost anyone can enjoy making it—even if you’ve never tried paper flowers before.
The best part is that although the technique is simple, the finished piece looks surprisingly polished and decorative. If you’re just starting to become interested in paper flowers, I really recommend beginning with this project.
You’ll be able to finish something beautiful without complicated techniques, and that little success might give you the confidence to try even more paper flower projects. 🌹
Difficulty: ★☆☆☆☆
Time: About 40 minutes
Finished Size: Approximately A4 size
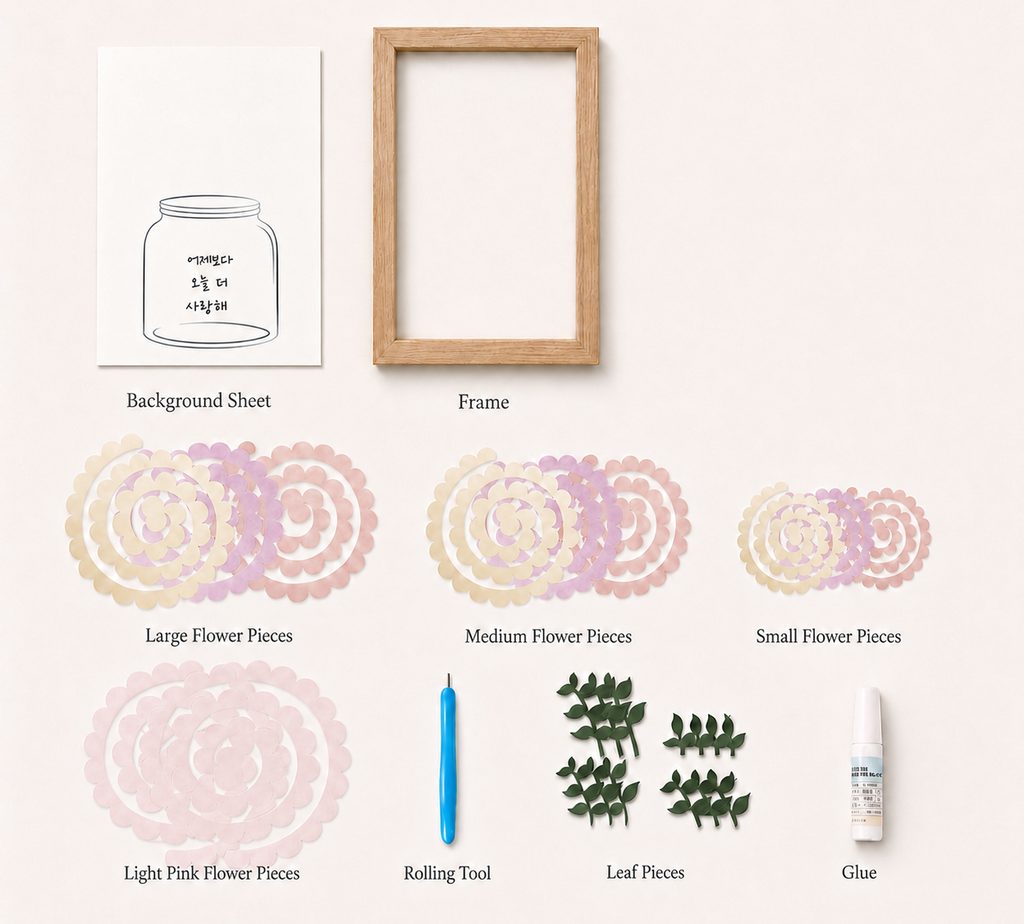
Materials You’ll Need
- 150–180 gsm colored cardstock in 4 colors — for the roses
- 150–180 gsm green cardstock — for the leaves
- Wood glue or a hot glue gun
- Paper quilling tool
- A4 cardstock — for the background
- A4-size frame
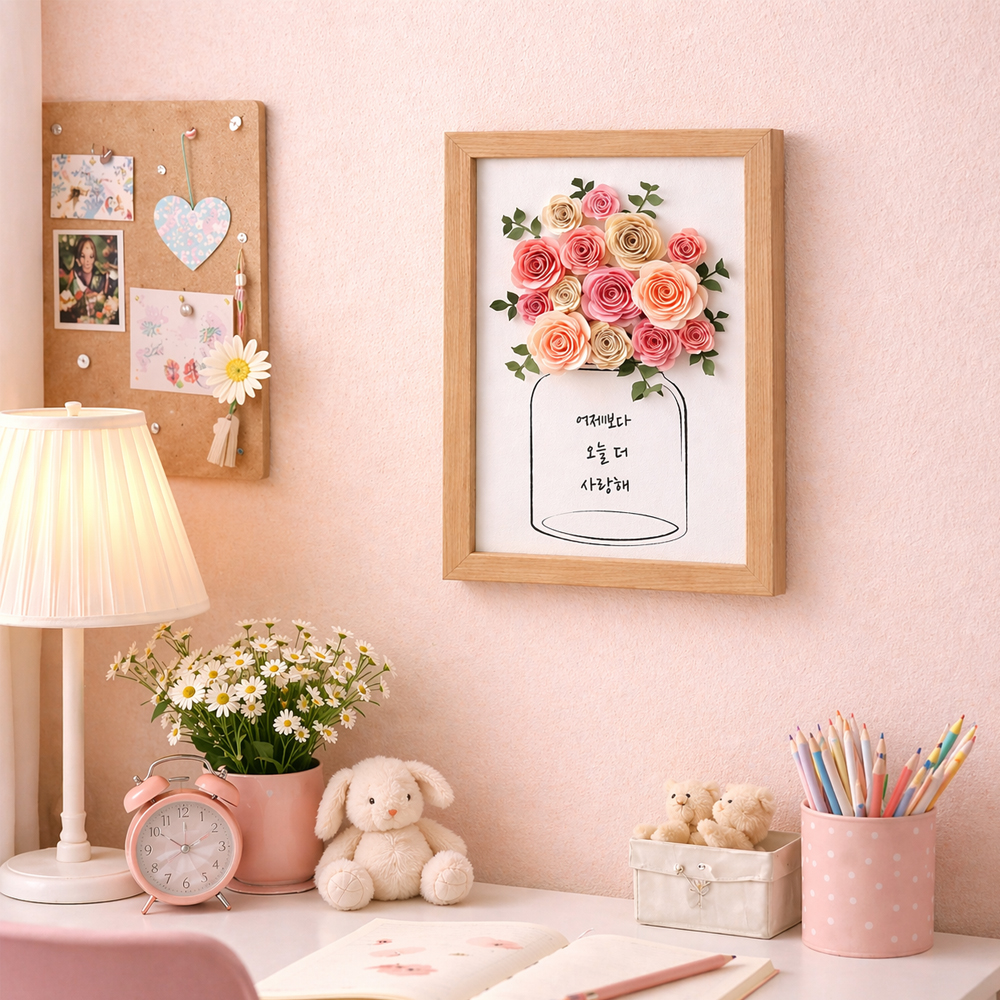
Today’s Project: Rolled Paper Rose Frame 🌹
This is the rolled paper rose frame we’re making today.
I used several slightly different shades of pink to create a soft and romantic look.
You can easily change the mood by choosing your own color family, such as blue, green, purple, or yellow.
Using several shades of the same color gives the finished piece more depth and makes it look much more interesting than using just one color.
For the roses, I recommend using 150–180 gsm colored cardstock.
This weight is easy enough to roll by hand, but still firm enough to hold the shape of the flowers nicely.
If you don’t have a paper quilling tool, don’t worry.
You can simply hold the end of the paper with tweezers and roll it by hand.
A hot glue gun will make the project much faster because the flowers stay in place almost immediately.
If children are making this project, wood glue is a safer option and works well too.
For the background, you can print a message like I did, or write your own message by hand.
A handwritten note can make the frame feel much more personal, especially if you’re making it as a gift for someone special.
I cut the flower and leaf shapes using a cutting machine such as Silhouette or Cricut.
If you don’t have a cutting machine, you can still make this project by hand.
Simply draw a circle about one-quarter the size of an A4 sheet, cut it into a loose spiral with slightly wavy edges, and roll it into a rose shape.
The background paper and frame are both A4 size, approximately 21 × 29.7 cm (8.27 × 11.69 inches).
It’s a practical size that’s easy to hang on a bedroom wall, door, or small decorating corner without taking up too much space.
Because the flowers are made from paper, you can enjoy the floral look for a long time without watering, wilting, or replacing fresh flowers. 🌸
STEP.1
- Prepare the paper flower piece and your rolling tool. Then, start rolling the paper from the outermost edge toward the center.


STEP.2
Keep rolling the paper. Once you’ve rolled about halfway, remove the rolling tool and continue rolling the rest by hand.


STEP.3
Once you’ve rolled the paper all the way to the end, gently loosen your grip and let the rose open up into shape.
Then, apply hot glue to the final round tab and press it onto the bottom of the flower to secure it.


STEP.4
Gently open the outer petals and adjust them until you get the flower shape you like. For the leaves, hold the paper with scissors and gently pull it through to create a natural curl.

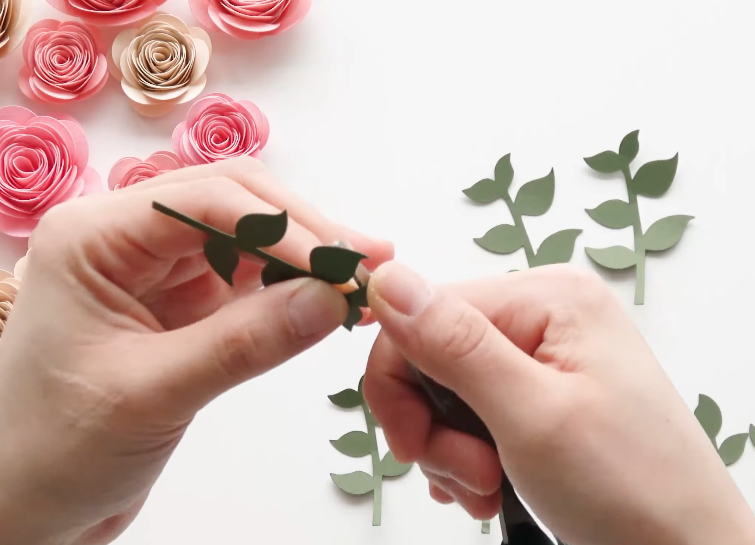
STEP.5
Attach the paper flowers to the background sheet. Then, place and glue the leaves in between the flowers to fill the gaps and create a fuller arrangement.

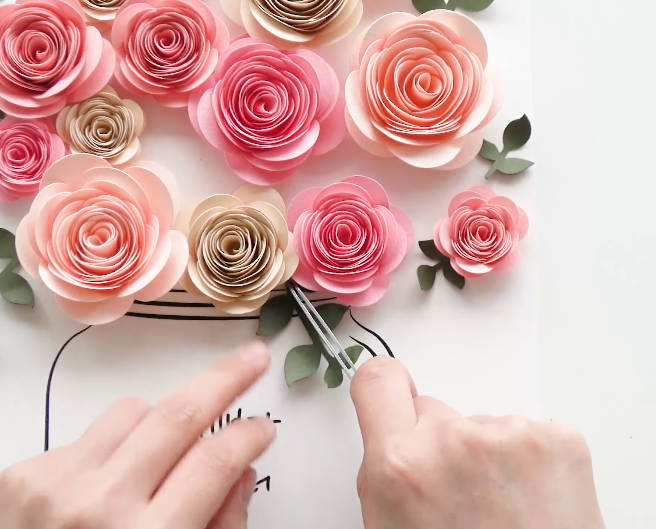
Final Touches
Your Rolled Paper Rose Frame Is Complete 🌹

Eva’s Tip 🌹
Try not to roll the paper too tightly.
Leaving a little space between the layers helps the rose look softer and more natural.
A hot glue gun is the fastest and easiest option because the flower stays in place almost immediately.
If children are making this project and you’re using wood glue instead, hold each piece in place for about 30 seconds before letting go so it has enough time to stick securely.
Before gluing all the flowers onto the background, arrange them first and check the overall balance.
This simple step can help you avoid mistakes and makes it much easier to adjust the composition before everything is permanently attached.
As you slowly roll the paper, an ordinary sheet of cardstock begins to turn into a rose with layer after layer of petals.
That little transformation is one of the most satisfying parts of this project.
And don’t worry if every flower comes out a little different.
You don’t need to make all the roses exactly the same.
In fact, mixing slightly different sizes and shapes often makes the finished arrangement look more natural, dimensional, and unique.
That’s how your own special paper flower frame begins to come to life. 🌸

If making the full project feels a little difficult, or if you only need the template, I’ve also uploaded the design to my Etsy shop.
And if you just want to try making it once without preparing all the materials yourself, there’s also a one-time DIY kit available.
So don’t give up before you start. You can choose the option that feels easiest for you and still enjoy making your own paper flower frame. 🌸
Thanks for stopping by my little paper flower garden, my lovely bloom. 🌼 See you among the petals again!
Try Making This Too 🌸
How to Make a Realistic Crepe Paper Rose 🌹
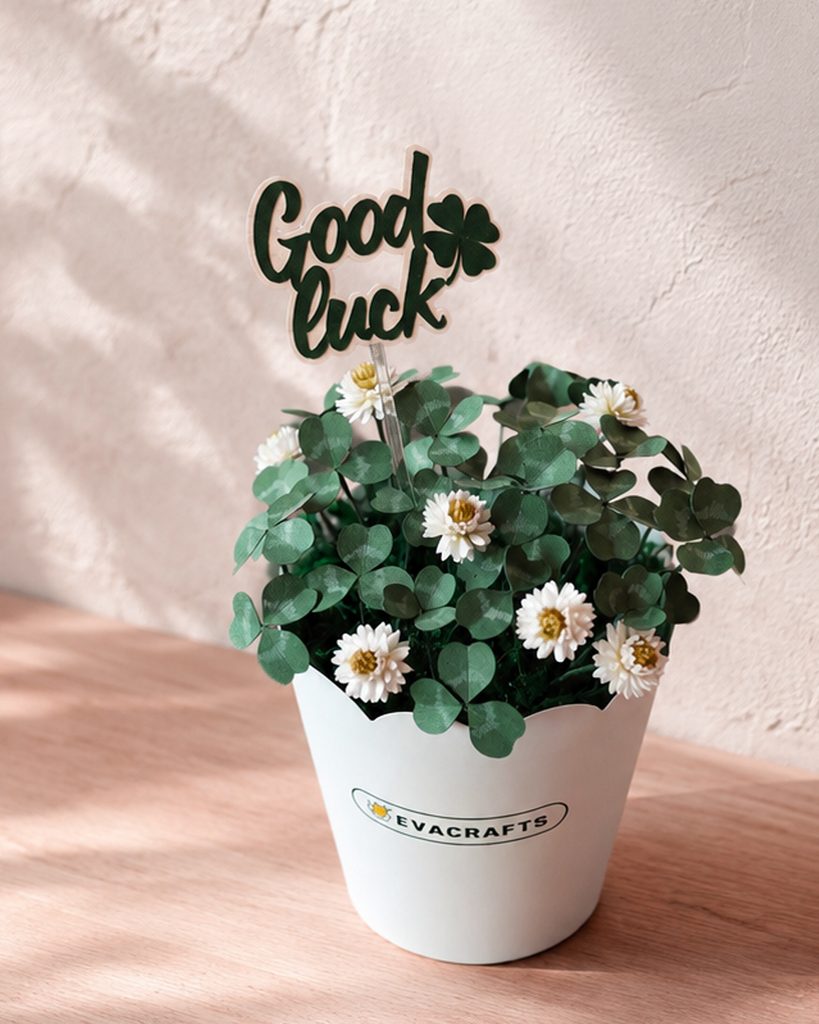
Create a charming paper shamrock flower pot with a cutting machine. This beginner-friendly project is perfect for home decor, gifts, or a little touch of good luck. 🍀

Leave a Reply