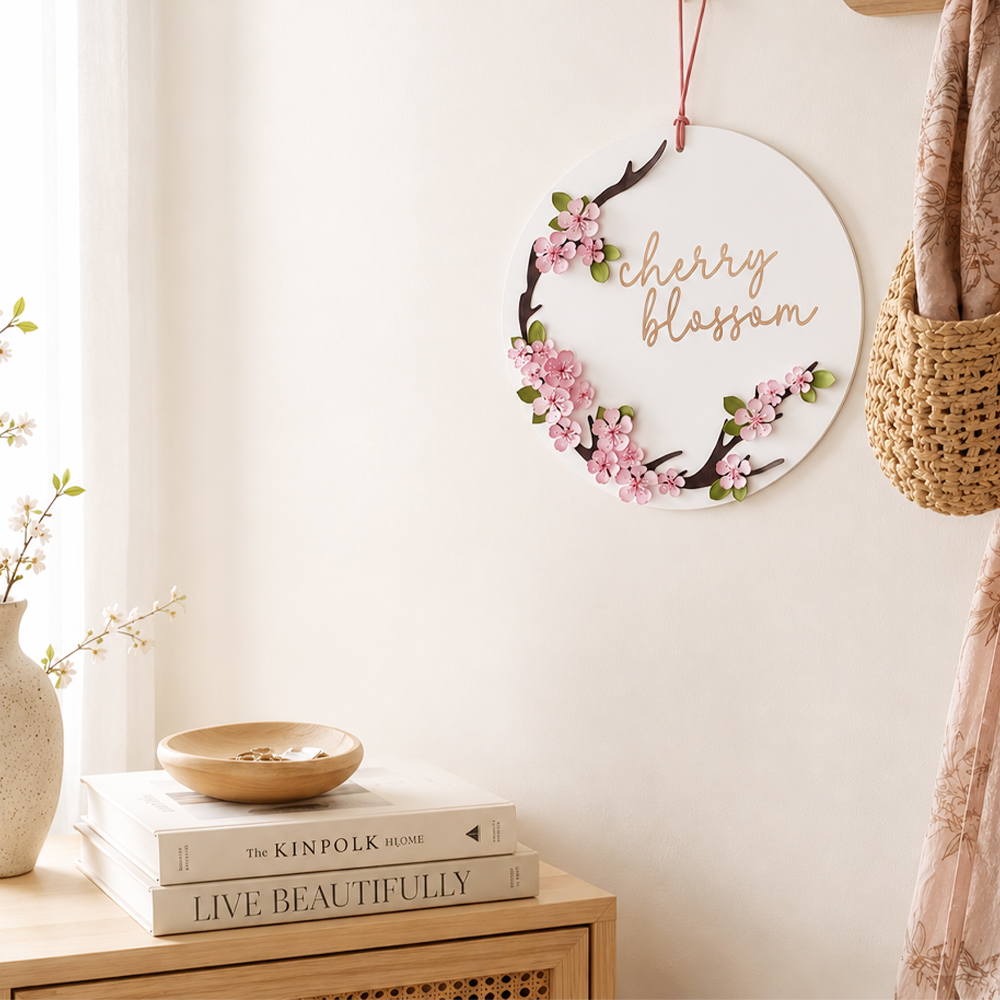
Hey, my lovely blooms! 🌼 Today, we’re going to make a beautiful paper cherry blossom wreath together.
Today, we’re going to make a beautiful paper cherry blossom wreath filled with soft pink paper cherry blossoms. 🌸
At first glance, this wreath may look detailed and difficult to make, but the process is actually quite simple. You’ll color the paper petals, layer them together, and arrange the finished blossoms naturally along the branches.
That makes this an easy paper flower project even if you’re making paper flowers for the first time.
I’ve also uploaded a detailed cherry blossom wreath DIY video on YouTube. If you follow the video together with the step-by-step instructions below, even beginners can create a beautiful and polished paper flower wreath. 😊
In this tutorial, I’ll show you how to give the paper cherry blossoms more dimension, shape the petals naturally, and arrange the flowers and leaves so the wreath looks balanced and full.
Take your time and follow along to create your own handmade cherry blossom wreath for spring. 🌸
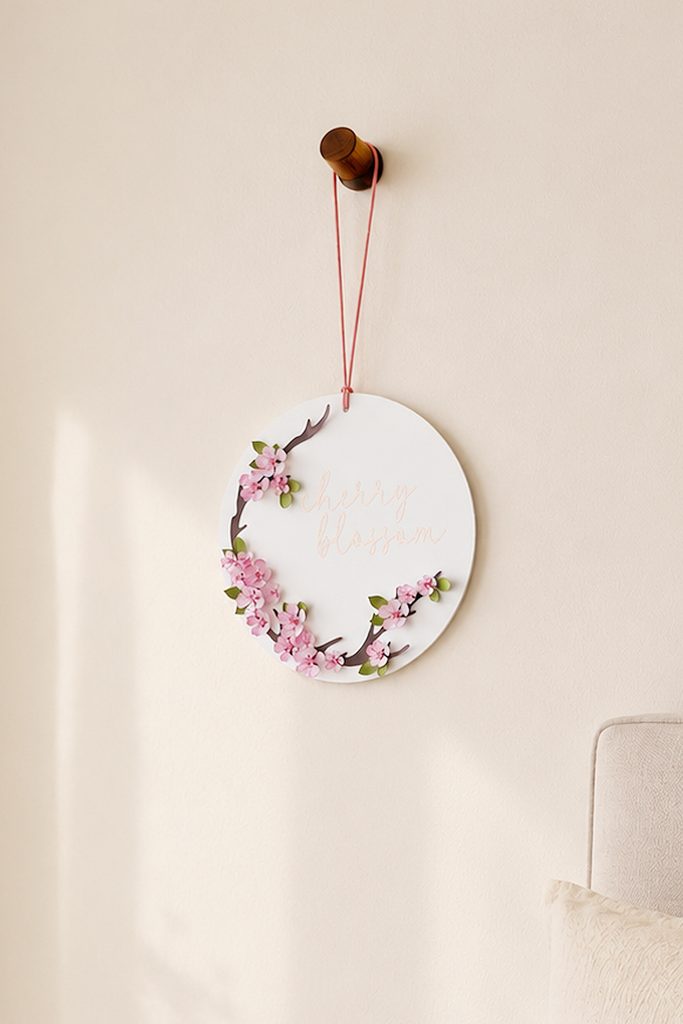
Difficulty: ★★☆☆☆
Estimated Time: About 2 hours

Materials
- Scissors
- Round paper board, 23 cm (9 in) diameter
- Pink ribbon
- Ball tool
- Wood glue
- EVA foam sheet
- Pink pastel powder
- Sponge
- Rose gold adhesive sheet
- Transfer sheet
- Brown cardstock, 150–180 gsm
- Pink cardstock, 150–180 gsm
- Green cardstock, 150–180 gsm
This cardstock cherry blossom wreath is more about repeating the same simple steps and creating a balanced arrangement than using complicated paper flower techniques. 🌸
Once you learn how to make one paper cherry blossom, you can simply repeat the same process until you have enough flowers for the wreath. That makes this a fun and beginner-friendly project, even if you’re new to paper flowers. 😊
Don’t worry if every blossom looks slightly different or opens in a different direction. In fact, when the flowers are not all exactly the same, the finished paper cherry blossoms look fuller and more natural—just like blossoms growing on a real branch.
The petals, stamens, and leaves can be cut quickly and easily with a cutting machine such as a Silhouette or Cricut. If you don’t have a cutting machine, you can also cut all the pieces by hand with scissors.
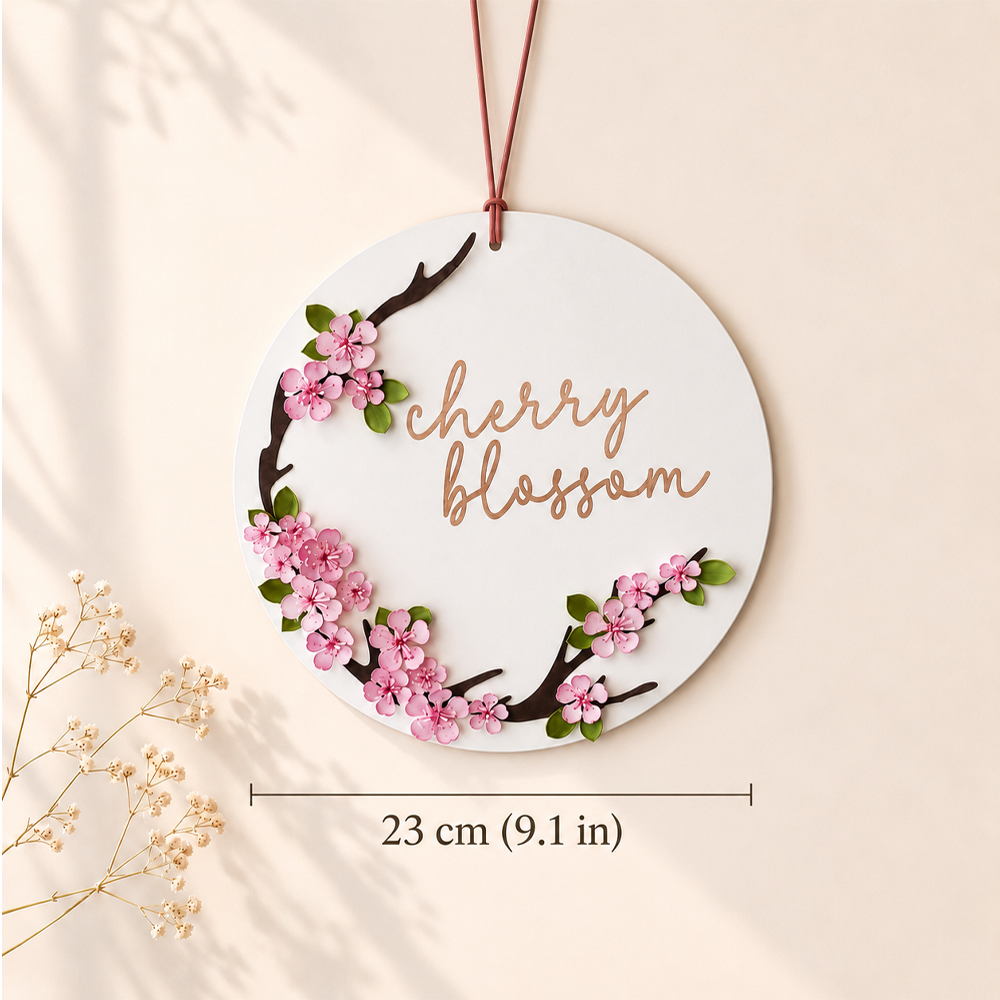
For the base, attach the branch pieces to a round paper board measuring about 23 cm (9.1 in) in diameter, then decorate the branches with the paper cherry blossoms and leaves.
If you don’t have a ready-made round paper board, simply cut a circle from cardstock that is at least 200 gsm.
I used a pink suede cord for hanging, but jute twine or a regular ribbon also works beautifully. 🎀
The EVA foam sheet is used underneath the petals while shaping them with a ball tool. If you don’t have EVA foam, a mouse pad is a great substitute.
The finished paper cherry blossom wreath measures about 23 cm (9.1 in) across.
It’s a lovely size for hanging on a door, above a desk, or on a bedroom wall—slightly smaller than a typical wall clock, so it adds a pretty spring accent without taking up too much space. 🌸
How to Make a Paper Cherry Blossom Wreath
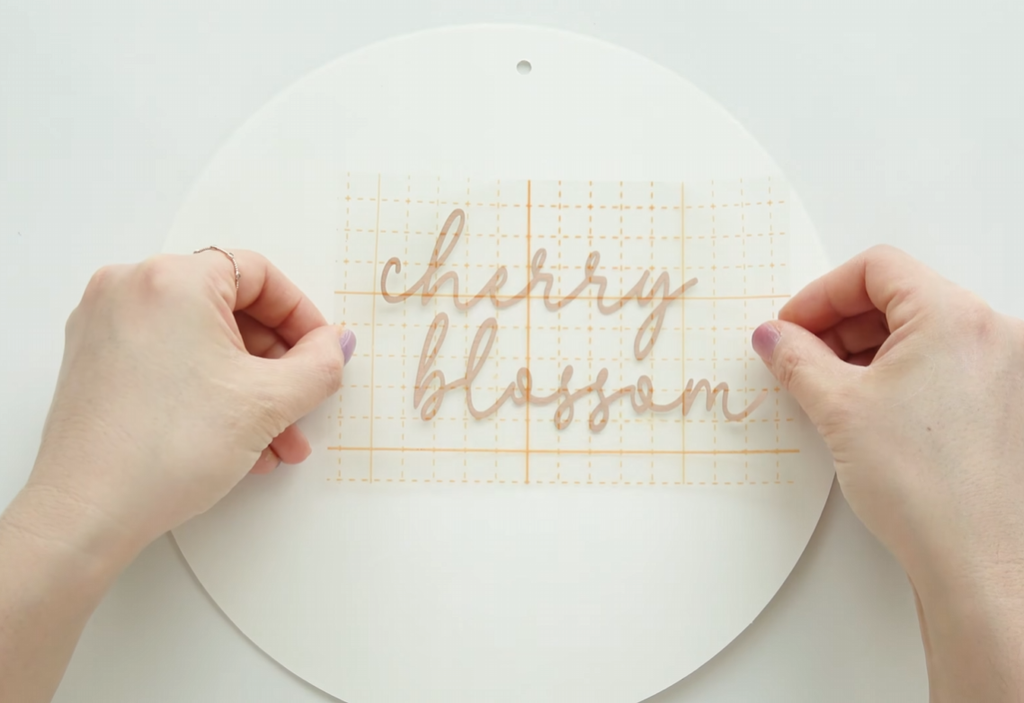
STEP 1. Add the Lettering
Cut your chosen lettering from rose gold adhesive vinyl, then use transfer tape to place it slightly to the right of the center of the round paper board.
STEP 2. Shape the Branch Pieces
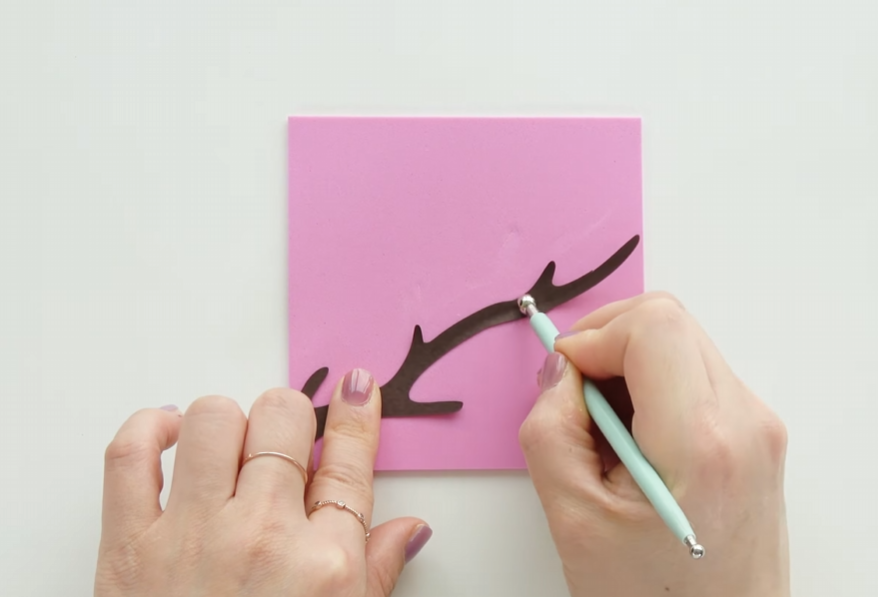
Cut the brown cardstock into branch shapes, then gently rub and shape each piece with a ball tool to give the branches a more natural look.
STEP 3. Attach the Branches
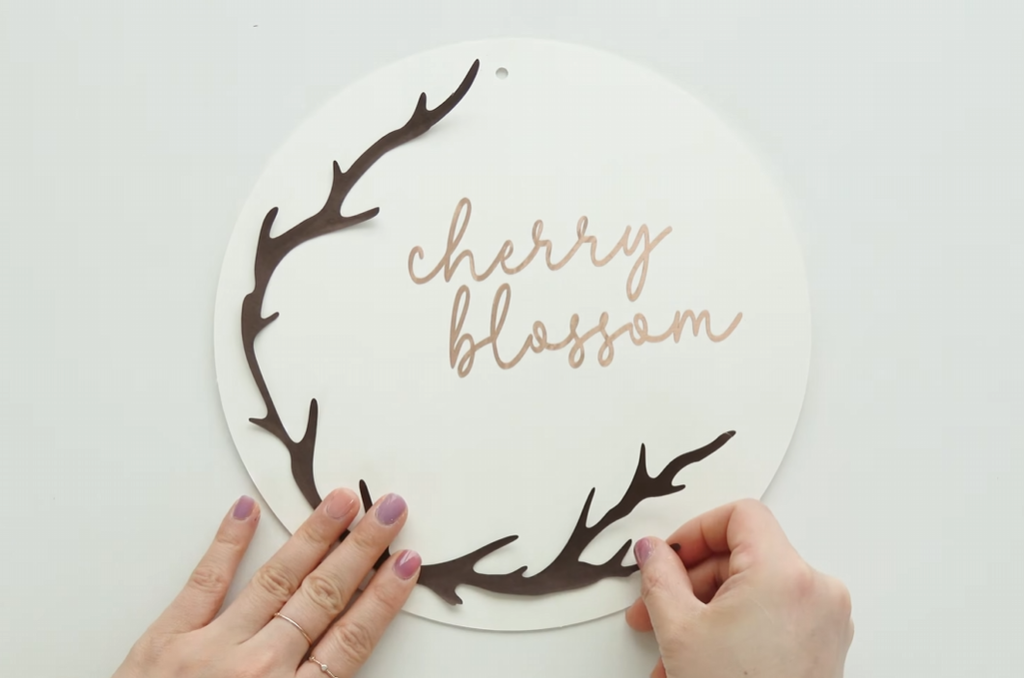
Glue the shaped branch pieces onto the left side of the round paper board.
STEP 4. Color the Stamens
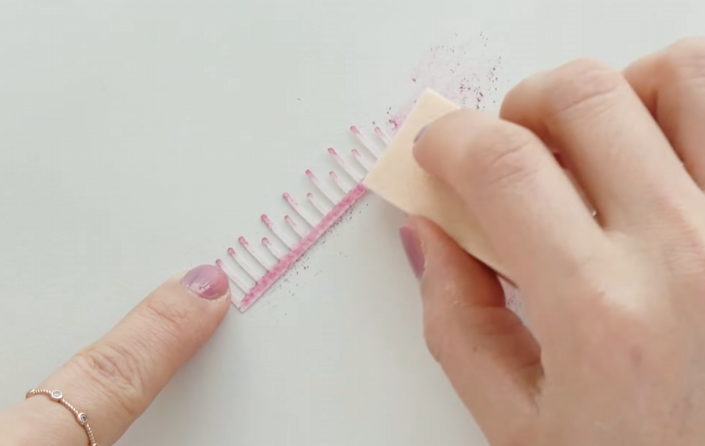
Cut the light pink cardstock into stamen shapes.
Using pink pastel powder, lightly color only the top and bottom parts of each stamen piece.
STEP 5. Curl the Stamens
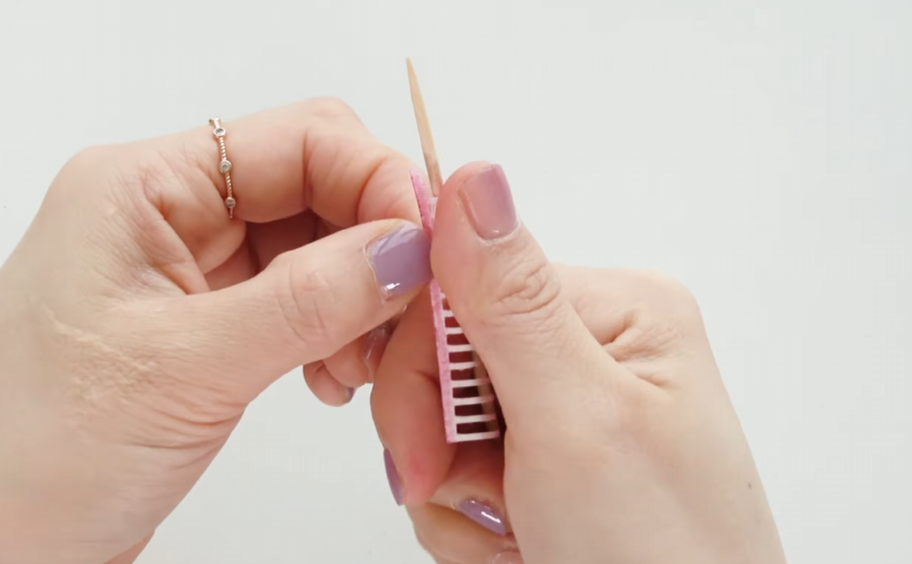
Use a thin wooden stick to gently pull and curl the stamen pieces backward.
This small curve helps give the paper cherry blossoms a softer, more dimensional look. 🌸
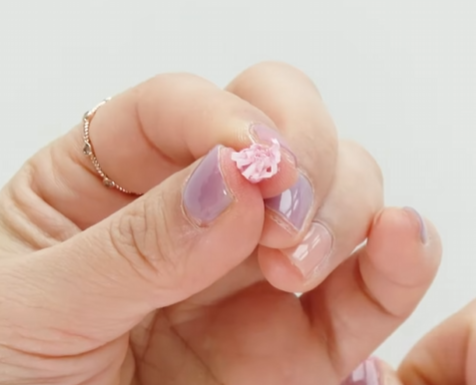
STEP 6. Roll the Stamens
Apply a small amount of glue to the bottom of the stamen piece, then roll it into a small circular shape as shown in the photo.

STEP 7. Shape the Petals
Place the pink cardstock petals on top of an EVA foam sheet.
Use a ball tool to gently rub the center of each petal until it curves into a soft rounded shape.
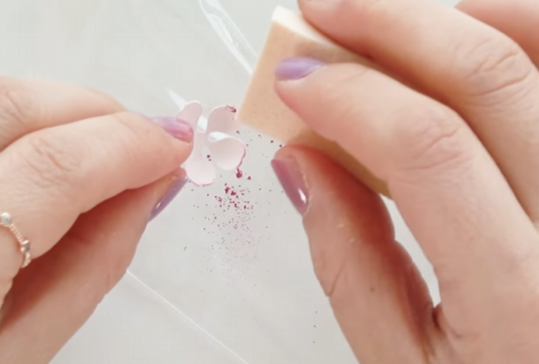
STEP 8. Add Pink Pastel to the Petals
Apply pink pastel powder only around the outer edges of the petals.
This subtle shading makes the paper cherry blossoms look softer and more realistic.
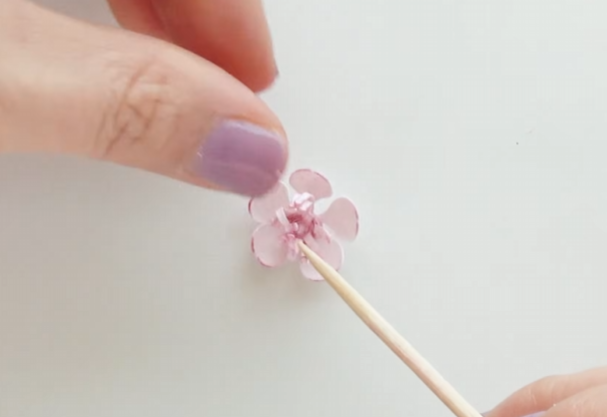
STEP 9. Assemble the Cherry Blossoms
Glue the finished stamen into the center of each flower.
Then use a thin wooden stick to gently open and spread the petals into a natural cherry blossom shape.
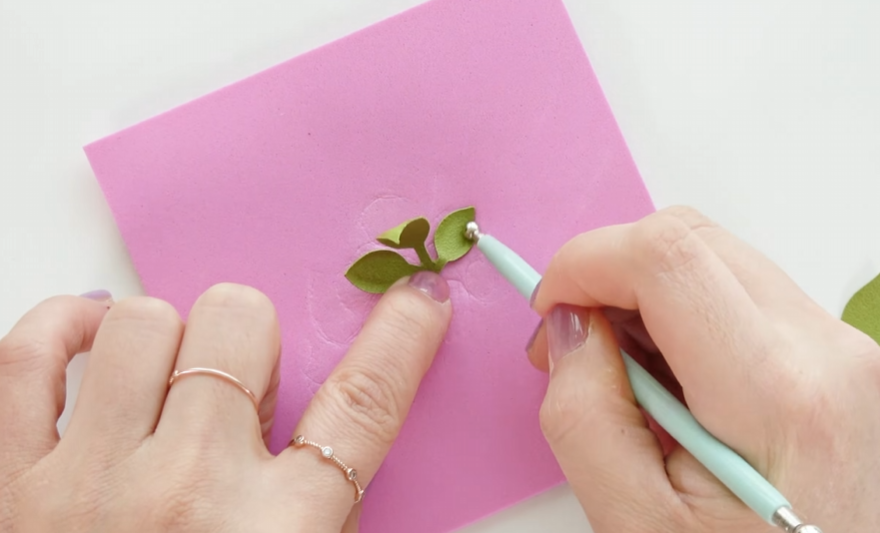
STEP 10. Shape the Leaves
Cut the green cardstock into leaf shapes, then gently rub each leaf with a ball tool to give it a soft curve and more dimension.

STEP 11. Decorate the Branches
Arrange and glue the finished paper cherry blossoms and green leaves along the branches.
Try varying the direction and spacing of the flowers slightly so your cherry blossom paper flowers look full and natural. 🌿🌸

STEP 12. Add the Ribbon
Punch a hole at the top of the round paper board and attach a ribbon or cord for hanging.
Your handmade paper cherry blossom wreath is now complete! 🎀
Eva’s Tip 🌸
When applying the lettering vinyl, be sure to use transfer tape. The horizontal and vertical grid lines on the transfer tape will help you position the lettering straight and neatly.
Place the lettering slightly to the right of the center rather than directly in the middle. This leaves enough room on the left side for the paper branches and makes the overall cherry blossom wreath feel more balanced.
When attaching the branches, position them slightly inside the edge of the round paper board. If the branches are placed too close to the outer edge, the paper cherry blossoms may extend beyond the wreath once the flowers are added. 😊
If you’re looking for a relaxing new craft to enjoy at home, try making this paper cherry blossom wreath with cardstock. 🌸
Follow the detailed YouTube video together with the step-by-step instructions in this tutorial, and even beginners can create a polished and beautiful DIY cherry blossom wreath to display at home.
My lovely blooms, your support means so much to me. Purchasing the pattern is a huge help and allows me to keep creating and sharing more paper flower tutorials with you. ^^
If it’s difficult to find all the materials individually, I’ve also prepared a complete one-project kit with everything you need.
So please don’t give up before you start—I hope you’ll give it a try, create your own beautiful flowers, and enjoy the joy of making something special with your own hands. 🌼
Thanks for stopping by my little paper flower garden, my lovely bloom. 🌼
See you among the petals again!

Leave a Reply