Hey, lovely bloom! Thanks for wandering into my little paper flower garden. 🌸
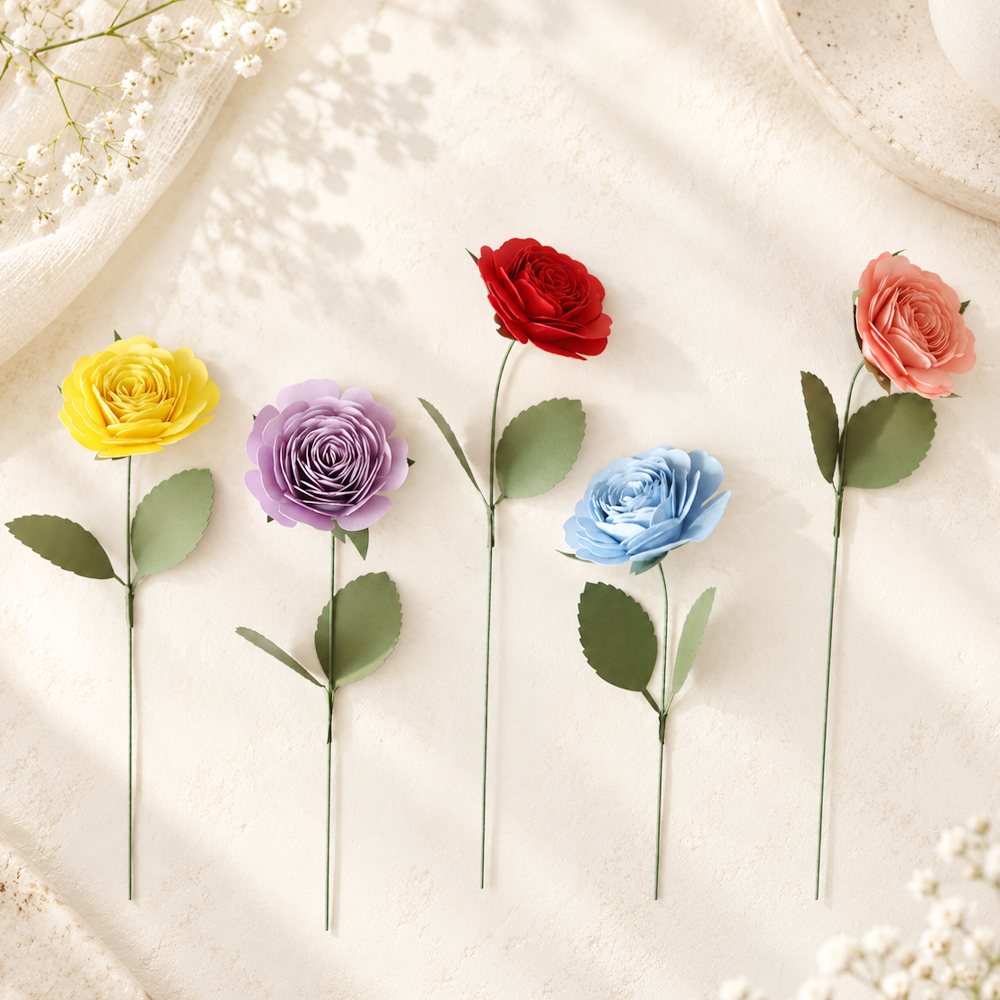
Today, we’re making a beautiful paper rose that is incredibly easy and simple to create.
This rolled paper rose is made by simply rolling and gluing a spiral-shaped piece of cardstock, so even complete beginners can make a lovely rose.
At first glance, all those layered petals may make this flower look difficult. But it’s actually a very easy paper rose project. Instead of attaching each petal one by one, you simply roll the curved paper strip into shape and secure it with glue.
That makes this paper flower DIY especially beginner-friendly. And if you use a cutting machine, preparing the flower pieces becomes even faster and easier, especially when you want to make several roses at once.
If you’re looking for a relaxing craft you can enjoy at home, follow along with Eva’s YouTube video and the detailed tutorial below. Take your time, enjoy the process, and create your own colorful rolled paper roses. 🌹
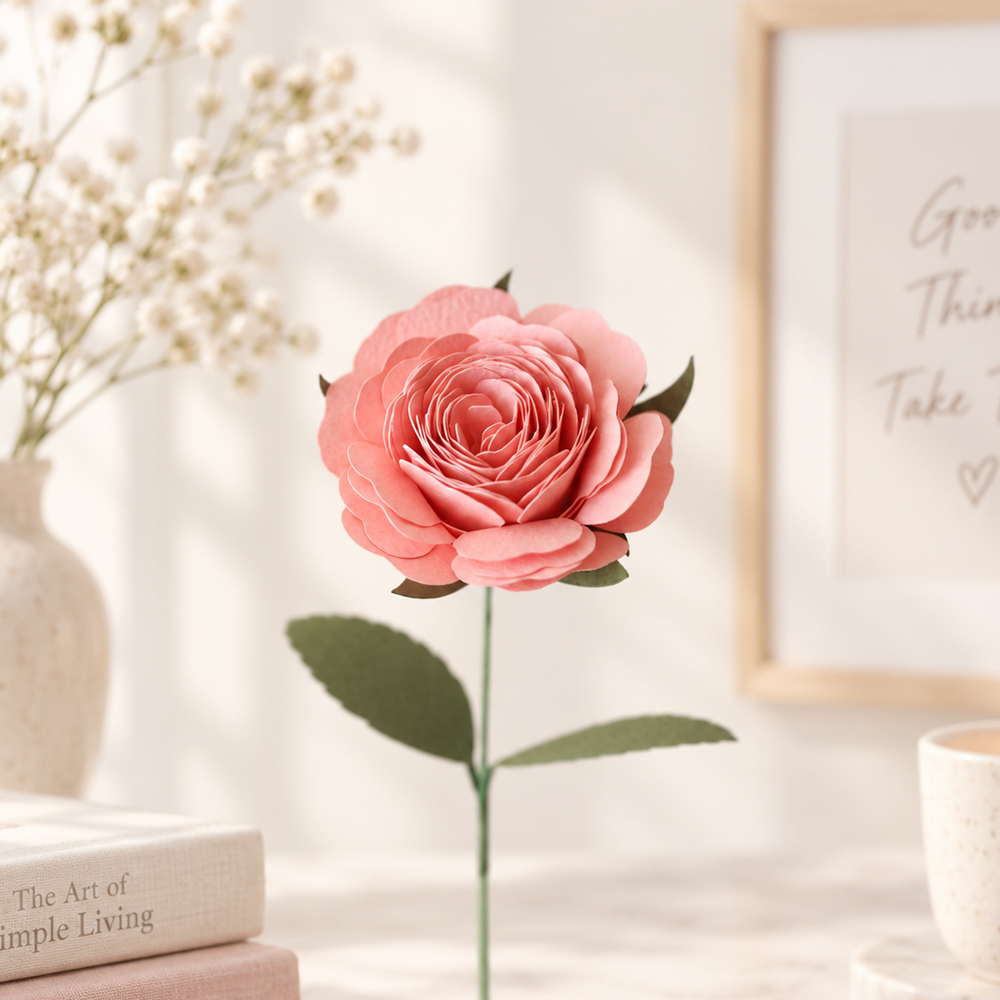
Difficulty: ★☆☆☆☆
Time: About 20 minutes per rose
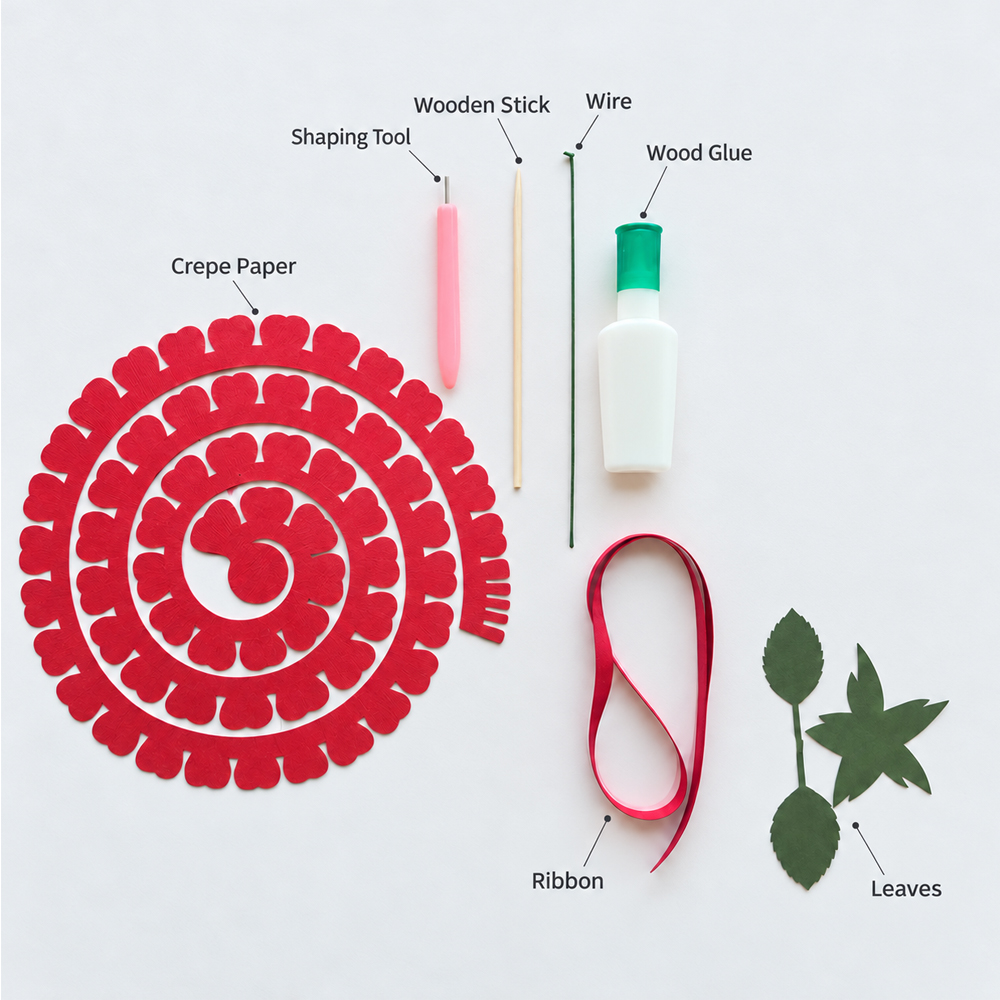
[Materials You’ll Need]
- 150–180 gsm cardstock for the rose petals, in your favorite color
- 150–180 gsm green cardstock for the leaves and calyx
- Paper flower rolling tool
- 18-gauge green floral wire
- Craft glue or wood glue
- Flower wrapping paper and ribbon
- Scissors
Just Roll It Up and Get a Beautiful, High-Quality Rose!
How to Make Rolled Paper Roses
Cut your cardstock into a long spiral shape with curved petal edges.
If you have a cutting machine such as a Cricut or Silhouette, cutting the pieces will be much faster and easier. But don’t worry if you don’t have one. You can also cut the spiral by hand with scissors.
The petal edges don’t need to be perfectly even. In fact, slightly different curves can help your finished rolled paper rose look softer and more natural.
When you start rolling the paper, keep the first two or three turns fairly tight. As you move toward the outer petals, gradually relax your grip and roll more loosely. This creates a compact center while allowing the outer petals to open up naturally, giving your paper rose a fuller, more realistic shape.
I made my rolled paper roses in pink, red, yellow, blue, and purple, but you can choose any cardstock color you like to create your own style.
A single paper rose looks lovely in a small vase, while several roses grouped together can become a beautiful paper flower bouquet. 🙂
If you don’t have a paper flower rolling tool, you can simply hold the starting edge firmly with tweezers and begin rolling from there.
For this easy paper rose project, I recommend using 150–180 gsm cardstock. Paper that is too thin may not hold the petal shape well, while cardstock that is too thick can feel stiff and become difficult to roll.
I also prepared wrapping paper and ribbon so I could package a single finished rose as a small gift. You can also make several rolled paper roses, bundle them together, and wrap them as a colorful handmade paper flower bouquet.😍
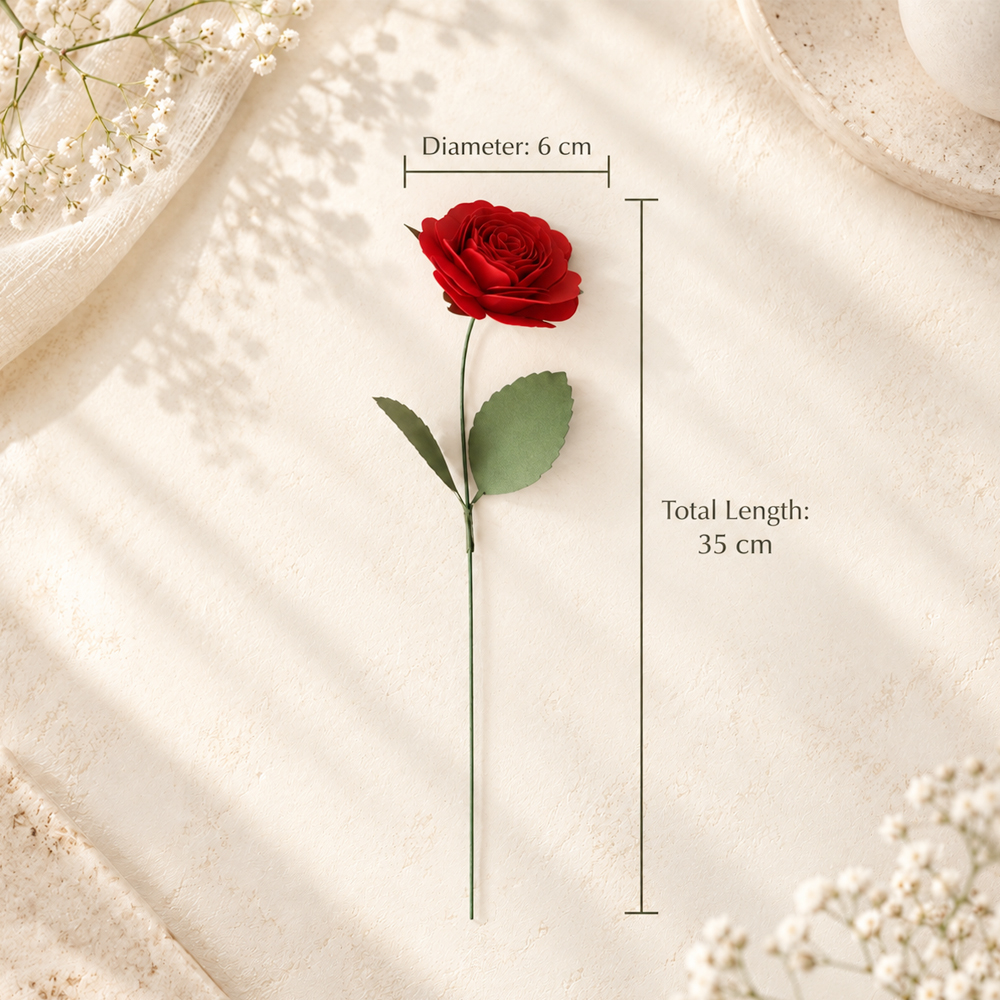
The finished paper rose is about 6 cm in diameter and approximately 35 cm long.
Even when you use the same paper flower template, the final size of the rose can vary slightly depending on how tightly you roll the paper and how much you loosen the outer petals. This is one of the nice things about rolled paper roses—you can easily adjust the fullness and shape while you make them.😘
[How to Make a Rolled Paper Rose]

STEP.1⬆️
Insert the outer end of the cardstock spiral into your paper flower rolling tool.

STEP.2⬆️
Slowly turn the tool and begin rolling the paper into a tight spiral.

STEP.3⬆️
Once you have rolled about one-third of the paper, remove the rolling tool and continue rolling it gently by hand.😘

STEP.4⬆️
As you roll, lightly press the flower from different directions to keep the shape even. This helps your rolled paper rose form a more balanced and natural-looking shape.😘

STEP.5⬆️
Continue rolling all the way to the end. Then gently relax your grip and allow the petals to loosen until the rose reaches the size and fullness you like.😊
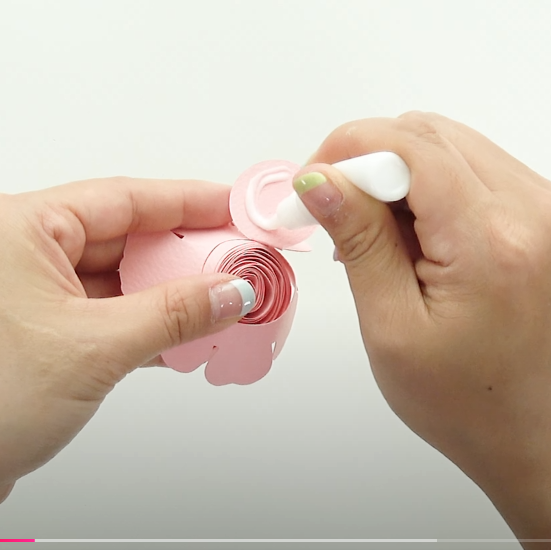
STEP.6⬆️
Apply wood glue to the final section of the paper.😘

STEP.7⬆️
Fold the glued section underneath the flower and attach it across the bottom to hold the rolled rose securely in place.😊

STEP.8⬆️
Gently open the outer petals with your fingers to give the paper rose a fuller and more natural appearance.😘

STEP.9⬆️
Cut green cardstock into a calyx shape. Gently pull the cardstock along the edge of your scissors to create a slight curl.😊

STEP.10⬆️
Apply wood glue to the calyx, insert an 18-gauge green floral wire, and attach it securely underneath the paper rose.😘

STEP.11⬆️
Cut green cardstock into leaf shapes, then gently curl each leaf with your scissors to create a soft, natural curve.😊

FINAL STEP⬆️
Attach the leaves to the stem, and your easy rolled paper rose is complete. 🌹❤️
Here is the rolled paper rose we made today. 🌹
Each color gives the flower a completely different feeling, so part of the fun is choosing your favorite cardstock color and creating a rose that feels uniquely yours.
This easy paper flower project doesn’t require many materials and can be finished in a short amount of time. It’s a lovely craft for anyone looking for a relaxing hobby to enjoy at home or a thoughtful handmade gift for someone special.
And don’t feel pressured to make your first paper rose perfect. Slight differences in the size and direction of the petals are completely okay.
Those little variations are what make each rolled paper rose unique and turn it into a one-of-a-kind paper flower made by you.
Thanks for stopping by my little paper flower garden, my lovely bloom. 🌼 See you among the petals again!
EVA’S TIP
If your rolled paper rose feels tighter than you expected, don’t worry.
Before securing it with wood glue, gently relax your grip and let the petals loosen naturally. This will help the rose open up and create a fuller, more realistic shape.
When attaching the calyx, avoid using too much wood glue. Too much glue can soften or tear the cardstock.
Apply only a small amount of glue, then hold the calyx firmly in place for at least 30 seconds. This will help the paper rose stay securely attached to the stem.
You can cut the spiral shape by hand and make this rolled paper rose yourself, or you can use the paper flower template I’ve prepared to make the process even easier.
Purchasing the template is a huge support and helps me continue creating new paper flower projects and sharing detailed tutorials here on the blog.
I really hope you give this easy paper rose a try and enjoy that little moment of happiness when you see your own beautiful handmade rose come to life. 🌹
Thanks for stopping by my little paper flower garden, my lovely bloom. 🌼 See you among the petals again!

Leave a Reply