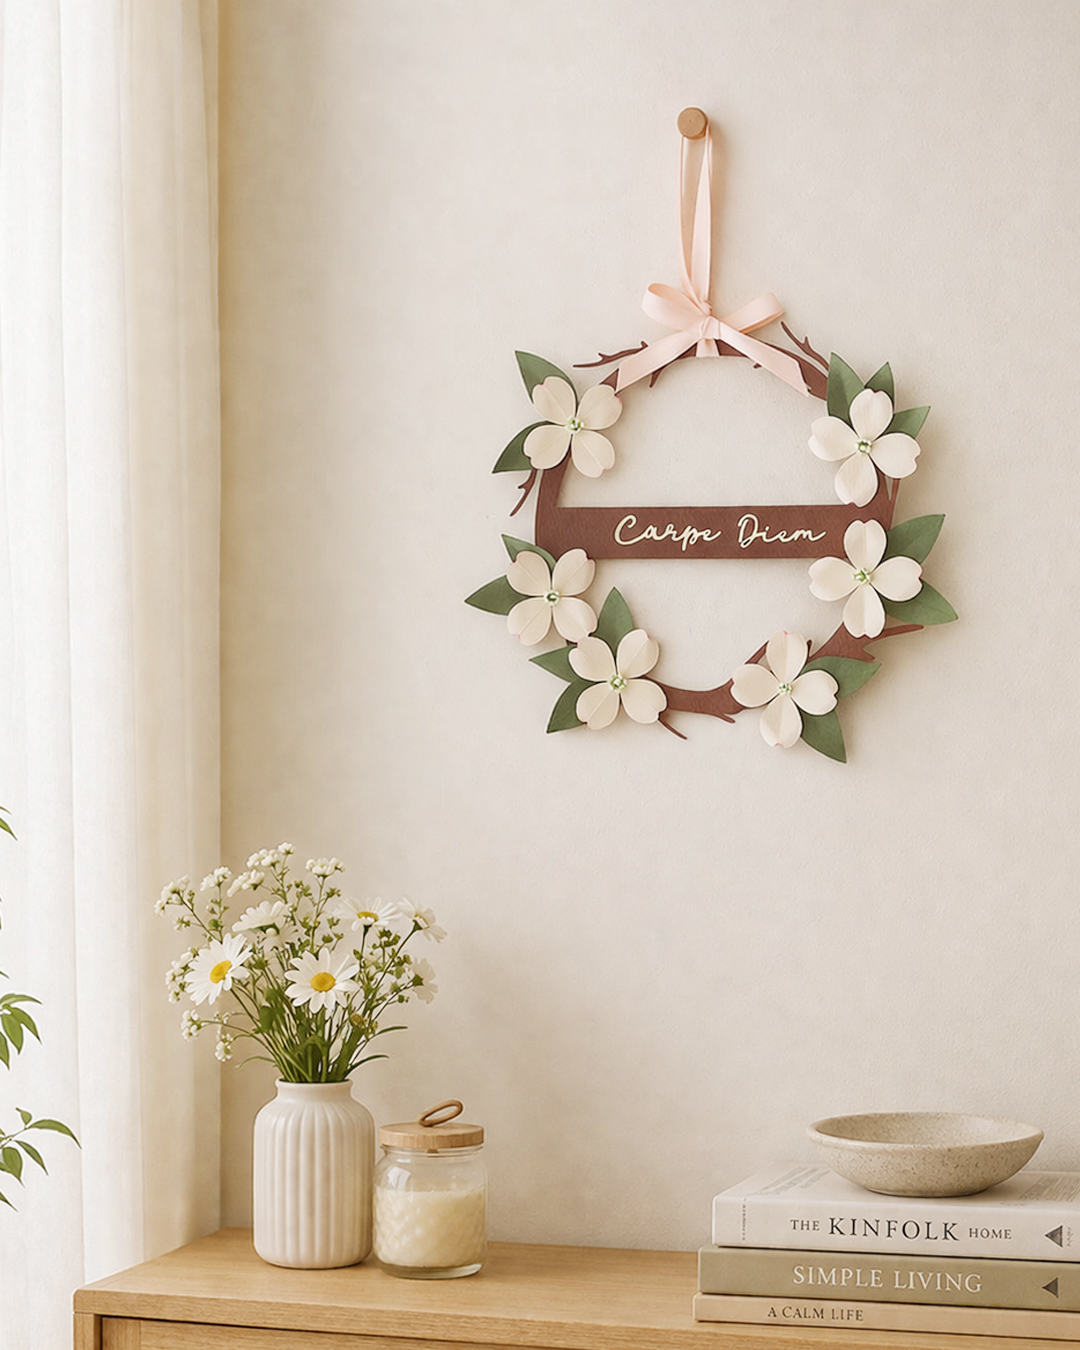
Hey, lovely bloom! Thanks for wandering into my little paper flower garden. 🌸
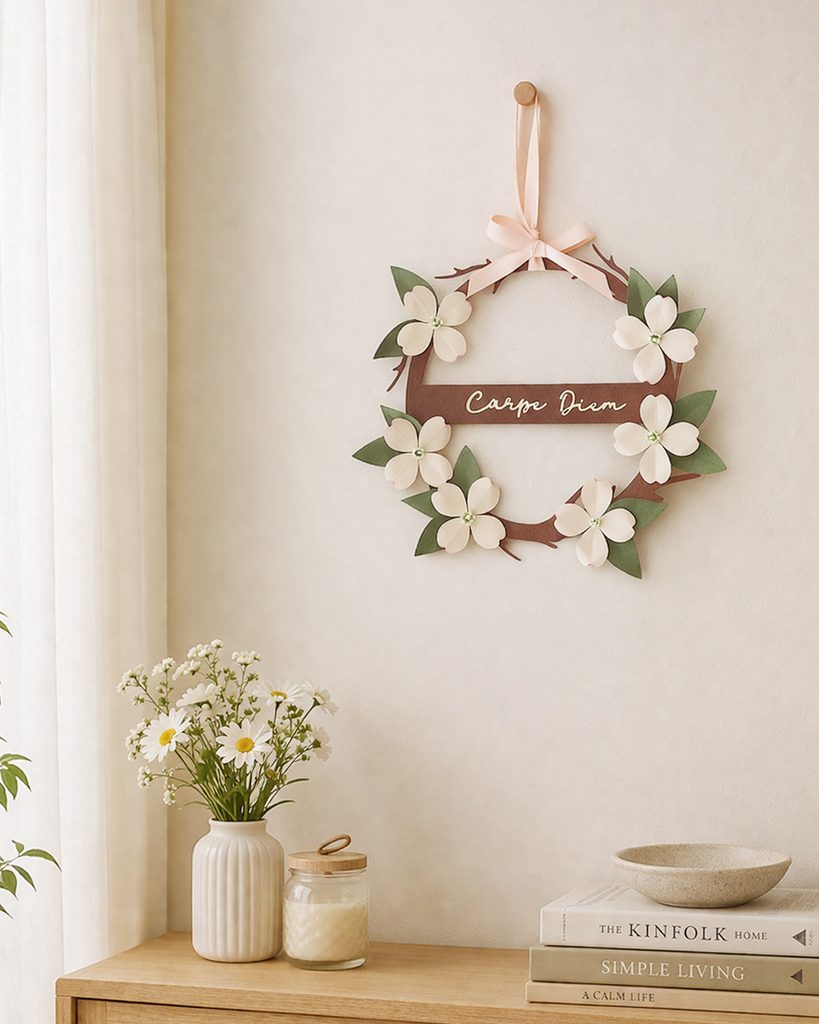
Today, we’re making a paper flower wreath featuring delicate dogwood blossoms. It’s surprisingly easy to make, and once finished, it becomes a lovely piece of paper flower wall decor for your home.
This project is simple enough for kids to enjoy too, so it’s a fun craft to make together as a family.
Even if you’ve never made paper flowers before, don’t worry! With my step-by-step instructions and YouTube video, you’ll be able to follow along and create your own beautiful DIY paper flower wreath. ^^😍

Difficulty: ★☆☆☆☆
Time Required: About 1 hour
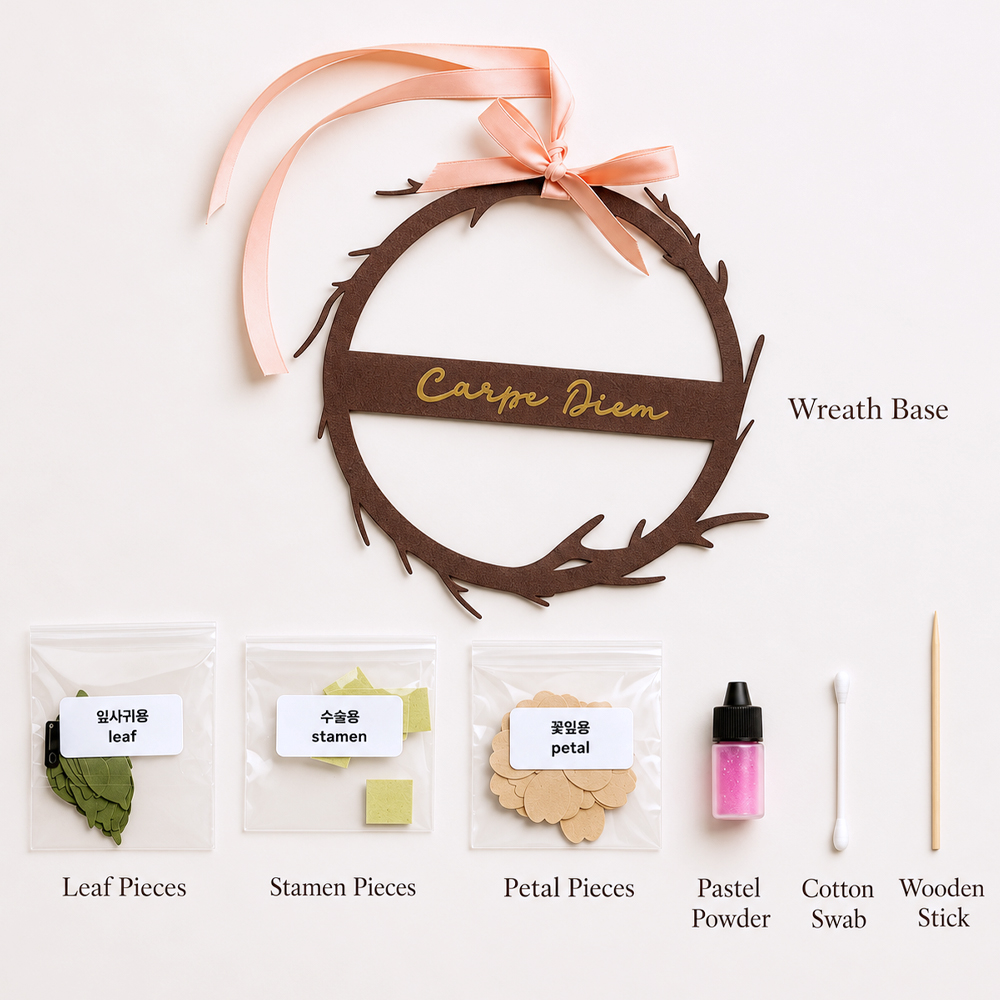
[ Materials Needed ]
- 160–180 gsm brown cardstock
- 160–180 gsm green cardstock
- 160–180 gsm ivory cardstock
- 160–180 gsm light green cardstock
- Wooden skewer
- Cotton swabs
- Hot glue gun
- Scissors
- Gold adhesive vinyl sheet
- Pink ribbon

Today’s dogwood wreath is a really easy project to make. Since it’s designed as a paper flower wreath, it looks beautiful hanging on a bedroom wall or door. ^^
I added the words “Carpe Diem” in gold adhesive vinyl to the center of the wreath, but you could also personalize it with a child’s name for their room. A short quote or meaningful phrase would look lovely too.
For the pastel powder, I used hot pink or deep magenta. If you don’t have pastel powder, you can simply scrape a regular pastel stick with a craft knife and use the powder instead.
The wooden stick is used to shape the paper flower petals. If you don’t have one, you can easily use a cotton swab or even the edge of your scissors as a substitute.
The finished wreath is about 14 cm (5.5 in) in diameter, making it a perfect size for a child’s room, bedroom wall, or door decoration.😍
Let’s start making the dogwood paper flower wreath!
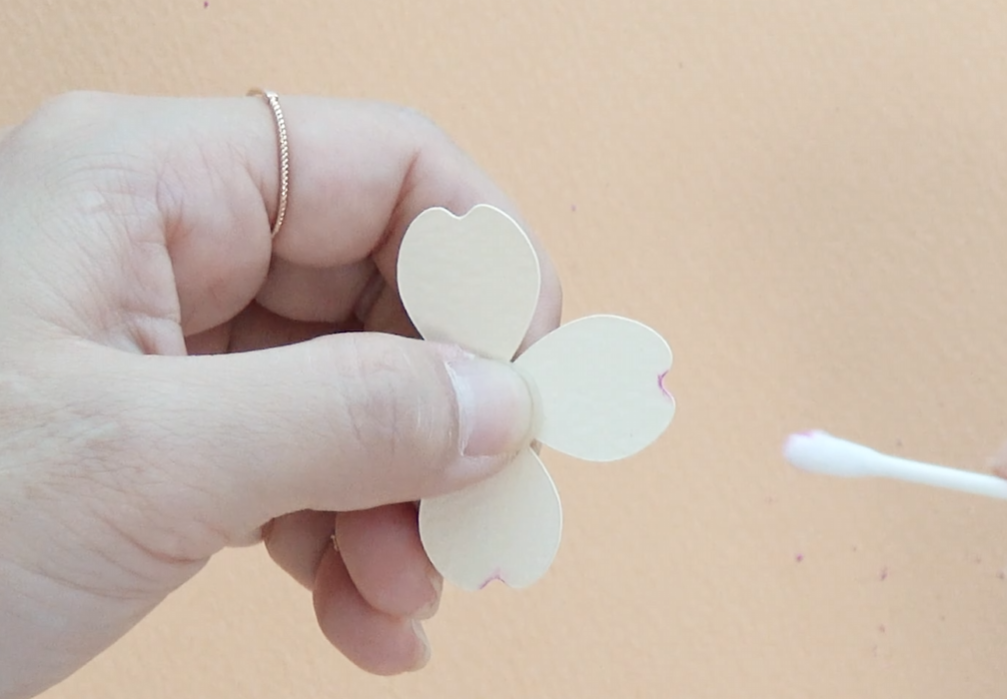
STEP.1⬆️
Cut the ivory cardstock into a four-petal dogwood flower shape, then lightly add deep pink pastel only along the edges of each petal.

STEP.2⬆️
Fold each petal in half, then unfold it gently to create a natural crease.
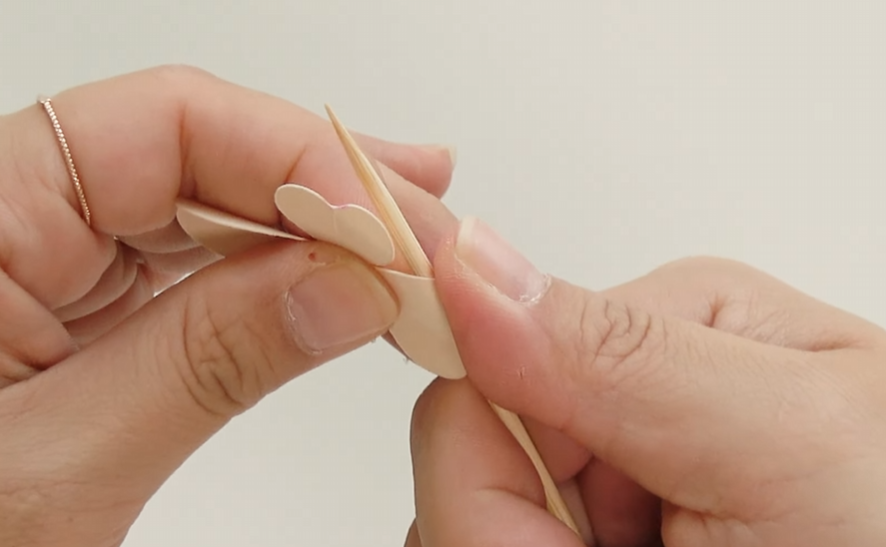
STEP.3⬆️
Use a wooden skewer, cotton swab, or another thin tool to gently curl the edges of each petal outward.😘

STEP.4⬆️
Cut only the center section of the stamen piece into thin strips, then fold it in half.
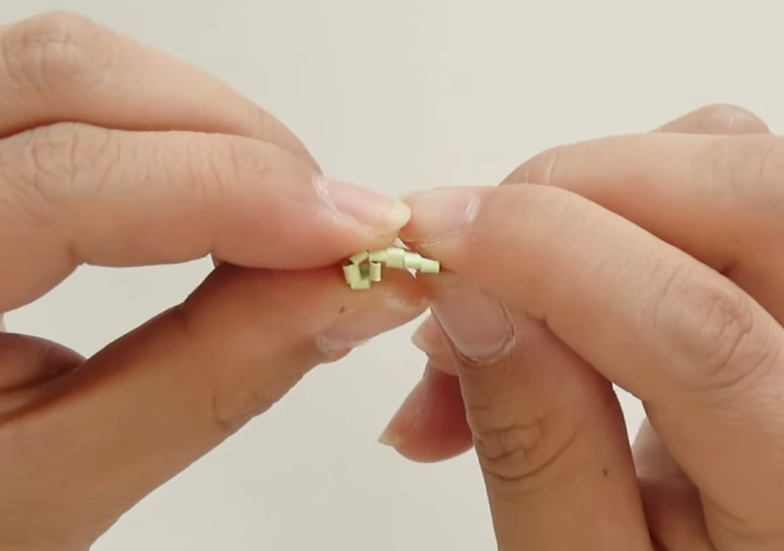
STEP.5⬆️
Roll it tightly from one end to the other.
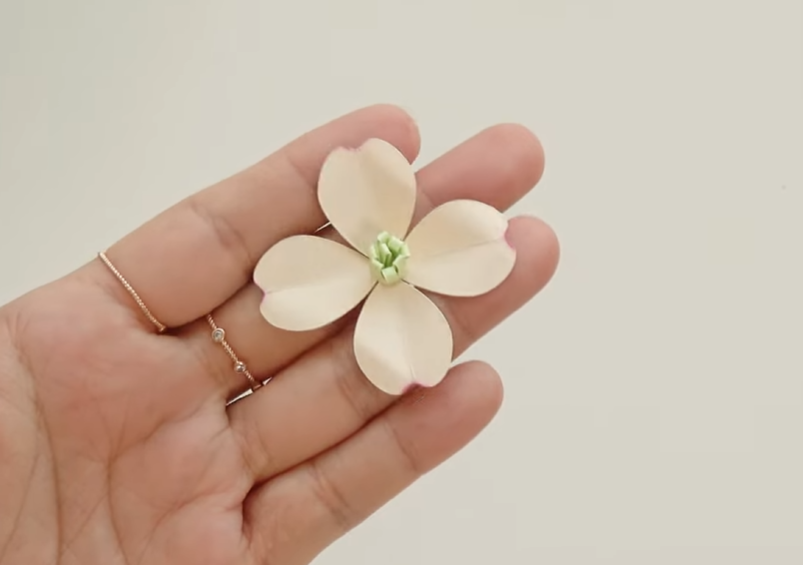
STEP.6⬆️
Attach the finished stamen to the center of the flower using a hot glue gun.
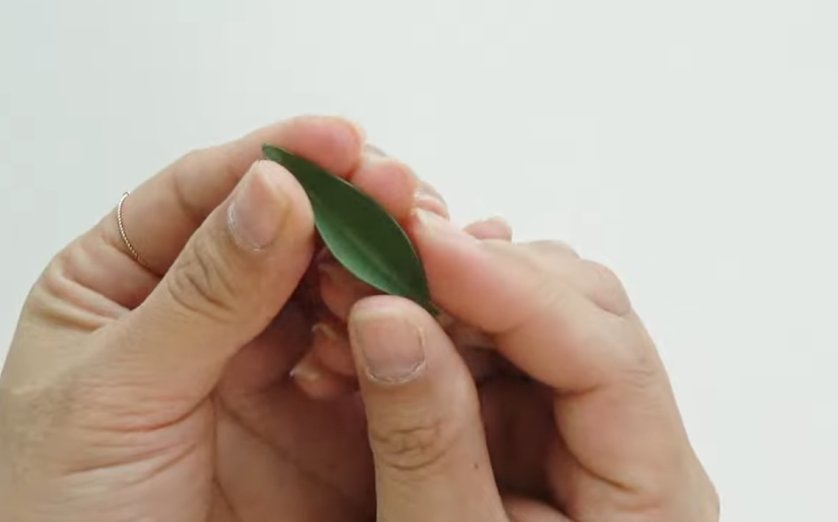
STEP.7⬆️
Fold each leaf in half, then gently unfold it.😊

STEP.8⬆️
First, attach the paper leaves to the wreath base. Then glue the dogwood flowers on top of the leaves.
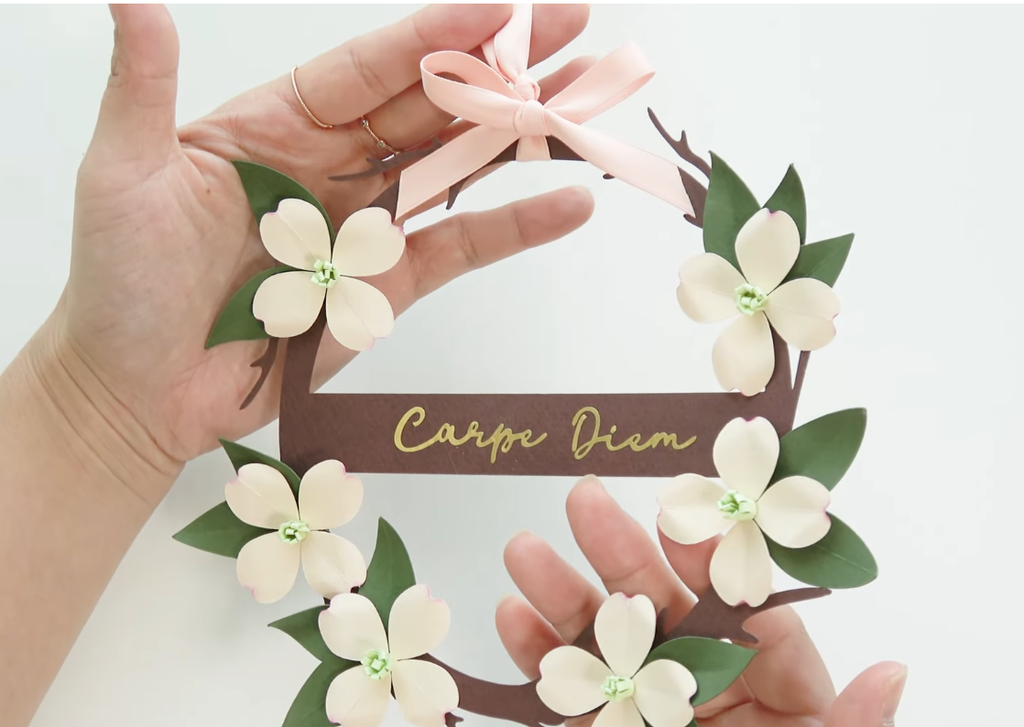
FINAL STEP⬆️
Attach the lettering to the wreath, then finish it off by tying a ribbon at the top. Your dogwood paper flower wreath is complete!❤️
Eva’s Tip
If you have a cutting machine, it makes cutting the paper pieces much easier. But if you don’t have one, these shapes are simple enough to cut by hand using scissors or a craft knife.
The lettering is a little more difficult to cut neatly with scissors or a knife. If you don’t have a cutting machine, you can use ready-made lettering stickers instead and simply choose a size that fits your wreath. 🙂
I used a hot glue gun because it’s quick and convenient, but wood glue works perfectly well too. If you use wood glue, hold each piece in place for about 30 seconds so it can bond securely.
Before gluing the leaves and flowers directly onto the wreath base, arrange all the pieces first and check the overall balance. Once you’re happy with the placement, glue them down. This little step makes it much easier to avoid mistakes. ^^😘
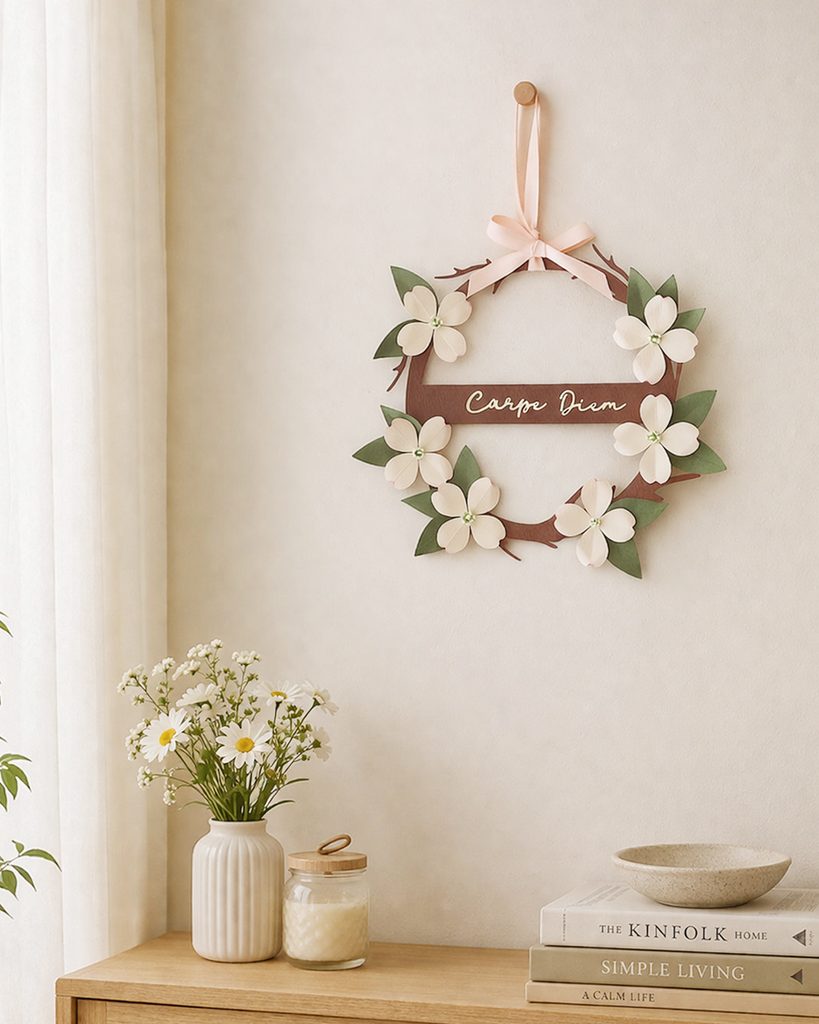
Isn’t it so pretty? Try hanging your paper flower wreath on a bedroom door or wall for a simple handmade touch. 😘
If you don’t have a Cricut or find it difficult to prepare all the materials, a DIY paper flower wreath kit is also available, so I hope you’ll give it a try. ^^

Leave a Reply