Hey, lovely bloom! Thanks for wandering into my little paper flower garden. 🌸
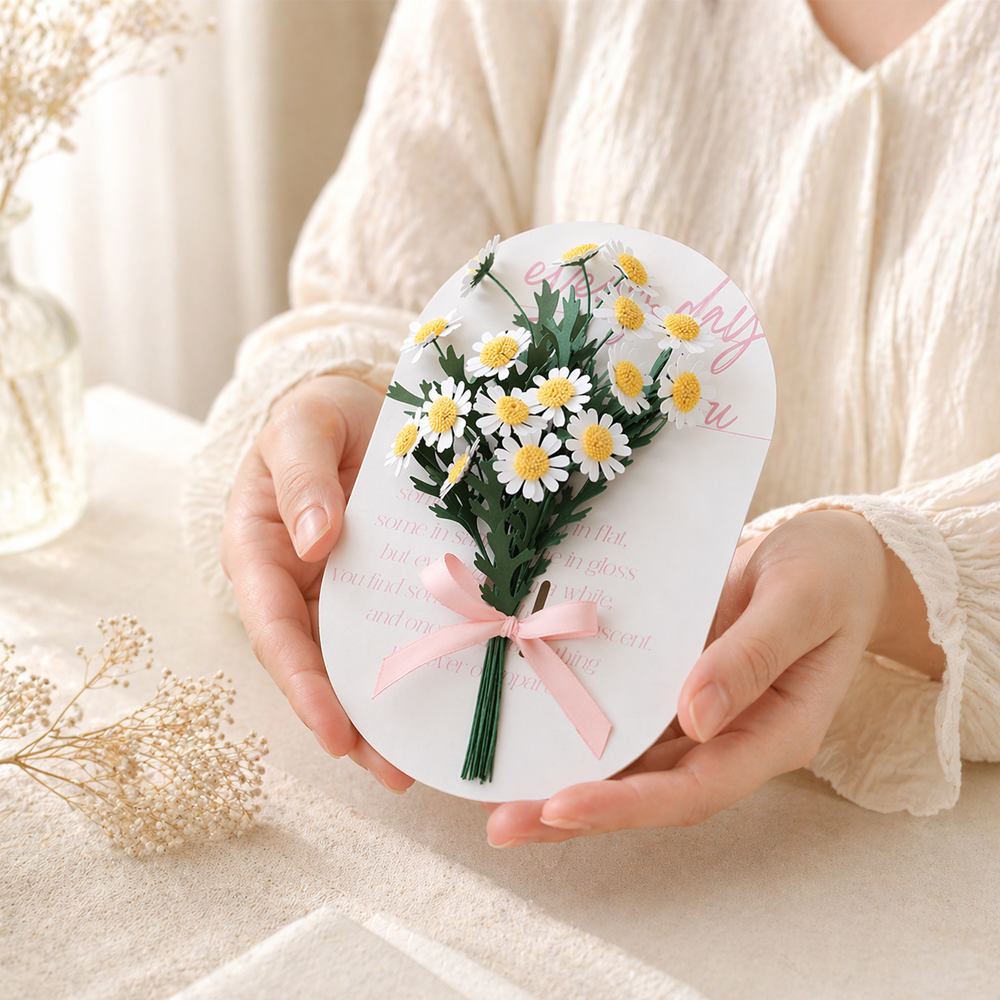
Difficulty: ★☆☆☆☆
Time Required: About 1–2 hours
Today, we’re going to make a daisy paper flower that’s easy and fun for anyone to try!
Daisies are a great choice if you’re making paper flowers for the first time because the shape is simple and beginner-friendly.
You can place your finished daisies in a small vase, or bundle them onto a backing card like I did to create a cute paper flower bouquet gift. 🌼
I also have a detailed YouTube video showing the full process step by step. If you follow the blog post along with the video, even complete beginners can create a beautiful handmade paper flower project. :)😘
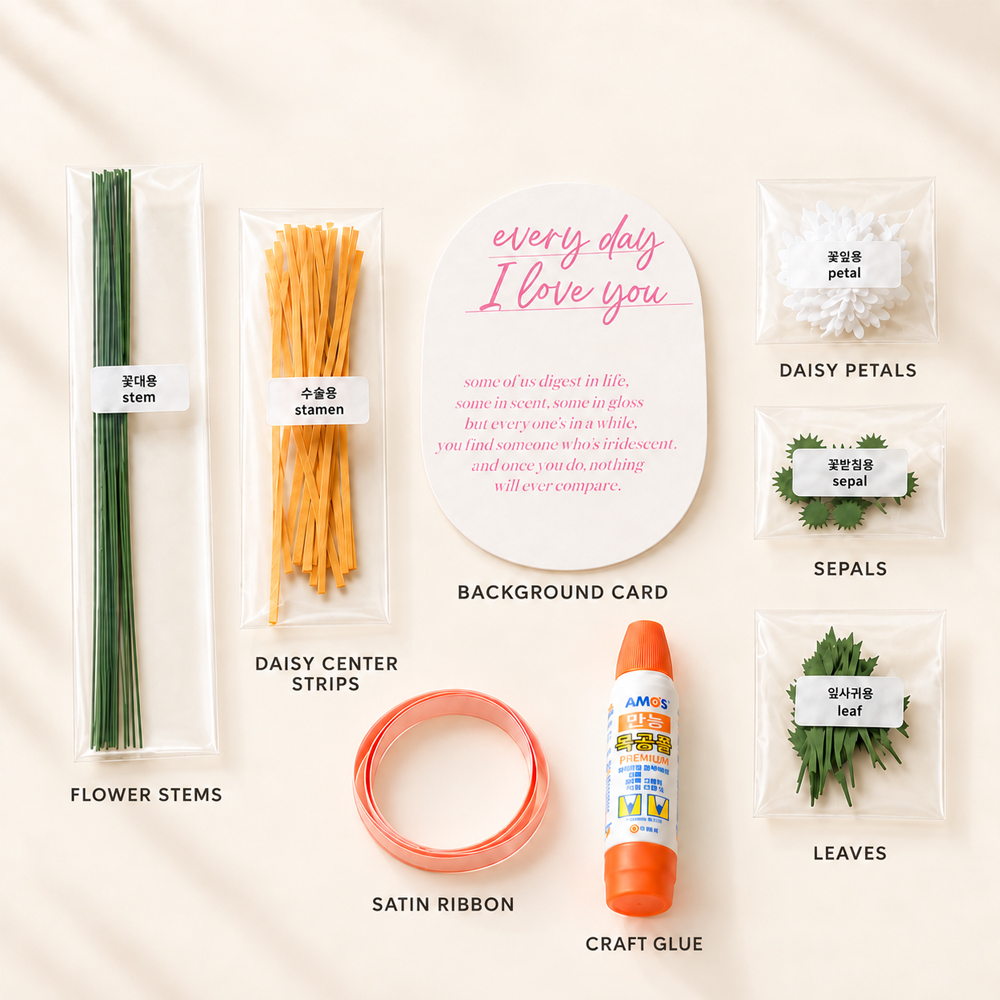
[Materials]
- Green 23-gauge floral wire
- 150–180 gsm yellow cardstock
- 150–180 gsm white cardstock
- 150–180 gsm green cardstock
- Background card
- Satin ribbon
- Wood glue
- Scissors
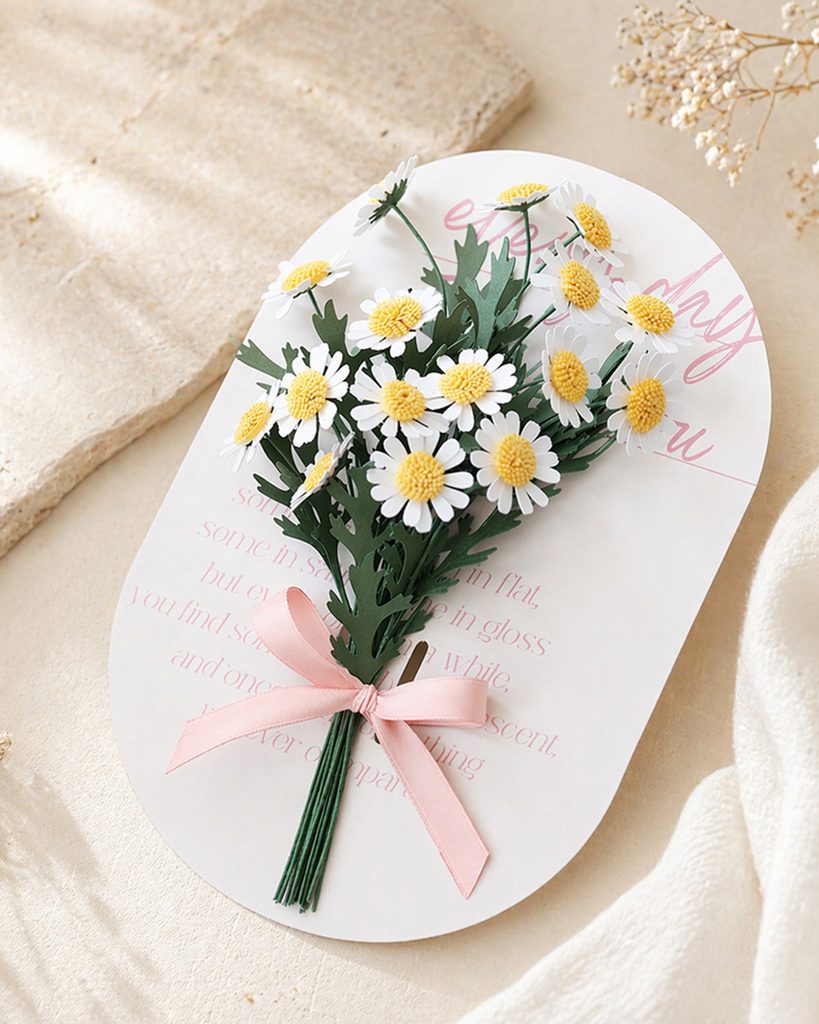
Today, we’re making a daisy paper flower that everyone will recognize. 🌼
Daisies have a simple flower shape, which makes them one of the easiest paper flowers to make.
For this project, I made the daisies in a mini size and arranged them into a cute mini paper flower bouquet.
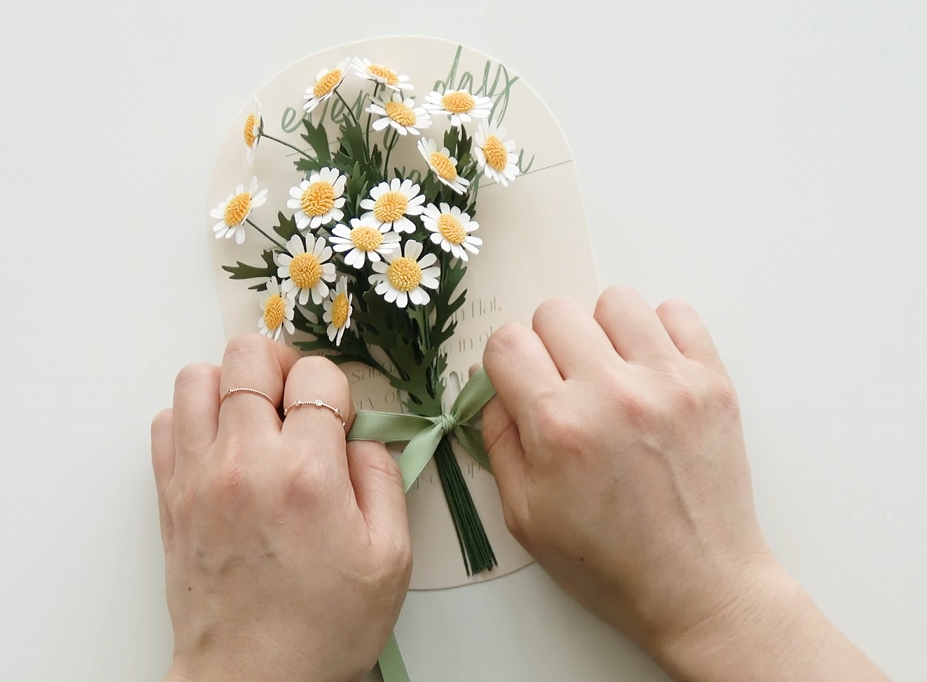
I tied the bouquet onto a message card with a pink satin ribbon to give it a soft, feminine, and lovely look.
You can write your own message on the background card, or use a plain kraft paper card and tie the bouquet with twine for a more natural style.
If you have a cutting machine, you can use it to cut the petals and leaves quickly and easily. But don’t worry if you don’t have one—you can still make this daisy paper flower bouquet by cutting the pieces with scissors.
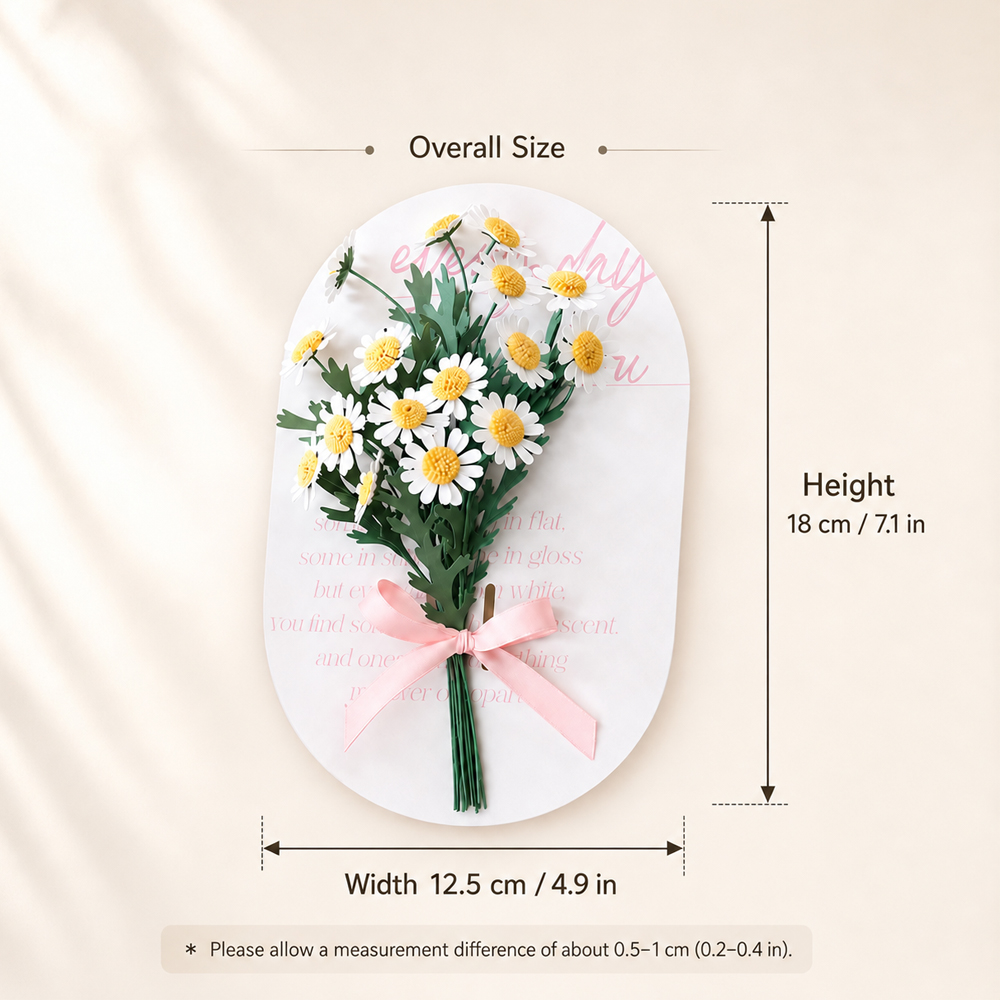
The finished piece measures about 12.5 cm (4.9 in) wide and 18 cm (7.1 in) tall, making it just slightly larger than an average woman’s palm.❤️
Shall we start making it? 🌼

STEP.1⬆️
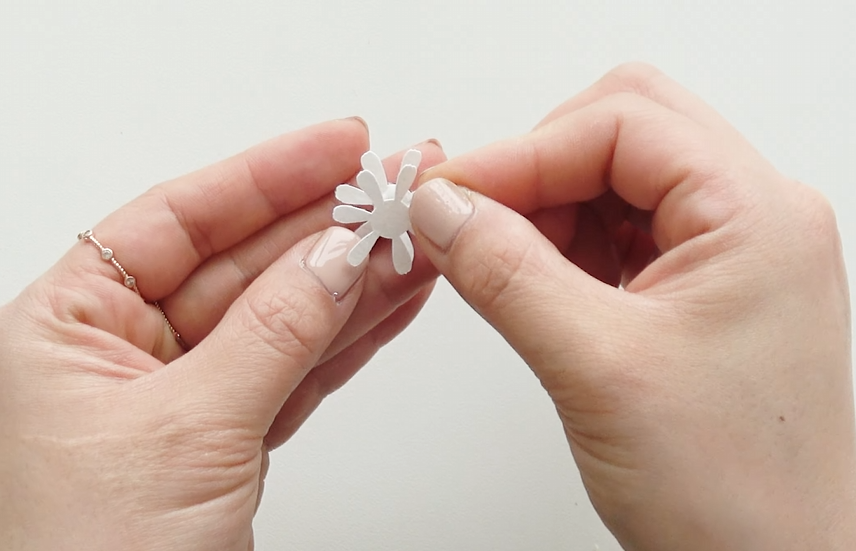
Cut the white cardstock into a flower shape with seven petals.😊
STEP.2⬆️
Glue the two flower layers together, offsetting the petals so they overlap between the gaps.
STEP.3⬆️
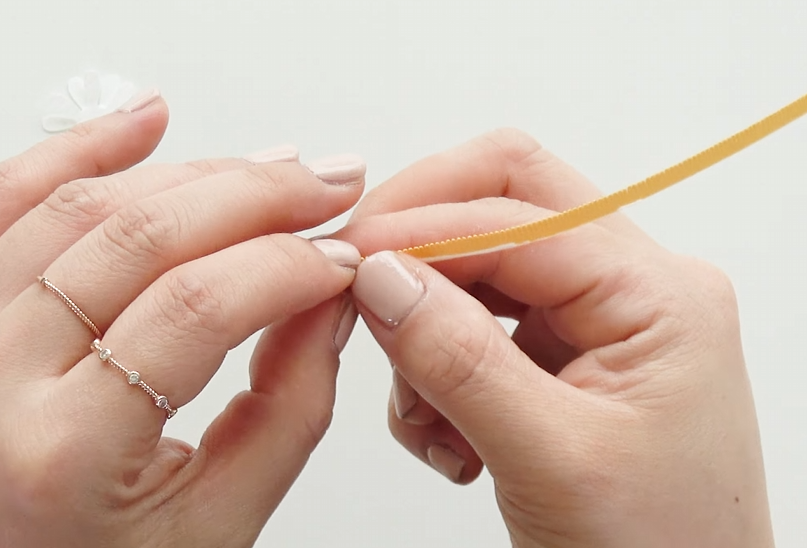
Cut the yellow cardstock into thin strips, leaving about 5 mm uncut along the bottom. Apply wood glue to the uncut edge, then roll it tightly into a small circle and secure it in place.

STEP.4⬆️
Attach the yellow flower center to the middle of the prepared petals.

STEP.5⬆️
Cut the green cardstock into a pointed sepal shape, then gently pull it along the scissors to create a slight curl.

STEP.6⬆️
Using long-nose pliers, bend the top of the green 23-gauge floral wire as shown in the photo.

STEP.7⬆️
Slide the sepal onto the floral wire.😘

STEP.8⬆️
Apply wood glue to the sepal and attach it to the bottom of the flower.

STEP.9⬆️
Cut the green cardstock into leaf shapes, then attach two or three leaves to each floral wire stem.
FINAL STEP😍⬆️
Make several daisy paper flowers, gather them together, and tie them with a ribbon to complete your mini paper flower bouquet.
Eva’s Tip
Use scissors to gently curl the paper leaves. Try curling them in slightly different directions to create a more natural look.
For a clean and balanced mini paper flower bouquet, it’s best to coordinate the color of the background card with the ribbon. If you use kraft paper as the background, I recommend tying the bouquet with natural twine.
After applying wood glue to the sepal and attaching it underneath the flower, hold it in place for at least 30 seconds so it can bond firmly.
Finally, gently bend some of the daisy paper flower petals slightly upward and downward. This small detail makes the finished flower look softer and more natural.
If you don’t have a Cricut or find it difficult to gather all the materials, don’t give up! I’ve also prepared a mini daisy paper flower kit with everything you need to make this project more easily. I hope you’ll give it a try and enjoy making your own cute daisy bouquet. ^^😍
Thanks for stopping by my little paper flower garden, my lovely bloom. 🌼 See you among the petals again!


Leave a Reply