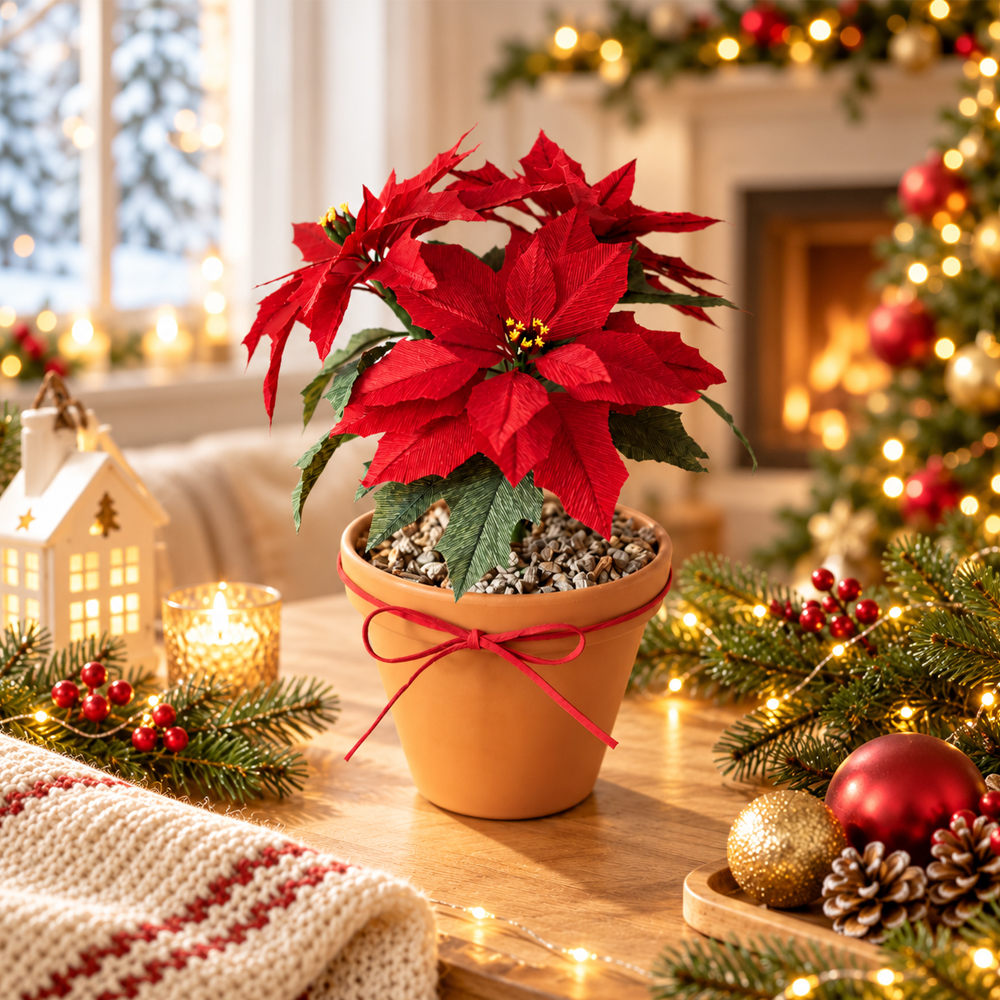
Hey, lovely bloom! Thanks for wandering into my little paper flower garden. 🌸
Christmas is just around the corner! 🎄^^
Just one poinsettia can change the atmosphere of your home. 🌺
Can you make a poinsettia yourself?
With Eva, you can make one yourself using crepe paper! ✂️^^
The poinsettia symbolizes blessings. ❤️
We all wish to be blessed! ^^
Today, we’re going to make a poinsettia, one of the most iconic Christmas flowers, using crepe paper. 🎄
Crepe paper poinsettias won’t wilt, right? 🌿
You can bring them out and decorate with them every Christmas! ^^
Try placing them in a flower pot or on a shelf. 🏡
They’ll become beautiful home decorations you can treasure for a long time.
Don’t buy ready-made decorations this year! 🎁
Make your own paper poinsettia flowers with your own hands. 🌺
You’ll feel a sense of accomplishment and happiness. ❤️
Your home will feel warmer and more welcoming. ✨
Because you made these flowers yourself, they’ll be more memorable than any other Christmas decoration. 🎄
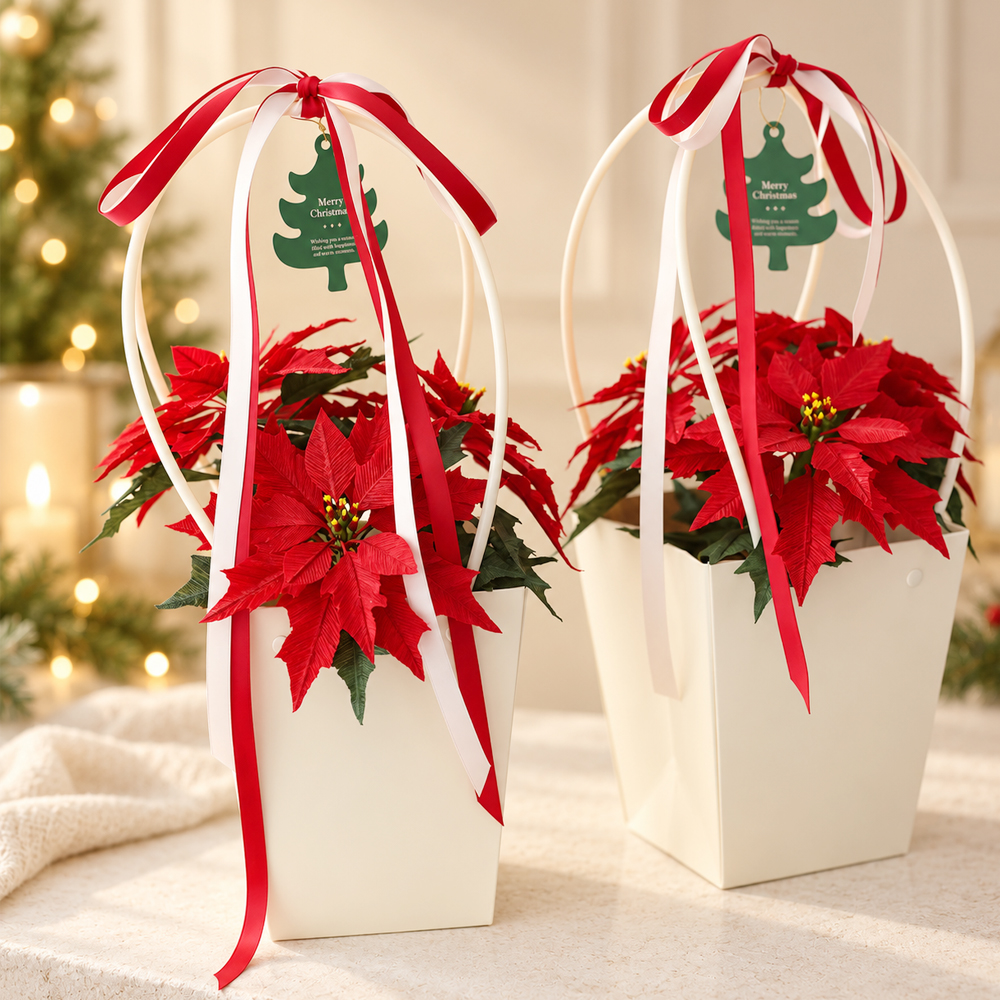
Difficulty & Time ⏰
- Difficulty: ★★☆☆☆ (Easy)
- Estimated Time: About 2 hours
“Can I really make flowers like these?” 🤔
There’s a detailed tutorial with helpful instructions and photos below. 📸
I’ve also shared a free YouTube video showing you how to make a poinsettia! 🎥
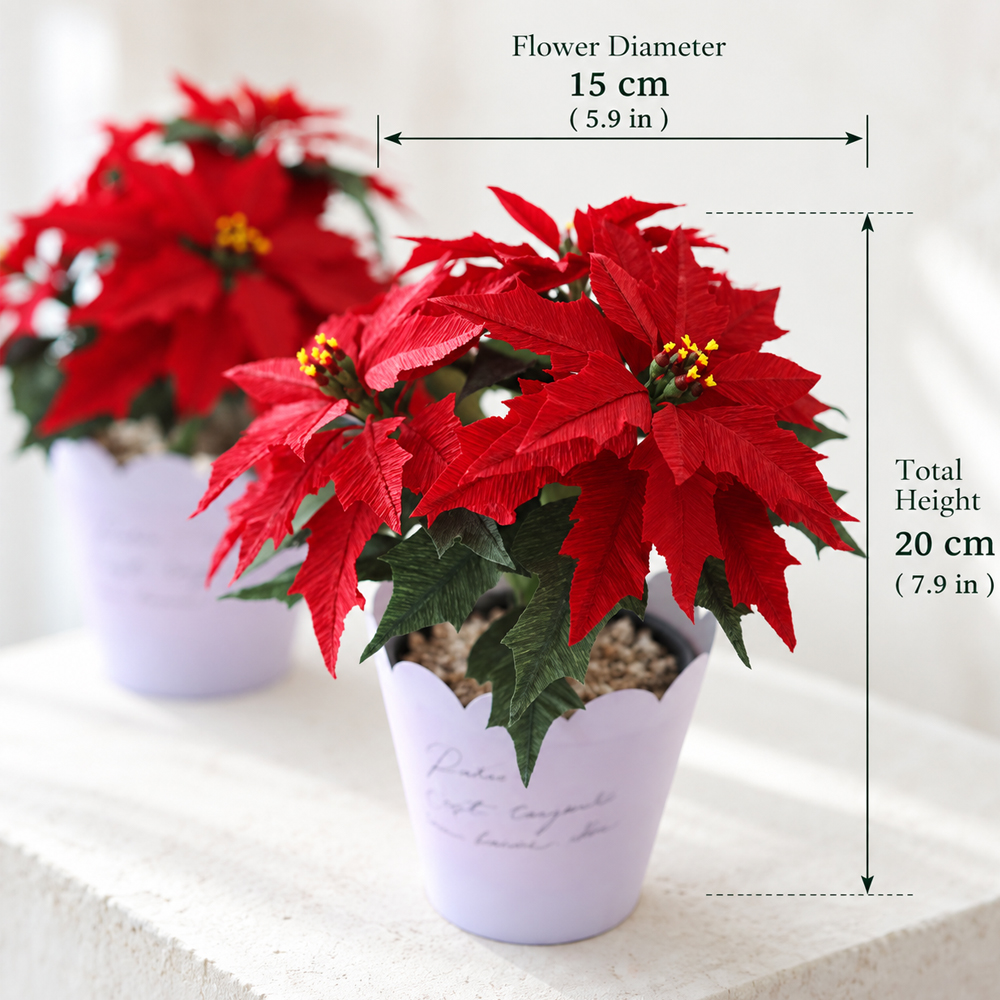
Finished Poinsettia Size 🌺📏
Here’s the size of the finished paper poinsettia flowers!
- Flower Diameter: Approximately 15 cm (5.9 inches)
- Overall Height: Approximately 20 cm (7.9 inches)
They’re the perfect size for decorating your living room table or dining table. 🏡✨
They don’t take up much space, but they still make a beautiful statement! ❤️
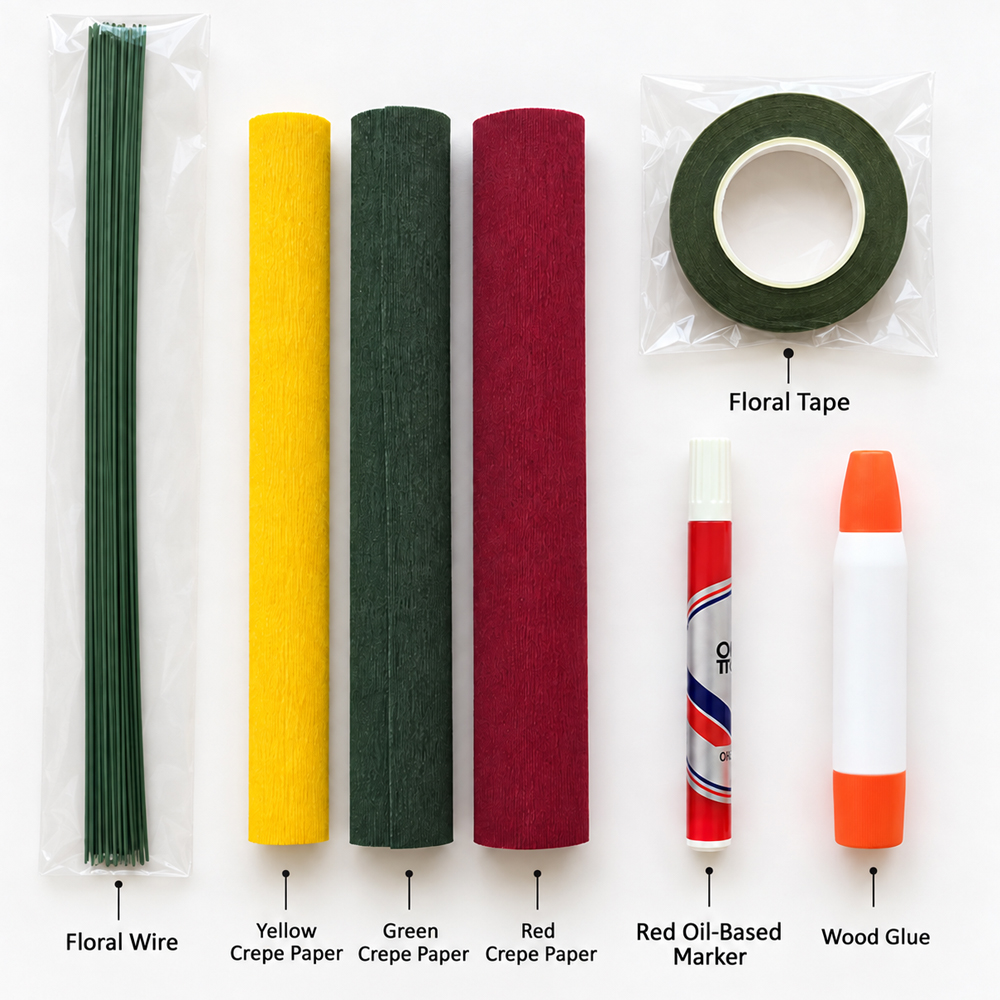
Materials You’ll Need ✂️🌺
- Poinsettia paper flower template
- Scissors
- Hot glue gun
- No. 23 green paper-covered floral wire
- 90 gsm green crepe paper
- 90 gsm yellow crepe paper
- 90 gsm red crepe paper
- Red permanent marker
- Green floral tape
- Thin wooden stick
- Wood glue (PVA glue)
Poinsettias have beautiful, clearly defined veins on their petals. 🌿
Their pointed edges are one of their most charming features!
For this project, I used 90 gsm Italian crepe paper to bring out the natural texture of the petals. ❤️
This paper flower doesn’t require any particularly difficult techniques.
Just remember these two things!
- Cut the petals into the correct shapes. ✂️
- Carefully trim small sections along the edges to create pointed tips.
That’s all you need to remember! 😊
The key is to recreate the distinctive pointed shape of poinsettia petals.
Next, make larger and smaller petals using the same method, then layer and glue them together one by one to create a full, beautiful poinsettia. 🌺
The process is simpler than you might think!
Even if you’re making paper flowers for the first time, you can create a beautiful, realistic-looking poinsettia you’ll be proud of! 🎄✨
How to Make Paper Poinsettia Flowers 🌺✂️
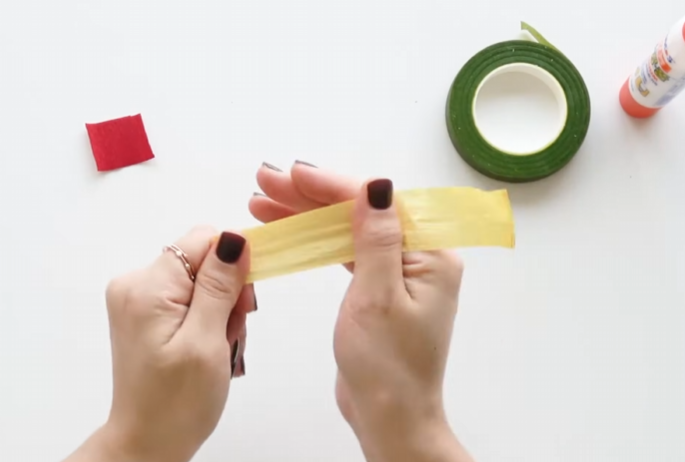
STEP.1⬆️
Cut the yellow and red crepe paper into suitable sizes, then stretch both pieces as much as possible.
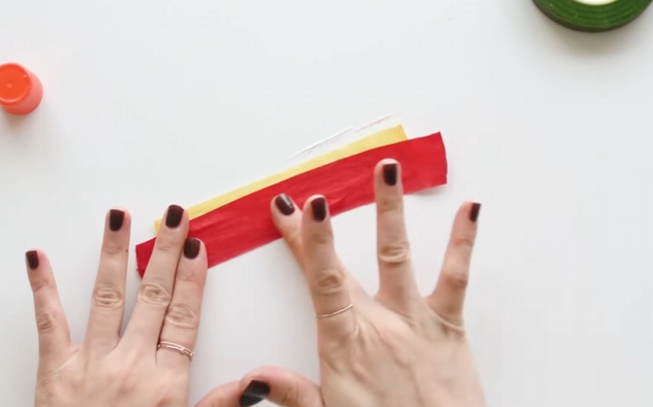
STEP.2⬆️
Glue the two pieces together, leaving about 3 mm (0.12 inches) of yellow paper visible above the red paper.
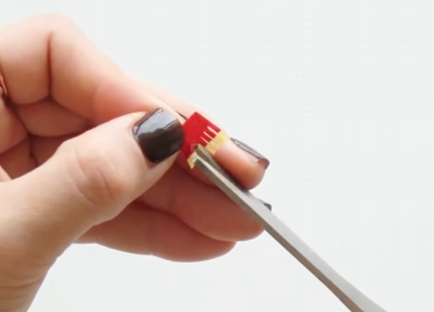
STEP.3⬆️
Cut the paper according to the stamen template. Then make thin cuts, leaving about 1 cm (0.4 inches) uncut at the bottom of the red paper. ✂️
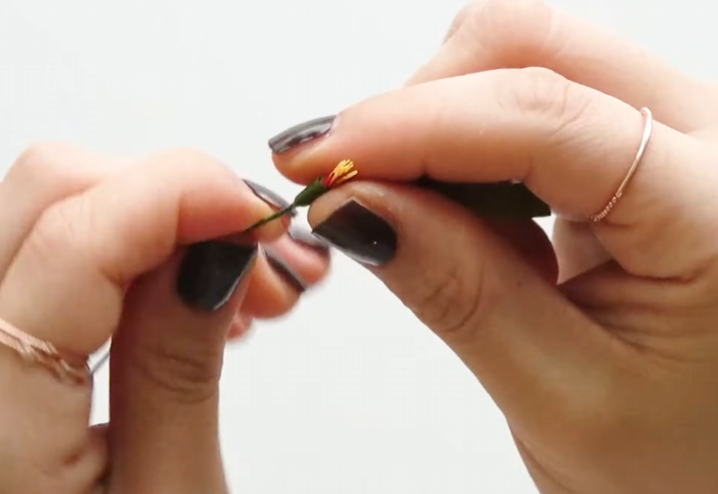
STEP.4⬆️
Wrap the prepared stamens around No. 23 paper-covered floral wire and secure them with floral tape. 🌿
STEP.5⬆️
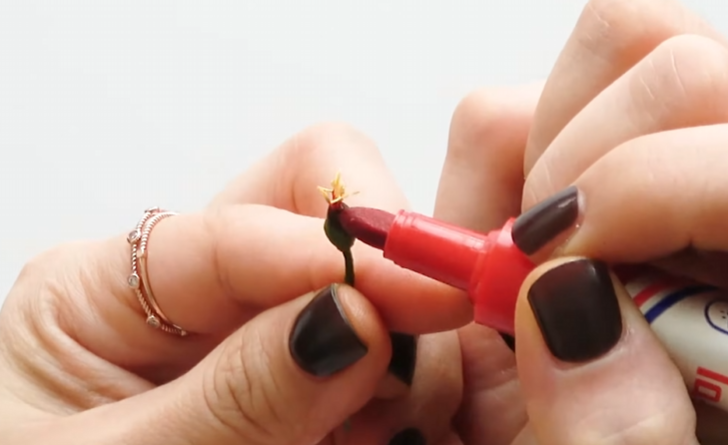
Use a red permanent marker to color the upper part of the area wrapped with green floral tape. ❤️
STEP.6⬆️
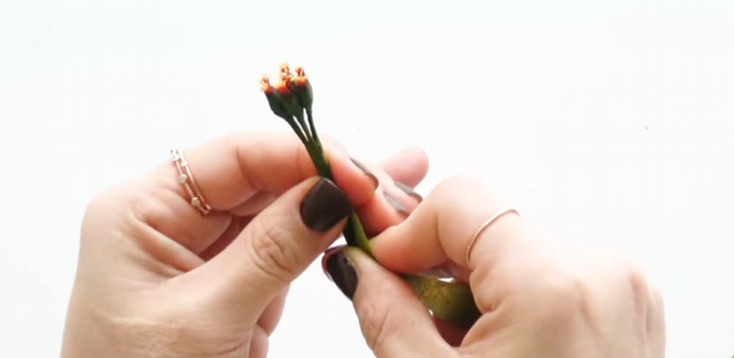
Make about 6–7 stamens using the same method, then gather them together.
STEP.7⬆️
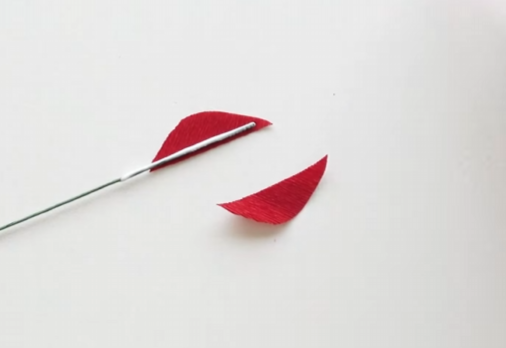
Cut the red crepe paper according to the petal template and glue No. 23 paper-covered floral wire along the edge of one petal piece. 🌺
STEP.8⬆️
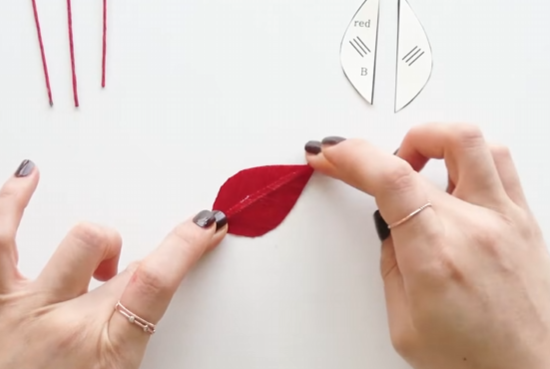
Glue the other half of the petal over the wire, covering it completely.
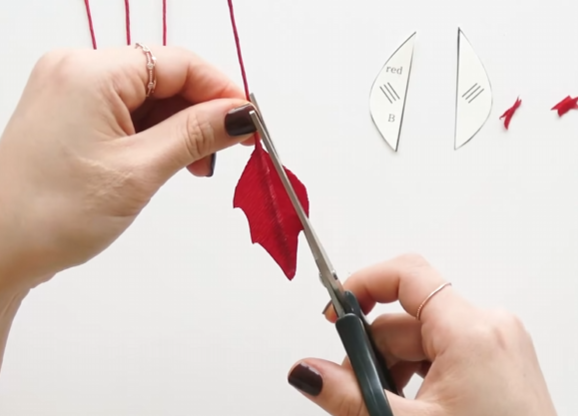
STEP.9⬆️
Carefully trim the edges of the petals as shown in the photo to create the distinctive pointed shape of a poinsettia. ✂️
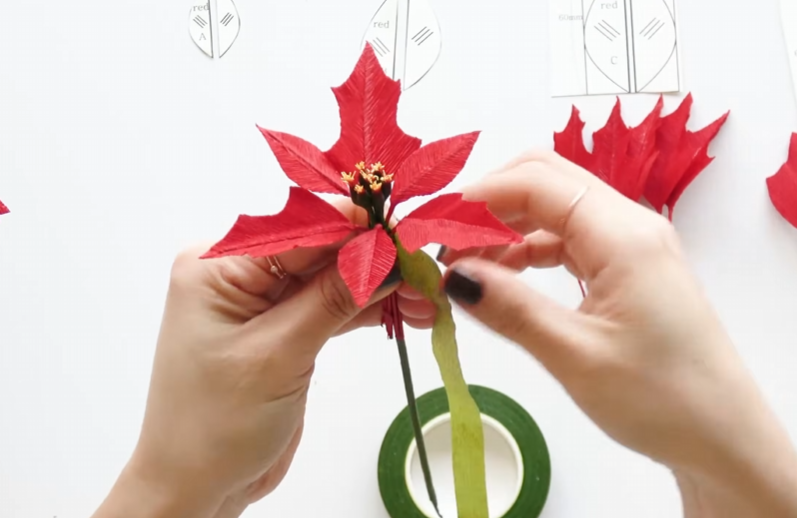
STEP.10⬆️
Attach the petals around the stamens, starting with the smallest petals first. 🌺
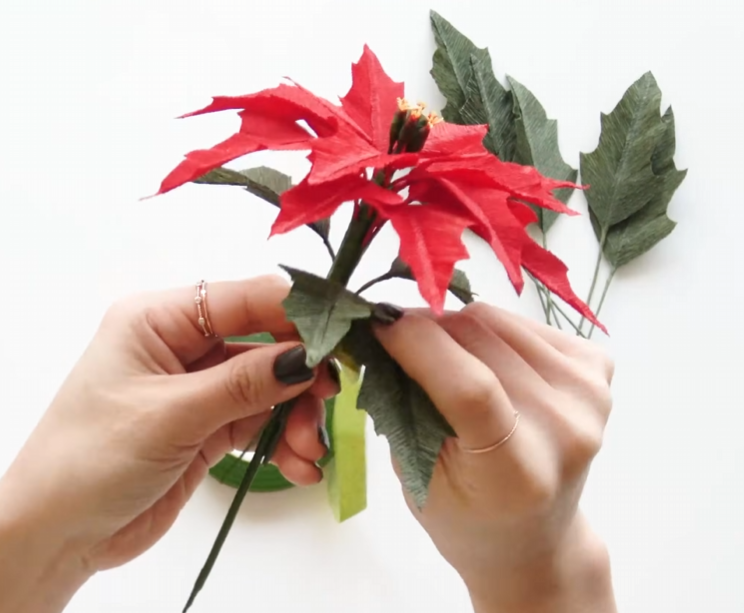
STEP.11⬆️
Use green crepe paper to make the leaves in the same way as the red petals, then attach them to the flower. 🌿
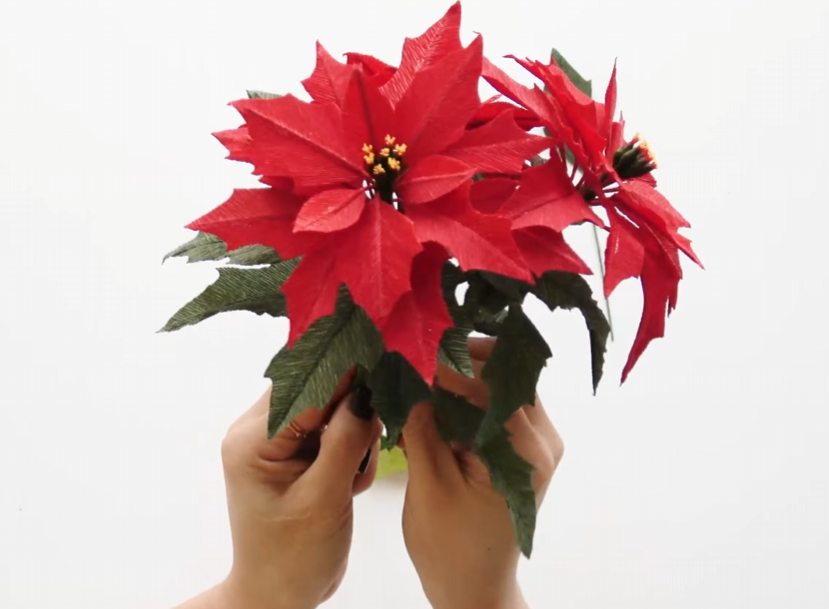
STEP.12⬆️
Make three poinsettia flowers using the same process, then combine them to complete your beautiful handmade Christmas decoration! 🎄❤️
Eva’s Tip 🌺✨
🌿 Wrapping the Stamens with Floral Tape
When wrapping the stamens with floral tape, press firmly with your fingers as you wrap.
This helps the tape stick closely to the stem, keeping the stamens securely in place and preventing the tape from coming loose.
✂️ Attaching Wire to the Edge of a Petal Half
Place the floral wire about 1 mm (0.04 inches) inside the edge of one half of the petal.
This way, the wire will stay hidden, even when you look at the petal from both the front and back.
💧 Use Only a Small Amount of Wood Glue
Avoid using too much wood glue. A little is enough!
After covering the wire with the other half of the petal, gently press the two pieces together for a moment.
This helps the glue bond securely and keeps the petal firmly attached.
🌺 Let the Petals and Leaves Look Natural
When trimming the edges of the petals and leaves, don’t worry about making every shape exactly the same.
Slightly different petal and leaf shapes blend together naturally, creating a fuller, more realistic-looking poinsettia, just like a real flower! 🌿❤️

Now you’re ready to enjoy a truly special Christmas! 🎄✨❤️
My lovely flower friends! 🌸💕
Your support means so much to me, and every pattern purchase is a huge encouragement that helps me keep creating and sharing these tutorials! ^^ ❤️
But what if you’re having trouble finding all the materials you need? 🤔
Don’t worry! I’ve also prepared an all-in-one DIY kit with everything you need in one package! 🎁✂️
So please don’t give up. Give it a try! 🌺
Create beautiful flowers with your own hands and enjoy the happiness of having something truly special that you made yourself.
I hope these handmade flowers bring more joy, creativity, and a wonderful sense of accomplishment into your life! 🌷✨❤️

Leave a Reply