Hey, lovely bloom! Thanks for wandering into my little paper flower garden. 🌸
Difficulty: ★★★☆☆
Time Required: About 1 hour for one flower
For several flowers and lily buds: About 3 hours
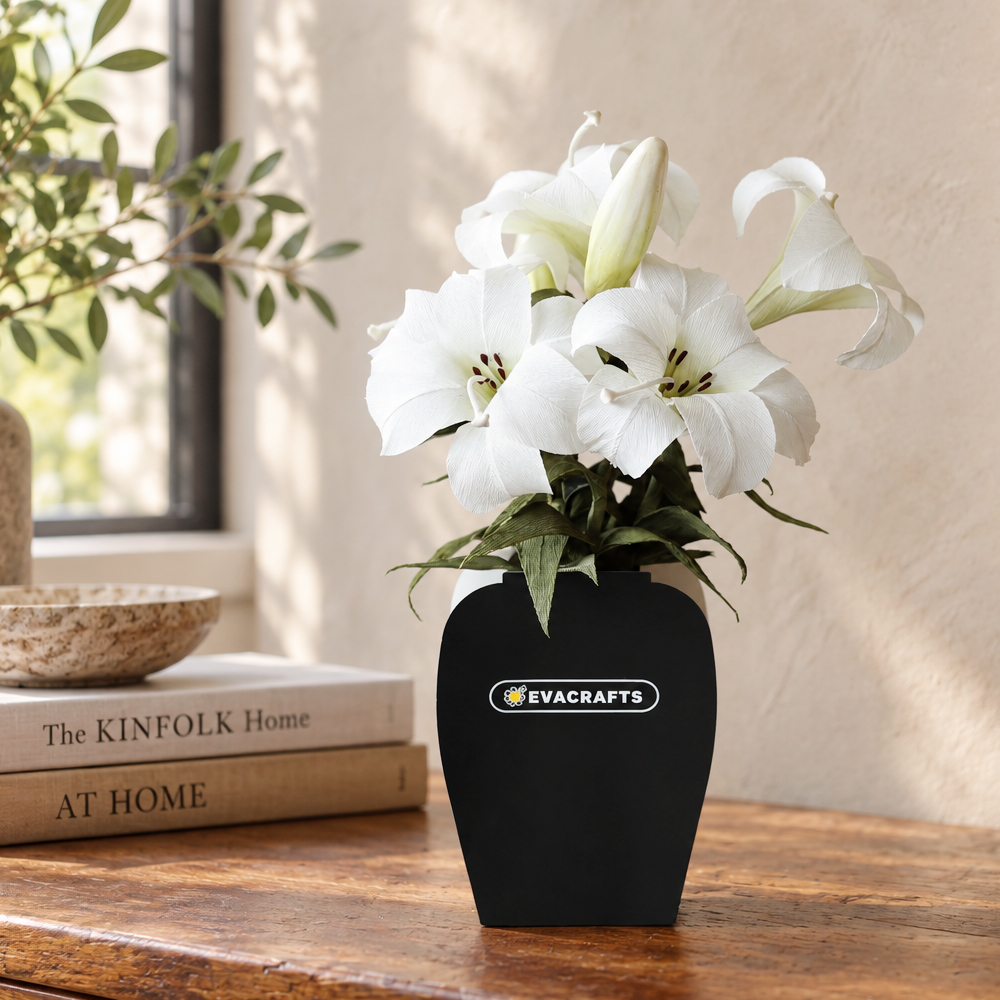
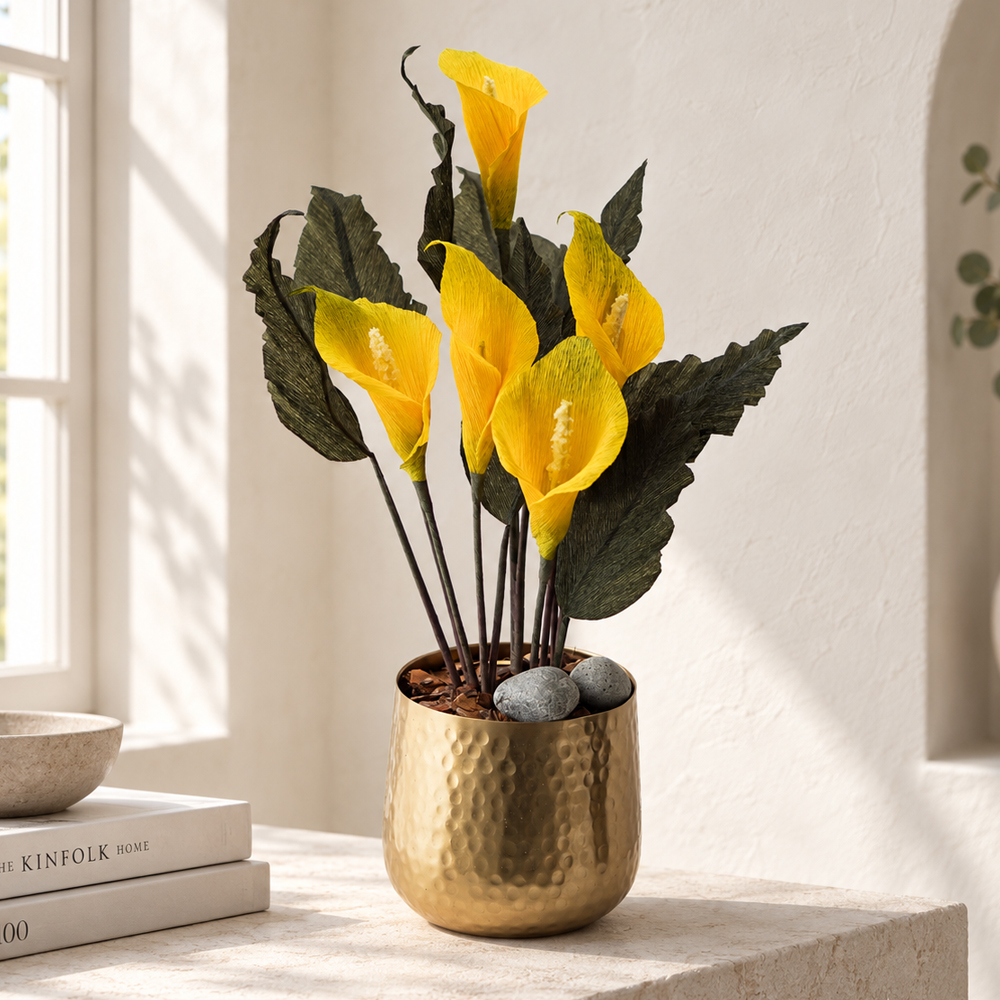
Today, we’re going to make an elegant crepe paper lily. 🤍
Lilies may look delicate and complicated, but they actually have only a few petals and a fairly simple structure, which makes them a great project for beginners.
If you follow my detailed YouTube tutorial together with the step-by-step instructions below, you’ll be able to create a beautiful and realistic crepe paper lily of your own.
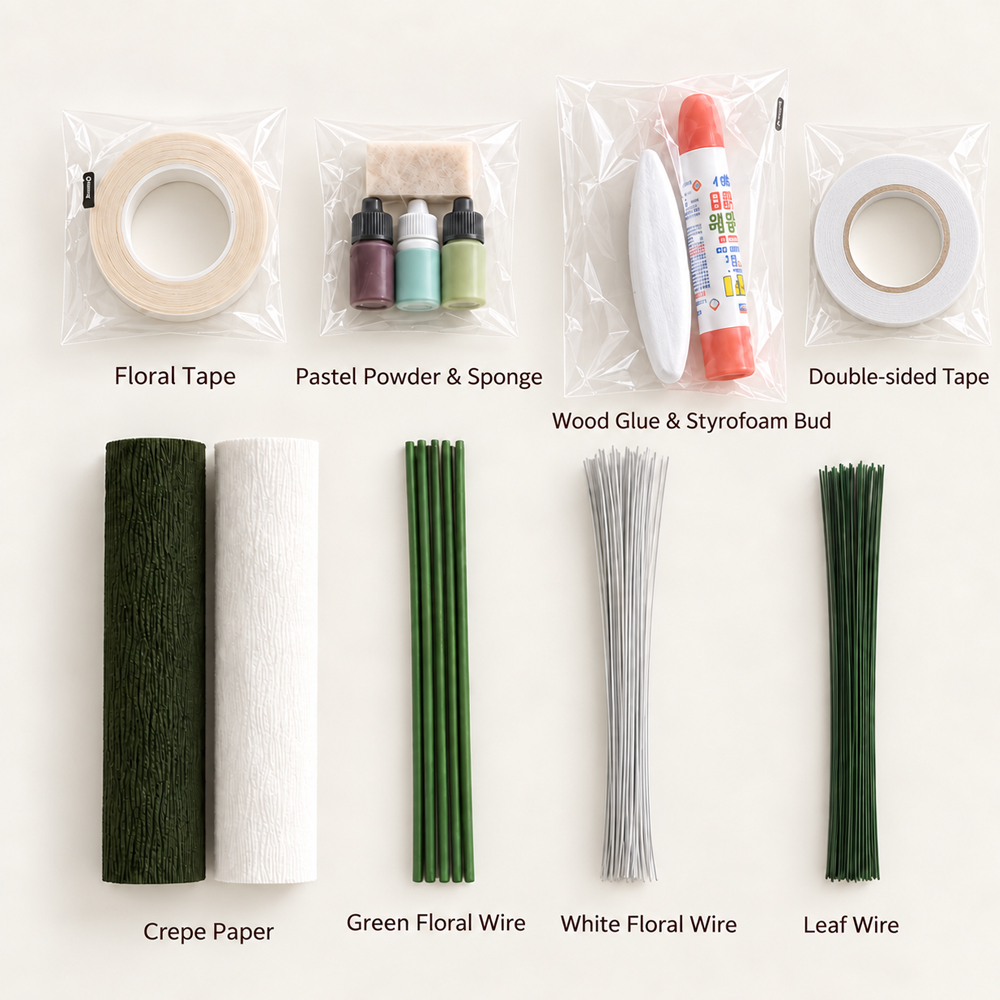
Materials
- Template
- Scissors
- Hot glue gun
- White 27-gauge paper-covered floral wire
- Green 23-gauge paper-covered floral wire
- 4 mm green flower stem
- 90 gsm white crepe paper
- 90 gsm green crepe paper
- Lily styrofoam bud
- White floral tape
- Double-sided tape
- Wood glue
- Wooden skewer
- Dark green pastel powder
- Light green pastel powder
- Brown pastel powder
- Sponge
Lilies are relatively simple to make because each flower has only six petals.
Compared with flowers that require lots of small petals to be attached one by one, a lily paper flower is much easier to assemble. You can attach the petals in two layers of three, which also makes it easier to keep the flower balanced and symmetrical.
Because floral wire is added to each petal, you can gently bend and shape the petals after assembling the flower. This makes it much easier to create the graceful curves of a real lily.
Lilies are often associated with lasting love, and white lilies in particular are commonly connected with pure love. That’s one reason I chose to make a white crepe paper lily for this project. I think it would also make a beautiful handmade flower gift for someone special.
Among the different lily colors, white lilies have such an elegant and graceful look, so I thought they would be perfect for this tutorial.
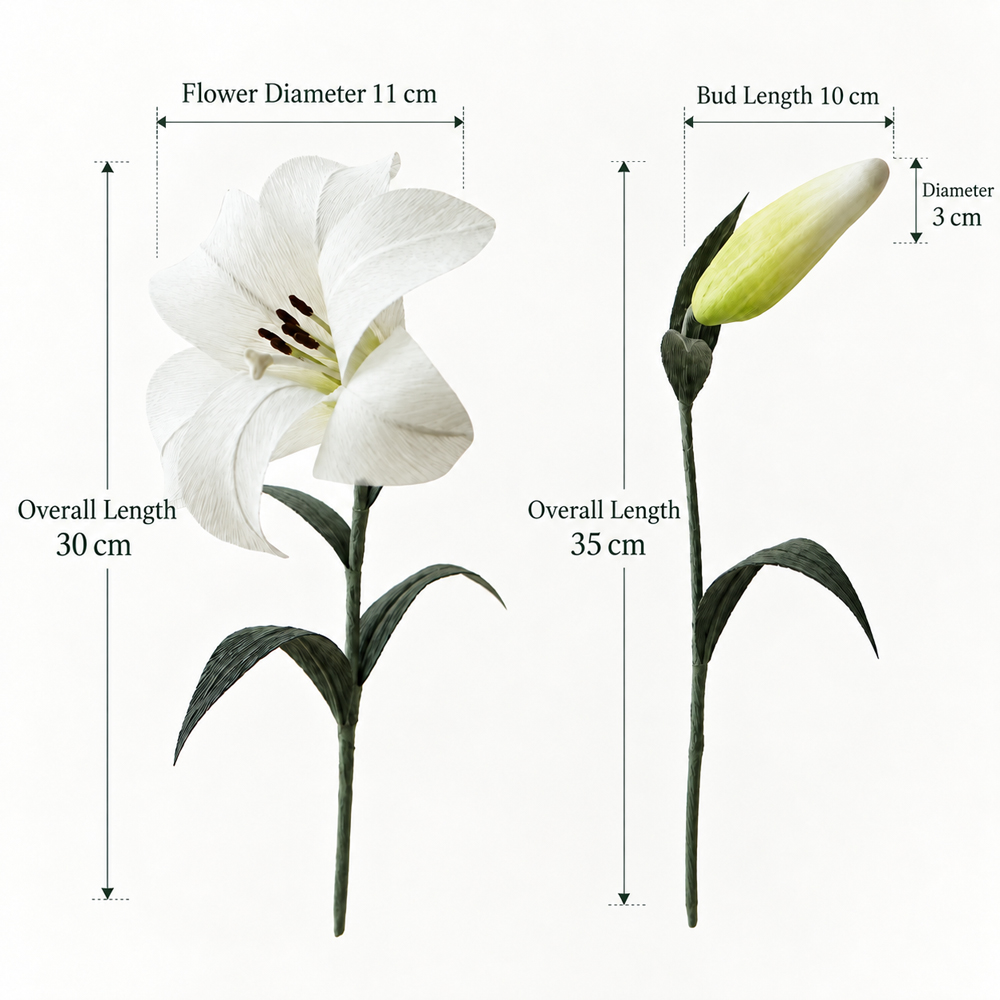
If you don’t have a styrofoam lily bud, you can make your own using tissue. Roll and shape the tissue until it is about 10 cm long and 3 cm in diameter, then use it as the base for your lily bud.
For the leaves, I used double-sided tape because I wanted to make them with two layers of crepe paper. If you don’t have double-sided tape, you can use water-based glue instead.
Below is the size of the crepe paper lily we’ll be making together. I created it while looking at a real lily, so the finished flower is close to the size of a natural lily. ^^😍
Shall we start making it? 🤍
STEP.1⬆️
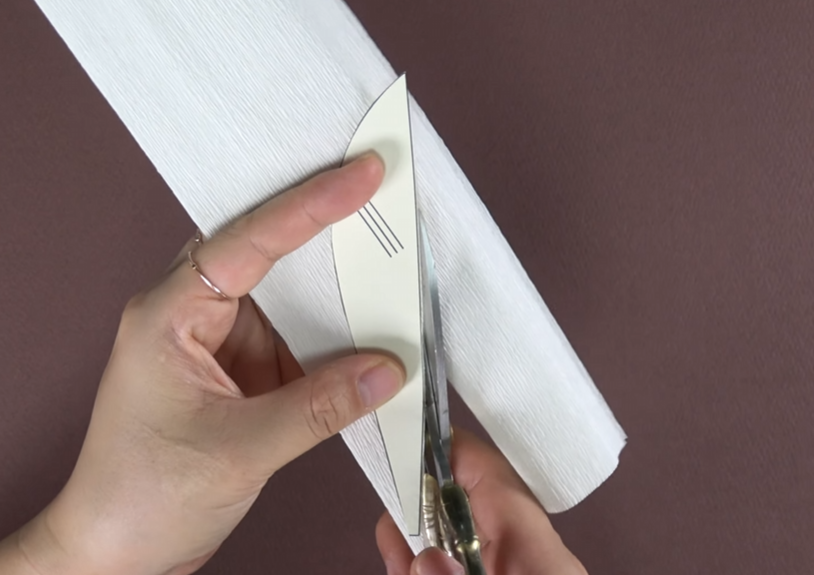
Cut the white crepe paper according to the lily petal template.
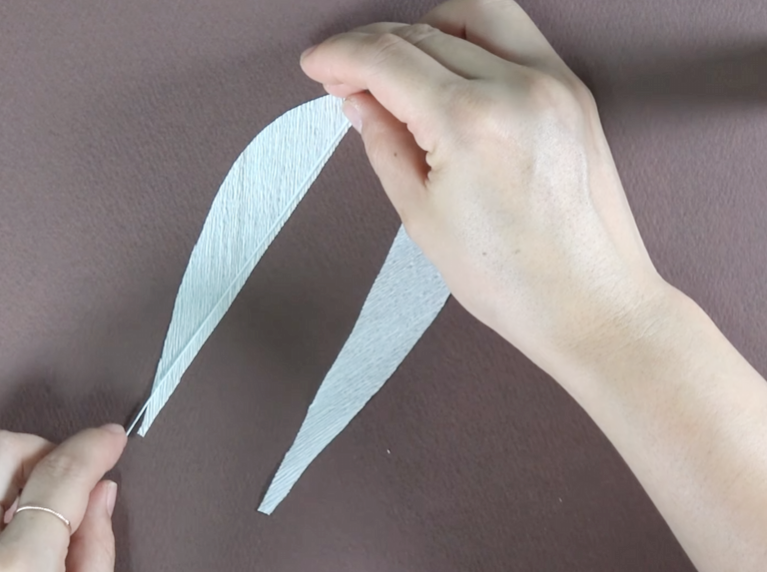
STEP.2⬆️
Cut two pieces of crepe paper and place them so the grain forms a V shape. Insert a piece of 27-gauge wire between the two layers and glue them together.
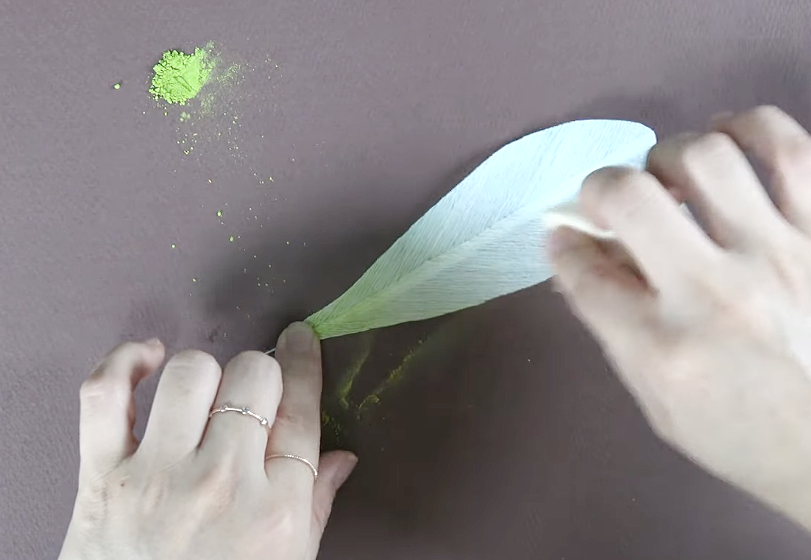
STEP.3⬆️
Apply light green pastel to the lower part of the petal. Make six lily petals in the same way.
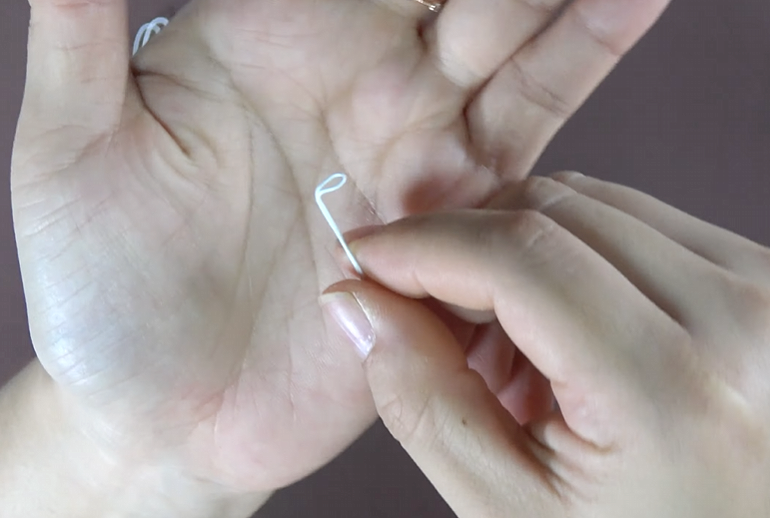
STEP.4⬆️
Fold a piece of white 27-gauge wire in half. Use a thin wooden skewer to curl the folded end into a small loop, as shown in the photo.
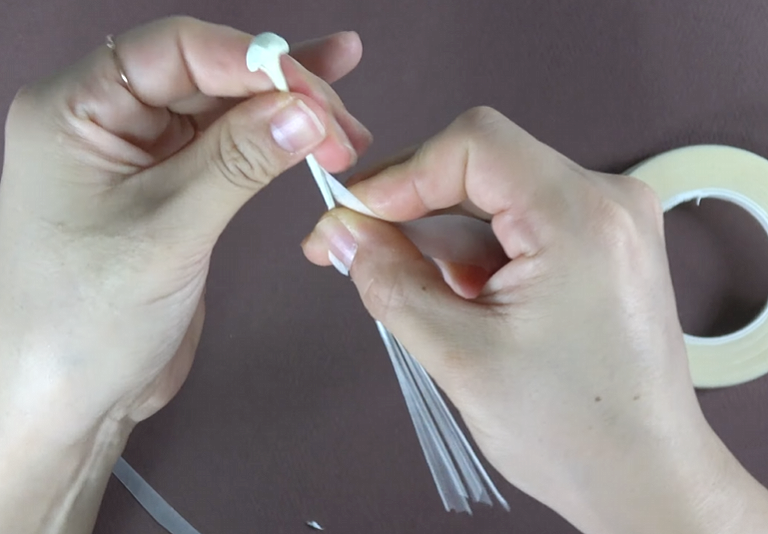
STEP.5⬆️
Make three of these and join them together using white floral tape.
STEP.6⬆️
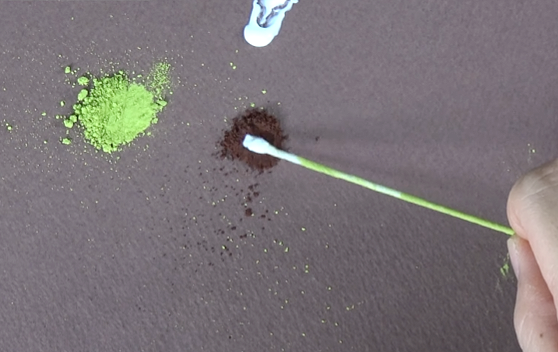
Wrap white floral tape around a green 23-gauge paper-covered floral wire. Add light green pastel to the lower part, then apply wood glue to the tip and coat it with brown pastel powder.
STEP.7⬆️
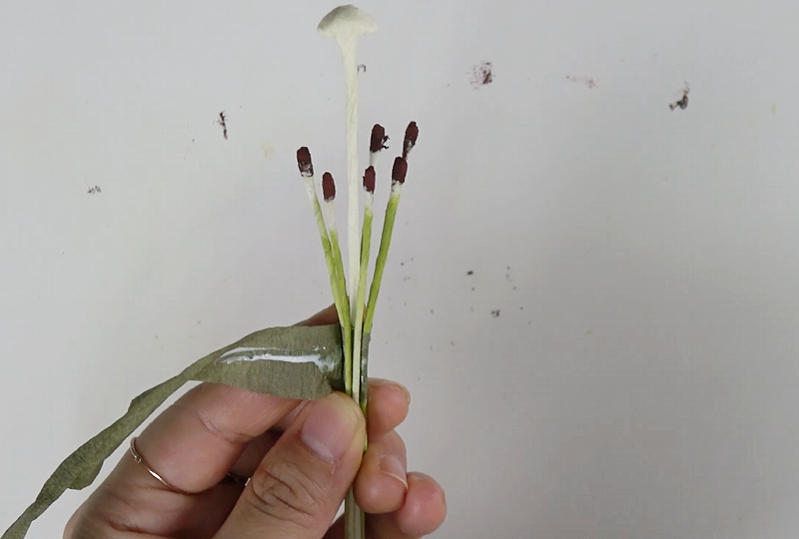
Attach six stamens around the prepared pistil.😘
STEP.8⬆️
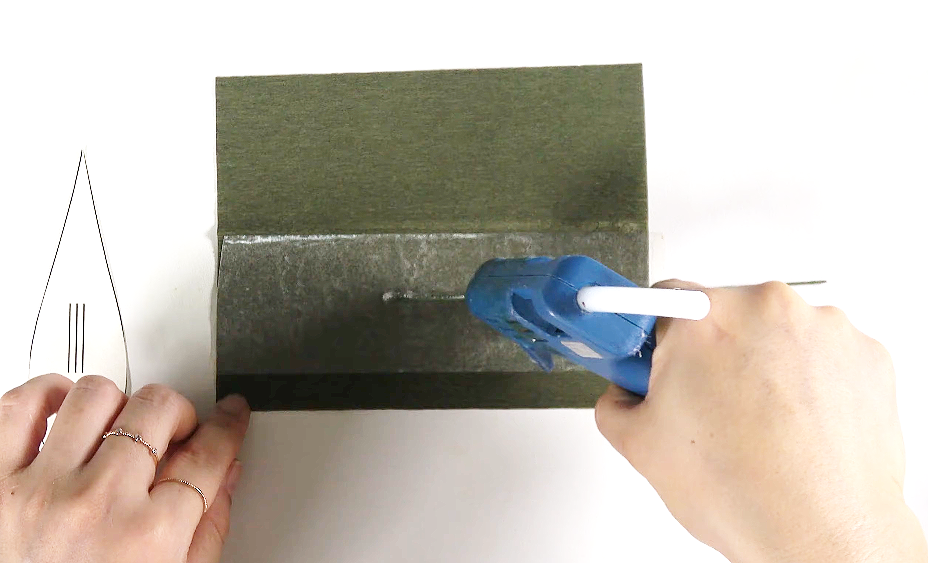
Apply double-sided tape to the green crepe paper. Place a green floral wire so it reaches about halfway up the leaf, add hot glue, then fold the crepe paper in half and press the layers together.😍
STEP.9⬆️
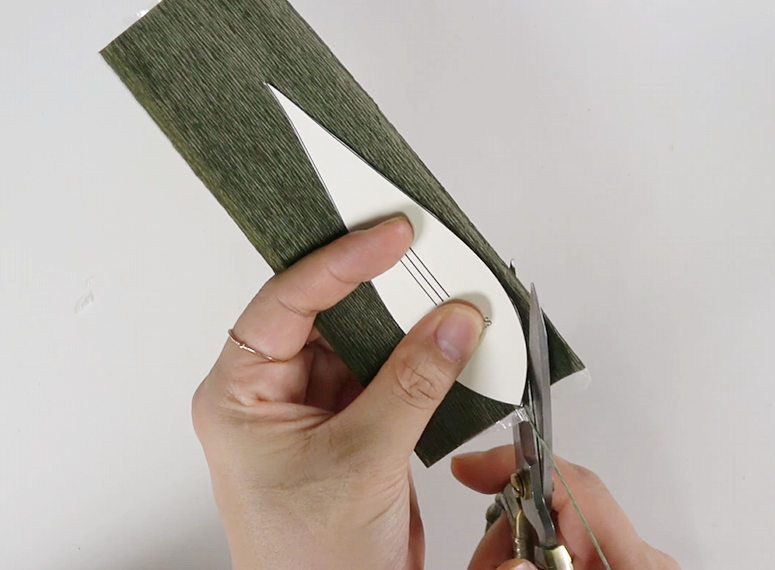
Cut the crepe paper to match the lily leaf template.😊
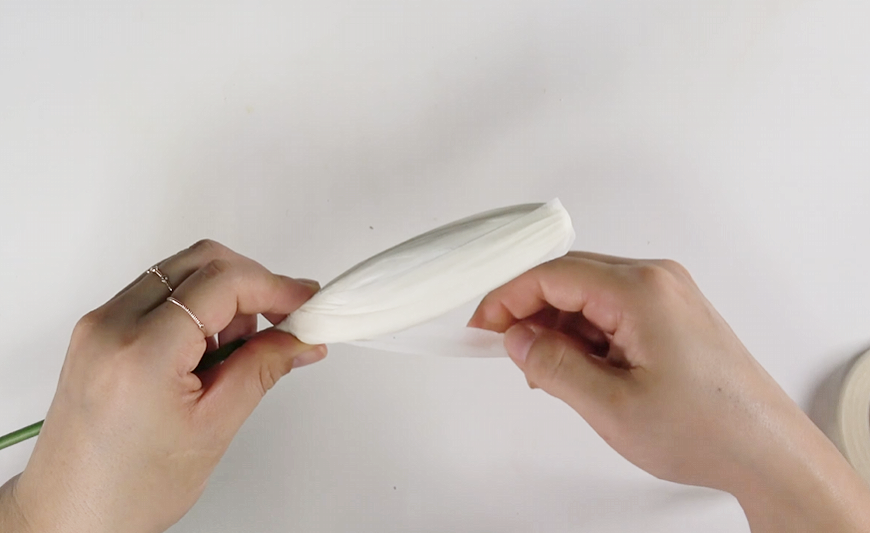
STEP.10⬆️
Wrap white floral tape around the styrofoam lily bud.
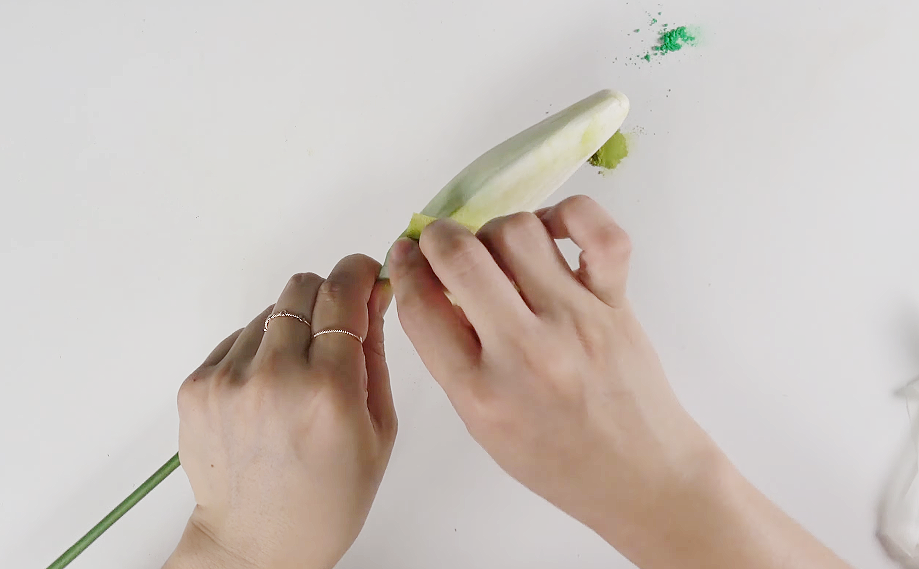
STEP.11⬆️
Apply light green pastel powder to the lower part of the lily bud.😘
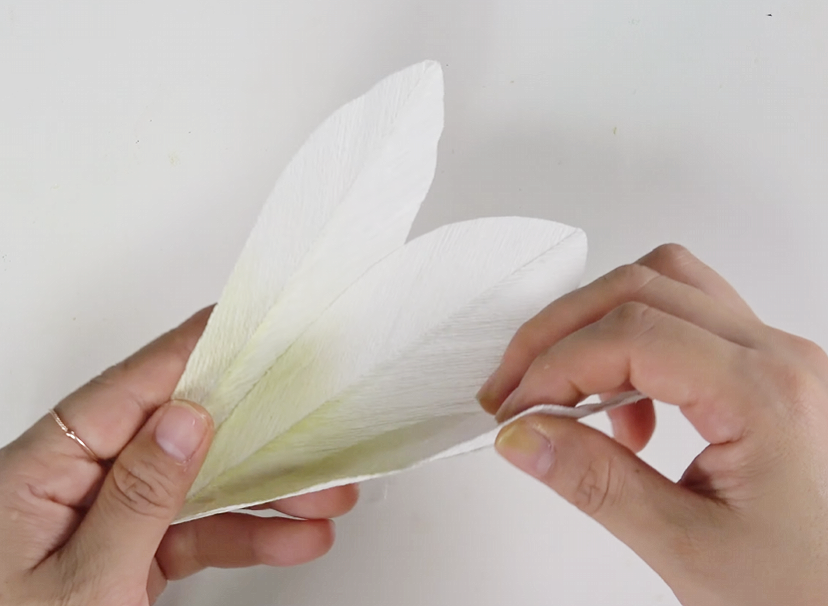
STEP.12⬆️
Apply hot glue along the edges of three prepared petals, connect them together, then roll them into a rounded shape and secure them in place.
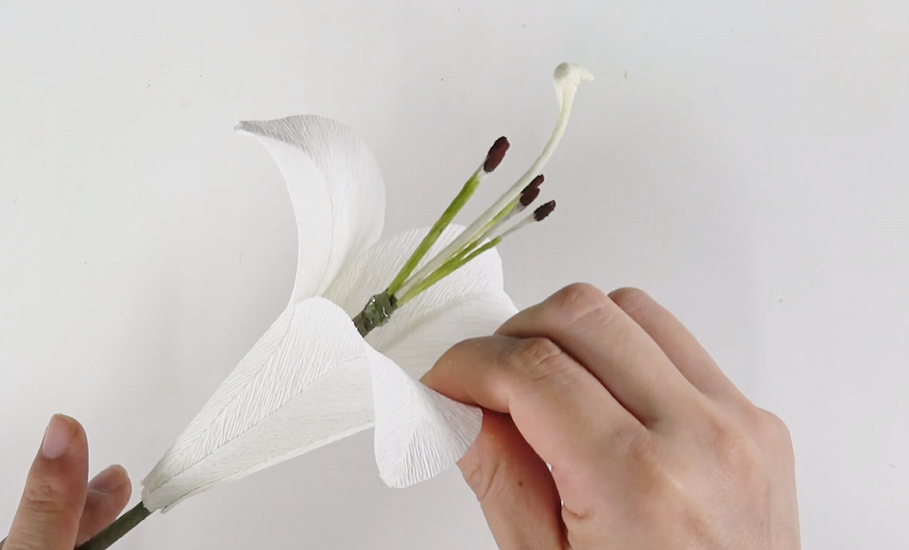
STEP.13⬆️
Insert the pistil and stamens into the center of the petals and glue them in place.❤️
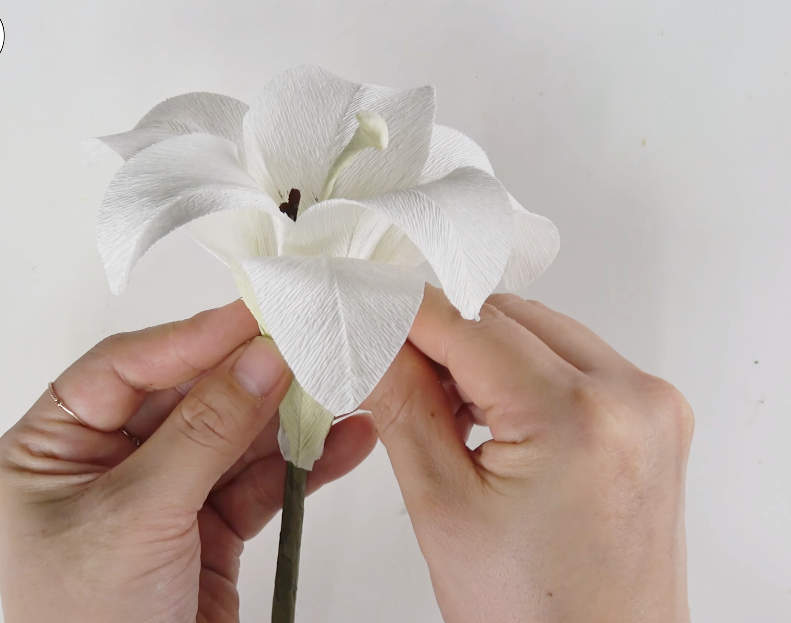
STEP.14⬆️
Attach three more petals between the gaps of the first layer of petals.
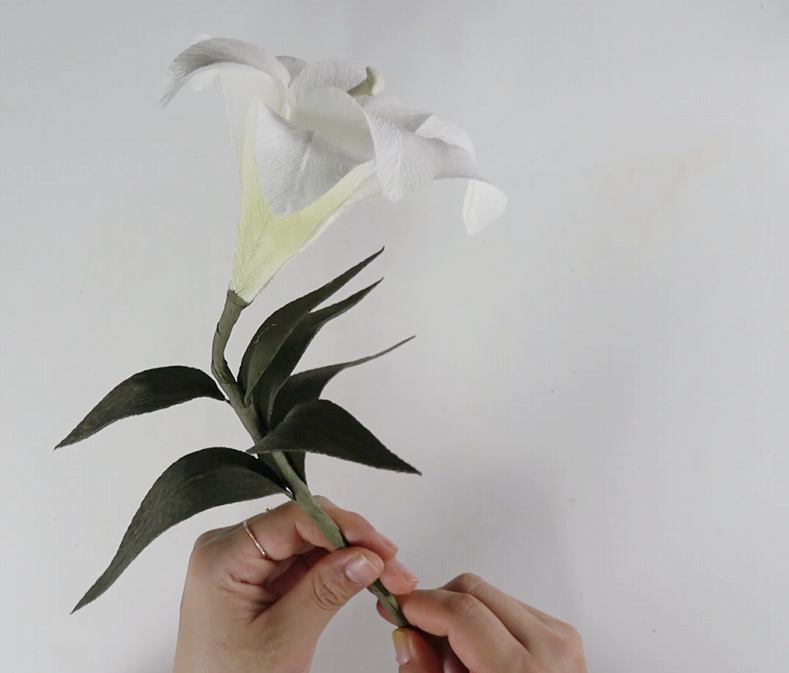
STEP.15⬆️
Attach the prepared leaves along the stem to complete your crepe paper lily.😍
Eva’s Tip
When applying pastel powder to the petals and lily bud, build up the color gradually with several light layers. This helps prevent the powder from clumping and gives you a softer, more natural finish.
When making double-layered leaves, press and rub the two layers together firmly so they stay securely bonded and don’t separate later.
And whenever you cut or shape crepe paper, make sure the grain direction of the paper matches the direction shown on the template. This small detail makes a big difference in how naturally your crepe paper lily turns out. ^^

Today, we made an elegant crepe paper lily that looks almost like a real flower.
Because this paper lily never wilts and doesn’t need water, it can make a meaningful handmade gift or a beautiful decoration for your room. I hope every time you look at your finished flower, you’ll feel proud of what you created. 🙂
And if you purchase the template, it really helps support the work I put into creating and sharing these tutorials. If gathering all the materials feels difficult, I’ve also prepared a carefully made lily paper flower kit, so don’t give up. I hope you’ll enjoy the process and experience the satisfaction of creating something beautiful with your own hands.
Try Making This Too 🌸
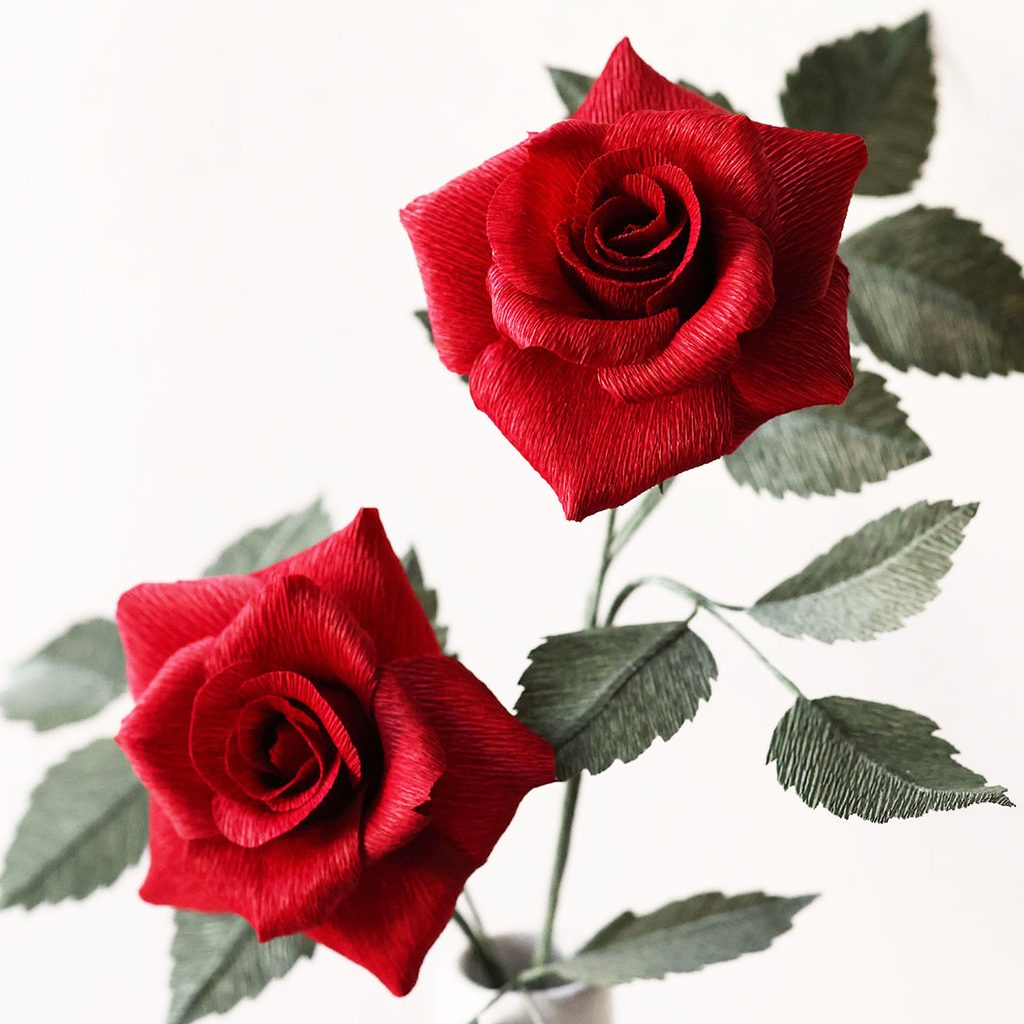
How to Make a Realistic Crepe Paper Rose 🌹
Create a beautiful handmade rose with realistic layered petals.
Leave a Reply