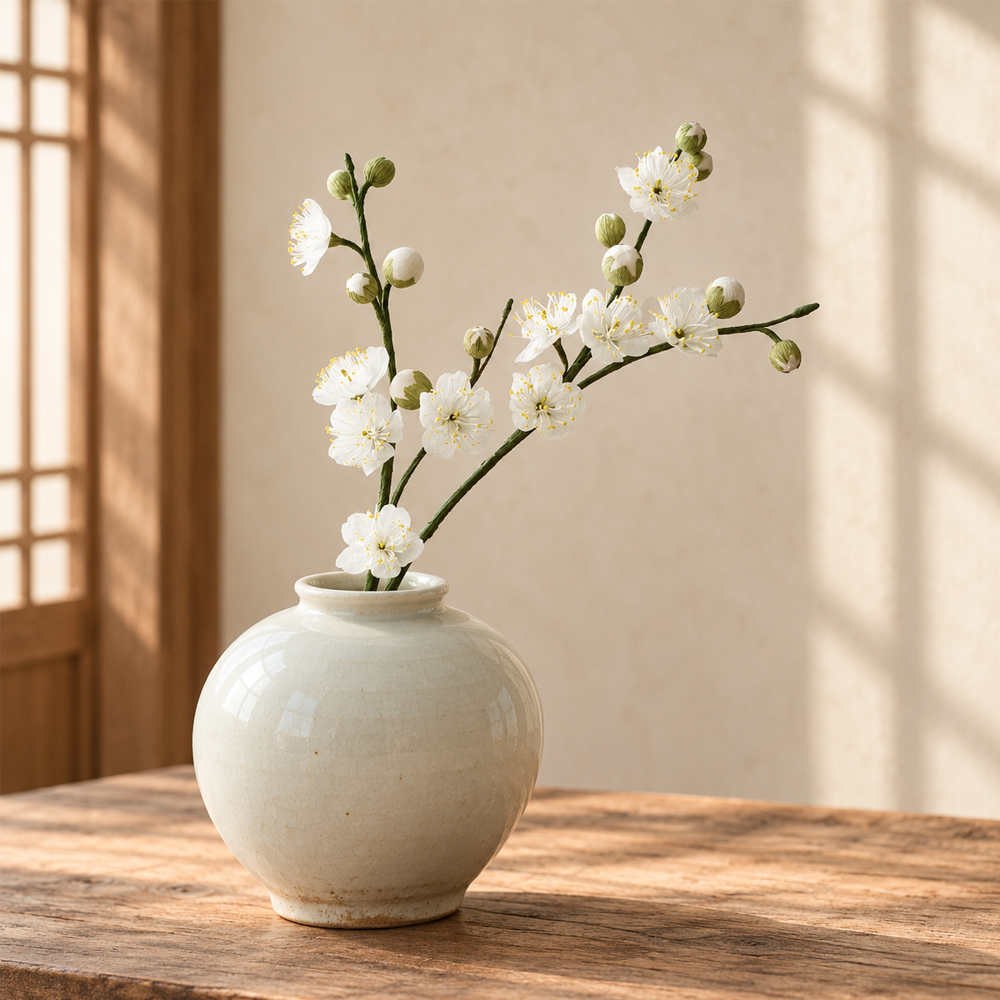
Difficulty: ★★☆☆☆
Time: About 2 hours per plum blossom branch
Hey, lovely bloom! Thanks for wandering into my little paper flower garden. 🌸
Today, we’re making elegant white crepe paper plum blossoms filled with beautiful Asian charm. 🌸
White plum blossoms are often associated with purity, nobility, and a clear heart. Maybe that means these flowers will look even better in the hands of someone with a kind and graceful heart. 😊
Add fully bloomed white plum blossoms and tiny buds along the branches, then place them in your favorite vase. Just a few branches can bring an elegant Asian-inspired mood into your home without needing fresh flowers. 🏺🌿
And the best part? These crepe paper flowers won’t wilt. 🌸 Once you finish your arrangement, you can enjoy your handmade plum blossom decor season after season.
If you’re new to DIY paper flowers, don’t worry. In my free YouTube paper flower tutorial, you can closely follow my hand movements and see how I shape and handle each material step by step. 🎥✂️
I’ve also organized the materials, measurements, and helpful tips below, so even if this is your first time working with crepe paper flowers, you’ll have everything you need to create a beautiful white plum blossom branch with a polished finish. 🌿✨

Materials 🌿
- Pattern
- Scissors
- Wood glue
- 90 gsm white crepe paper
- 90 gsm pink crepe paper
- 140 gsm green crepe paper
- 20 mm Styrofoam balls
- No. 23 green paper-covered floral wire
- No. 18 green paper-covered floral wire
- Thin wooden stick
- Yellow floral tape
- Green floral tape
- Yellow decorative sand
Material Tips 🌿
These white plum blossoms are made with high-quality 90 gsm Italian crepe paper, which gives the finished flowers a soft texture and an elegant Asian-inspired look. 🌸
You don’t need to make a large arrangement either. Just one or two branches in a vase can create a beautiful sense of open space and balance.
Because the design is delicate and graceful rather than flashy, it works especially well on a bedroom table, dining table, shelf, or quiet corner of the home. 🏺✨
A small arrangement can make the whole space feel calmer and more refined.
Eva’s Tip 🌼
For the flower buds, I use Styrofoam balls fixed onto paper-covered floral wire and then cover them with crepe paper petals. If you don’t have Styrofoam balls, don’t stop there—roll a small piece of aluminum foil into a round shape and use it instead. 😊
To create the stamens, yellow floral tape works best. If you don’t have it, cut yellow crepe paper into strips about 5 mm wide and use those instead. ✂️🌼
For the final touch, add a little yellow decorative sand to the tips of the stamens to create realistic-looking pollen. If you don’t have colored sand, shave a little yellow pastel into powder and use that instead. 🌾✨

Size 📏
Each white plum blossom is about 2.5 cm in diameter, and the finished branch is approximately 30 cm long. 🌸
The branch length can be adjusted depending on where you want to display it. You can connect additional floral wire to make the branch longer, or simply trim it shorter for a smaller vase or compact arrangement. ✂️🌿
If you make the branch longer, add a few more blossoms and buds along the stem so the arrangement still looks balanced and natural. 🌼
How to Make It 🌸
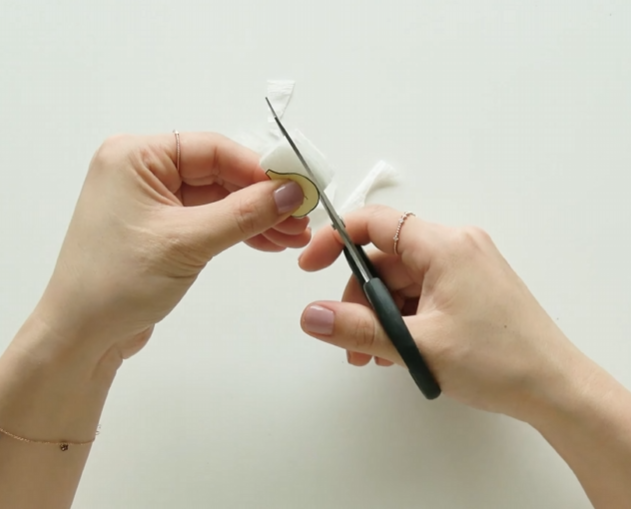
STEP.1⬆️
Stretch the white crepe paper as much as possible, then cut it according to the petal template.
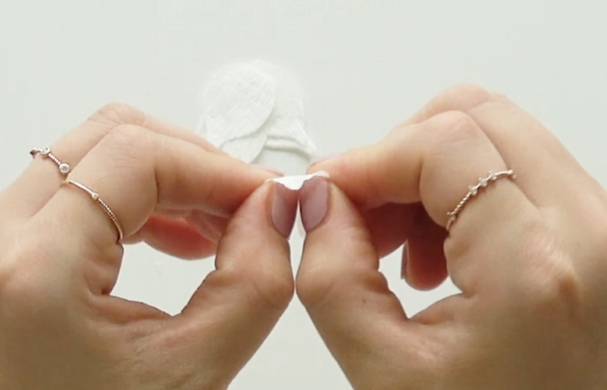
STEP.2⬆️
Gently press and stretch the center of each petal with your thumb to create a soft, natural curve.
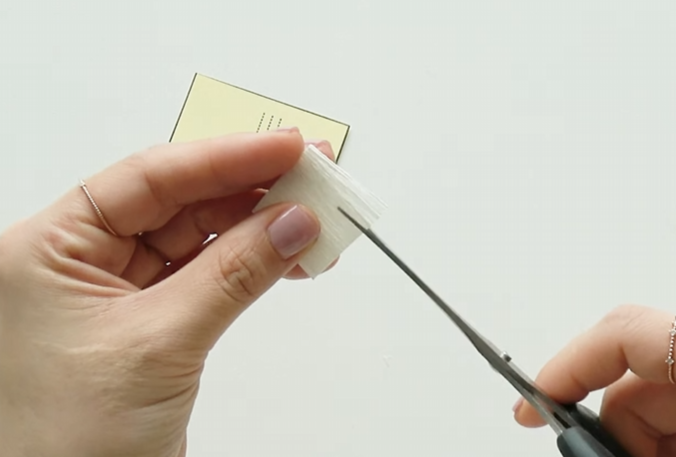
STEP.3⬆️
Cut the white crepe paper according to the stamen template, then make very fine cuts, leaving about 5 mm uncut at the bottom.

STEP.4⬆️
Apply a small amount of wood glue to the tips of the stamens and attach the yellow decorative sand. 🌼
STEP.5⬆️
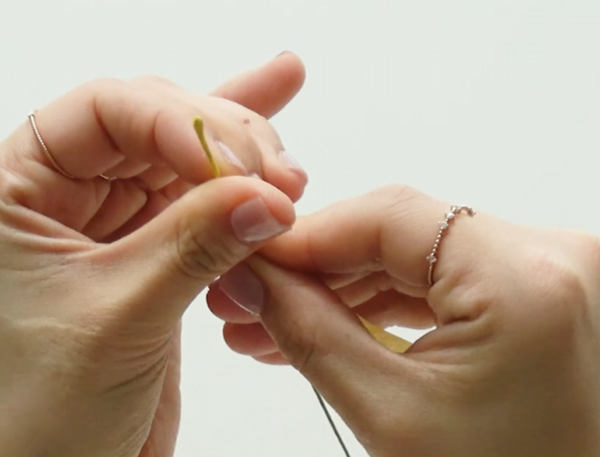
Wrap the top of a No. 23 green paper-covered floral wire with yellow floral tape.
STEP.6⬆️
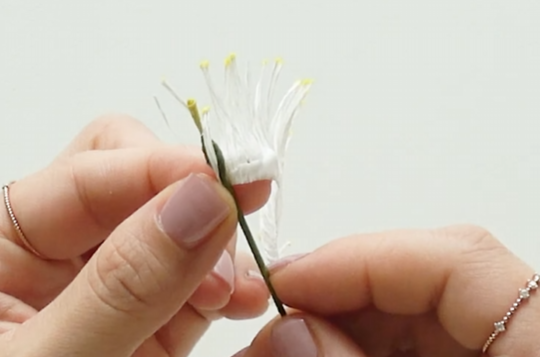
Wrap and glue the prepared stamens around the yellow-covered floral wire.

STEP.7⬆️
Attach five petals evenly around the stamens so the plum blossom looks balanced from every angle. 🌸

STEP.8⬆️
Cut the green crepe paper according to the sepal template.
STEP.9⬆️
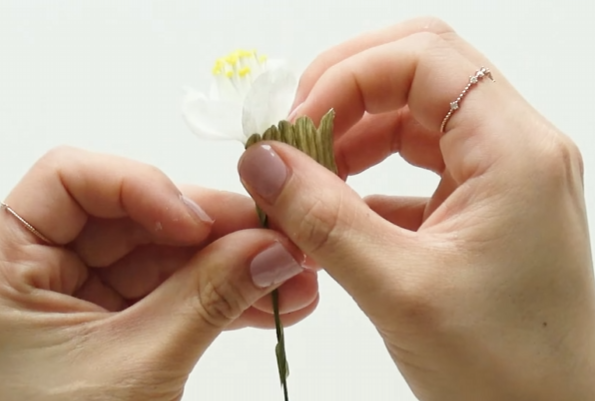
Wrap and glue the green sepal around the bottom of the flower.
STEP.10⬆️
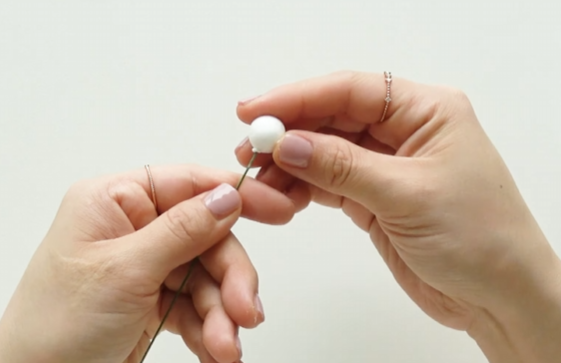
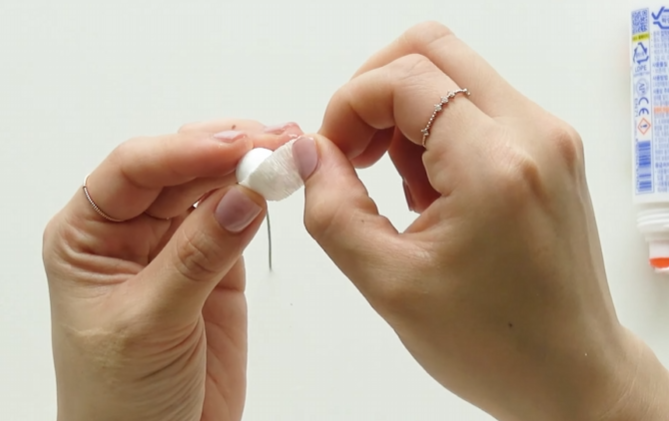
Apply wood glue to the top of another No. 23 floral wire, then insert and secure a Styrofoam ball.
STEP.11⬆️
Cut the bud petals according to the template, then stretch and wrap them over the Styrofoam ball.
STEP.12⬆️
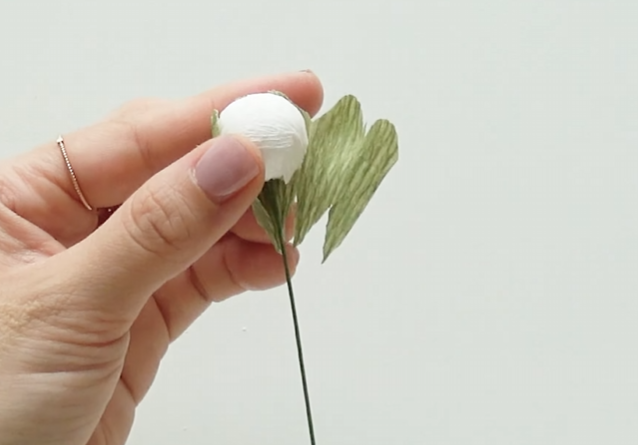
Attach the green sepal so it reaches slightly above the middle of the flower bud. 🌿
STEP.13⬆️
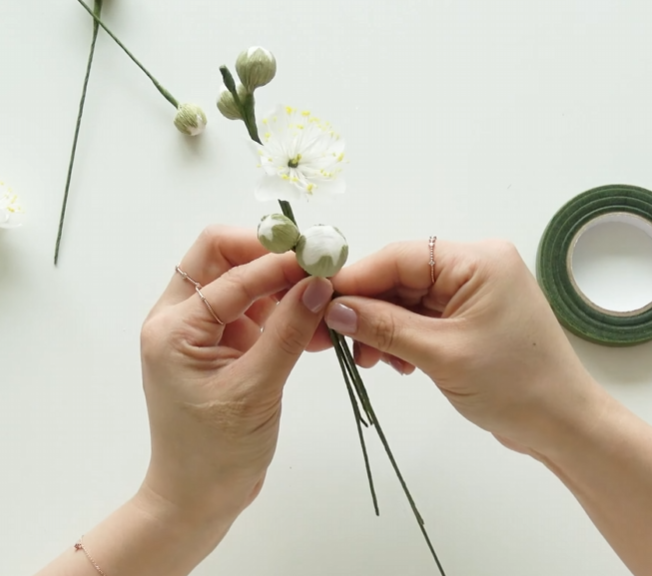
Combine the finished flowers and buds onto the main branch, adjusting the spacing as you go. Once everything is secured, your crepe paper plum blossom branch is complete. ✨
Eva’s Tip 🌿
When cutting crepe paper, make sure the direction of the template matches the grain direction of the paper. If the grain runs the wrong way, the petals can twist or lose their shape. ✂️🌸
When adding decorative sand to the stamens, use only a very small amount of wood glue. Too much glue can make the sand clump together. Dab the glue lightly, then press the stamens gently into the sand as if you’re dotting on pollen. 🌼✨
For the sepals, you can cut them exactly from the template, or simply divide the piece into five sections and round off the top edges. This shortcut works well and still gives the flower a neat finish. 😊🌿
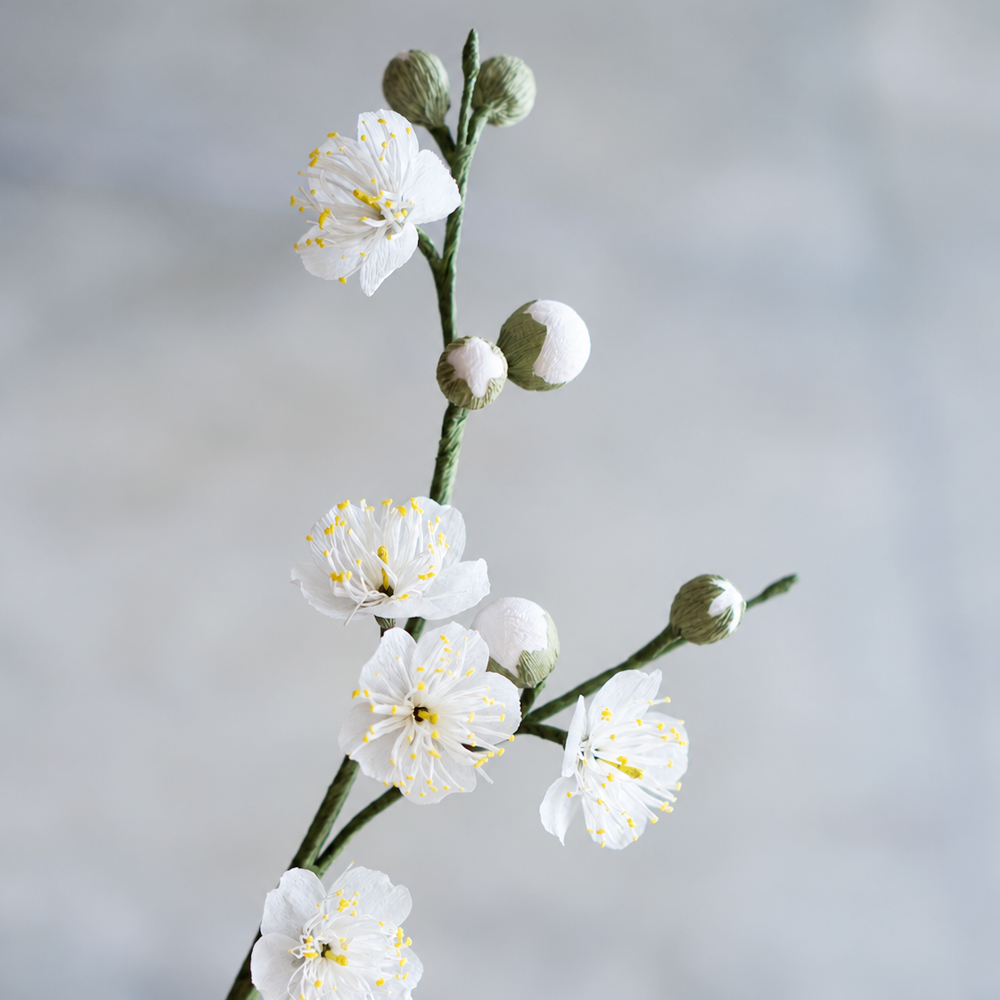
Finished White Plum Blossom 🌸
Place one or two finished branches in a simple vase, such as a moon jar–style vase, and you can create an elegant arrangement without making a large bouquet. 🏺✨
Try displaying it in a small space such as an entryway, living room shelf, or studio desk. Because these crepe paper flowers are not tied to a season, they can bring a soft and calming atmosphere to your space all year round. 🌿
Unlike fresh flowers, these handmade plum blossoms won’t wilt, so you can enjoy them for a long time. They also make a thoughtful paper flower gift for someone special—something they can keep instead of throwing away after a few days. 🎁🌸
And every time you look at the white plum blossoms you made with your own hands, I hope you feel a little sense of pride and accomplishment. 😊
White plum blossoms are known for blooming through the cold at the end of winter, becoming one of the first signs of spring. I hope this little flower reminds you that even after a difficult season, you can still bloom beautifully and grow stronger. 🌸✨
Flower friends, purchasing the pattern is a huge support for me and helps me keep creating and sharing more paper flower tutorials with you. 🌸💛
And if gathering all the materials feels difficult, I’ve also prepared a complete kit with everything you need in one place. ✂️📦 So please don’t give up before you even begin—give it a try and create your own beautiful flower.
I hope the flower you make with your own hands brings you a little more joy, pride, and a wonderful sense of accomplishment in your everyday life. 🌿✨
Leave a Reply