Difficulty: ★★☆☆☆
Time: About 3 hours
Hey, lovely bloom! Thanks for wandering into my little paper flower garden. 🌸

Hey, lovely bloom! Thanks for wandering into my little paper flower garden. 🌸
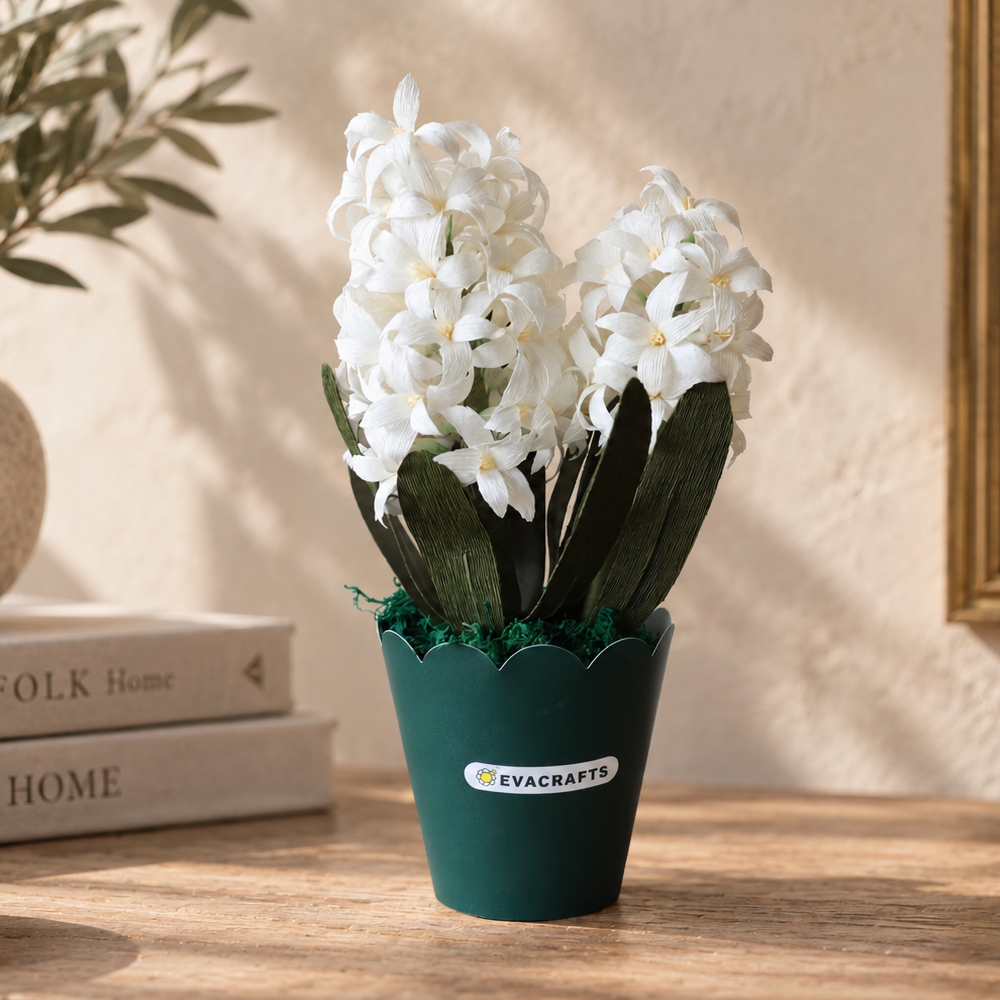
Today, we’re going to make a beautiful hyacinth using crepe paper!
By creating lots of small flowers and combining them together, you can build a full and elegant hyacinth with plenty of volume and detail.
If you follow along with the detailed YouTube tutorial I shared and the step-by-step instructions below, you’ll be able to create a polished crepe paper hyacinth of your own, even if you’re still new to paper flowers. 😊

Materials You’ll Need
- Scissors
- Hot glue gun
- 23-gauge green floral wire
- 4 mm floral stems
- White floral tape
- Green cardstock, 150–180 gsm
- White crepe paper, 90 gsm
- Green crepe paper, 90 gsm
- Light yellow crepe paper, 140 gsm
- Green pastel powder
- Sponge
- Wood glue
- Flower pot
- Styrofoam
- Artificial grass
Today’s flower is a beautiful crepe paper hyacinth. 🌿
We’ll make lots of small individual flowers first, then bring them together to create the full, rounded shape of a hyacinth.
The stamens are made first, and the petals are attached in two layers of three petals each. This 3 + 3 arrangement makes it much easier to keep the flower balanced, so even beginners can achieve a neat and polished result.
Hyacinths are often associated with purity and quiet beauty, which feels especially fitting for these soft white blooms. Let’s make this elegant crepe paper hyacinth together. 😊
For the petals and leaves, I used 90 gsm Italian crepe paper.
I’ve worked with German, Chinese, and several other types of crepe paper, but for paper flowers, I personally find Italian crepe paper especially nice to work with because of its texture, grain, and beautiful color range.
If you don’t have green pastel powder, no problem. Simply scrape a green pastel stick gently with a craft knife to create a fine powder, and use that instead.😍

The hyacinth I made is approximately 19 cm (7.5 in) tall and 8 cm (3.1 in) wide.
If you make more of the small individual flowers, you can easily create a larger and fuller hyacinth.
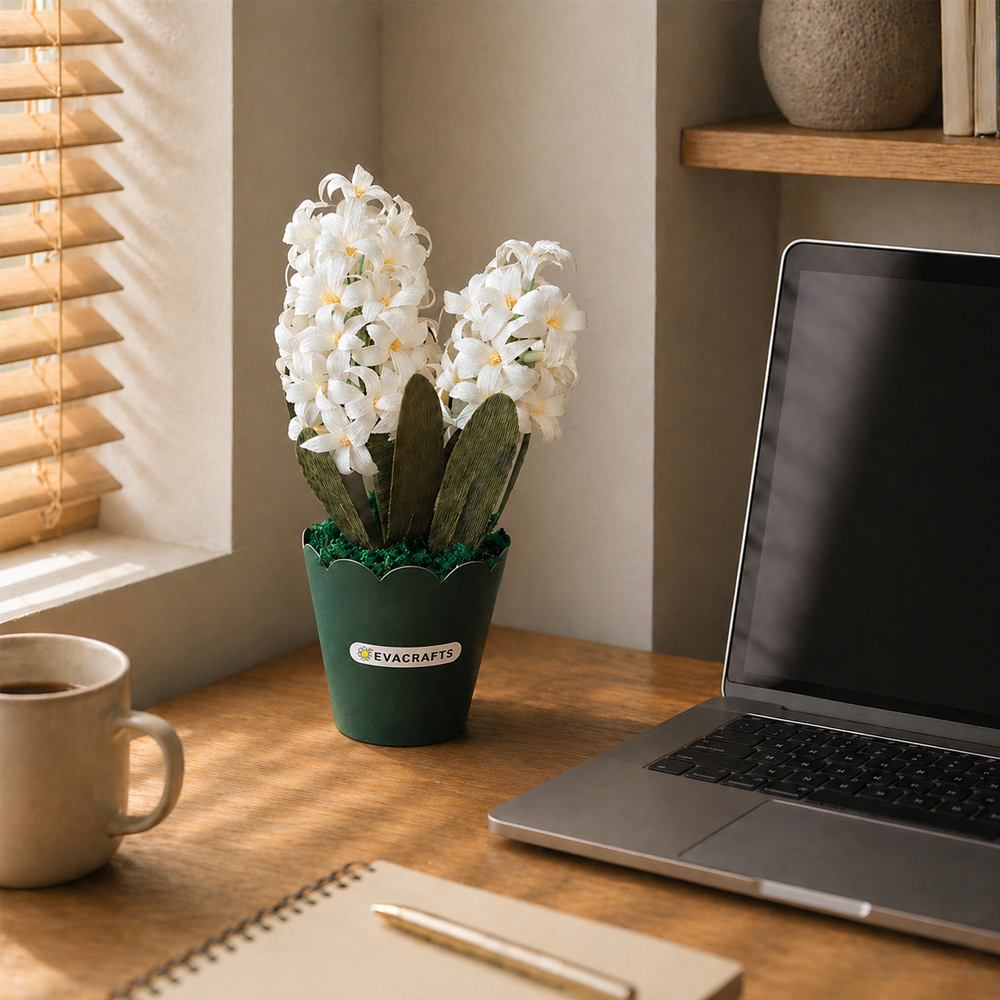
I chose this size because it’s just right for decorating a desk, shelf, or table without taking up too much space. 😊
How to Make Crepe Paper Hyacinth Flowers

STEP.1⬆️
Cut the light yellow crepe paper using the stamen template.😊

STEP.2⬆️
Fold the cut piece in half lengthwise. Leaving the bottom half uncut, make three vertical cuts with scissors.
STEP.3⬆️
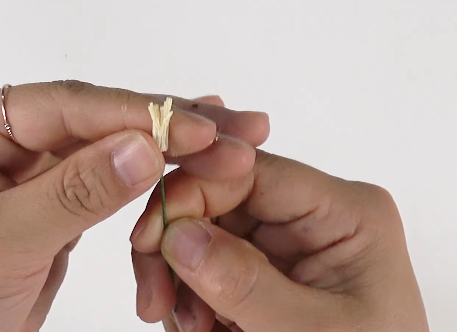
Twist the top sections of the stamens gently with your fingers, then wrap and glue them around a piece of 23-gauge floral wire.

STEP.4⬆️
Twist the top sections of the stamens gently with your fingers, then wrap and glue them around a piece of 23-gauge floral wire.😍

STEP.5⬆️
Attach three petals evenly around the stamens.

STEP.6⬆️
Make three more petals using Petal Template 2 in the same way, then attach them between the first three petals.

STEP.7⬆️
Wrap white floral tape from the base of the flower down along the stem.

STEP.8⬆️
Apply green pastel powder from the bottom of the flower down to the upper part of the stem to add natural color.
STEP.9⬆️
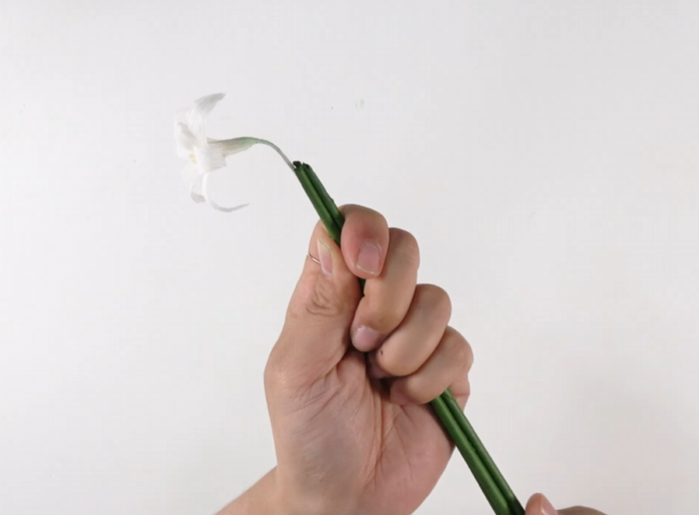
Combine three floral stems with one finished flower, then wrap them together with green crepe paper.😊

STEP.10⬆️
Continue adding the small flower clusters one by one to build the full hyacinth shape.

STEP.11⬆️
Cut the leaf shapes from both green cardstock and green crepe paper using the leaf template.

STEP.12⬆️
Place a piece of 23-gauge floral wire on the green cardstock, apply wood glue, then cover it with green crepe paper and press firmly.

FINAL STEP⬆️
Attach about six to seven leaves around the finished flower stem. Your crepe paper hyacinth is complete! 🌿
EVA’S TIP
When cutting crepe paper, always make sure the direction of the crepe paper grain matches the direction shown on the template. This is important because the grain direction affects how the petals stretch and take shape.
If your petals don’t seem to form properly, check the direction of the crepe paper first. 😊
When curling the petals around a floral stem, don’t pull or wrap them too tightly. Gently roll each petal around the stem once or twice to create a soft, natural curve.
When attaching the individual flowers, avoid leaving too much space between them. If the gaps are too wide, the stem may show through and the finished hyacinth can look less full. Keep the flowers fairly close together for a beautiful, dense shape. 🌿
I really hope you give this project a try and get to feel that happy moment when your own hyacinth is finally finished. I’d love for us to share that sense of accomplishment together. 😊
Purchasing the template is a huge help and makes it possible for me to keep creating and sharing more paper flower tutorials.
And if gathering all the materials feels difficult, I also have a complete kit with everything you need included. So please don’t give up—give it a try and enjoy making your own beautiful crepe paper hyacinth! 🌿

Leave a Reply