Hey, lovely bloom! Thanks for wandering into my little paper flower garden. 🌸
Difficulty: ★★☆☆☆
Time: About 1 hour per flower
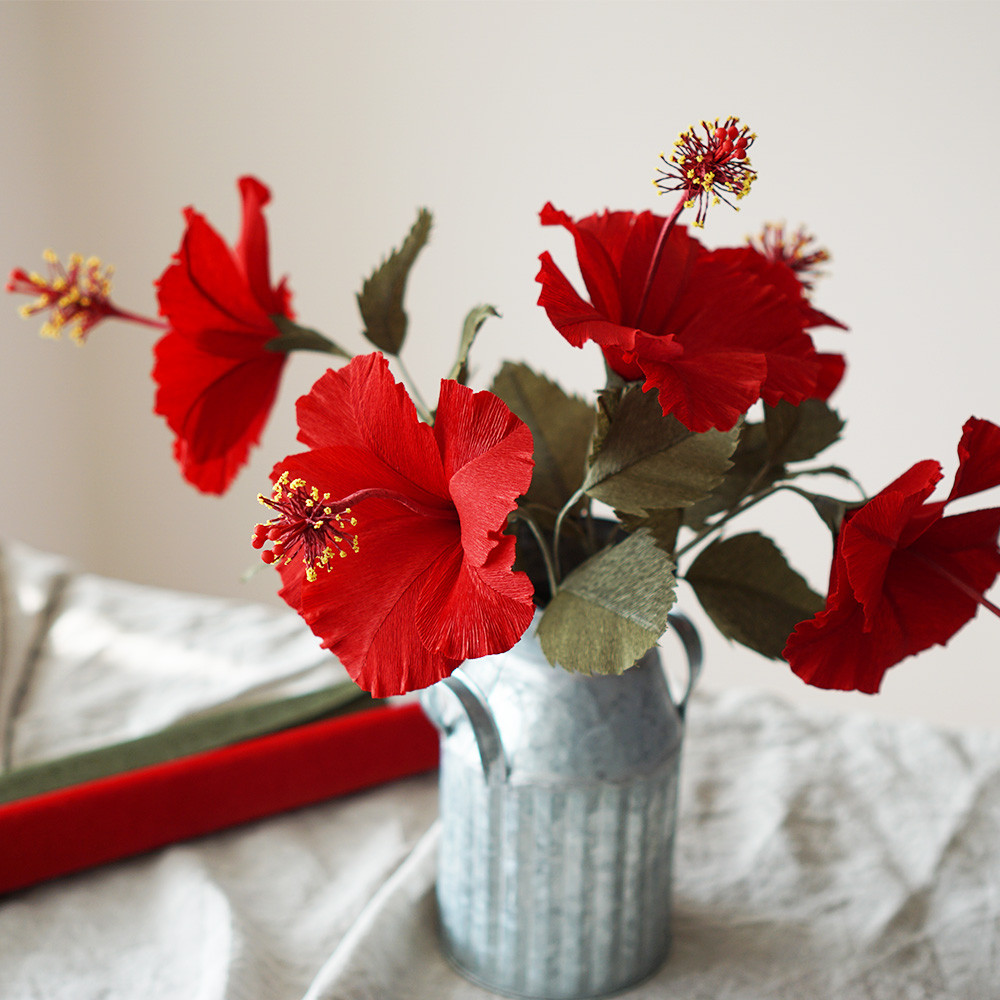
Today, we’re going to make a crepe paper hibiscus with bright red petals that open beautifully and a long, eye-catching stamen.
Hibiscus flowers are large and vividly colored, so even a single bloom can make a striking statement.
Since each flower has only five petals, the basic structure is quite simple. If you follow along with my detailed YouTube video and use the step-by-step instructions below, even if this is your first time making paper flowers, you’ll be able to create a beautiful hibiscus of your own. ^^
🌺 Materials You’ll Need
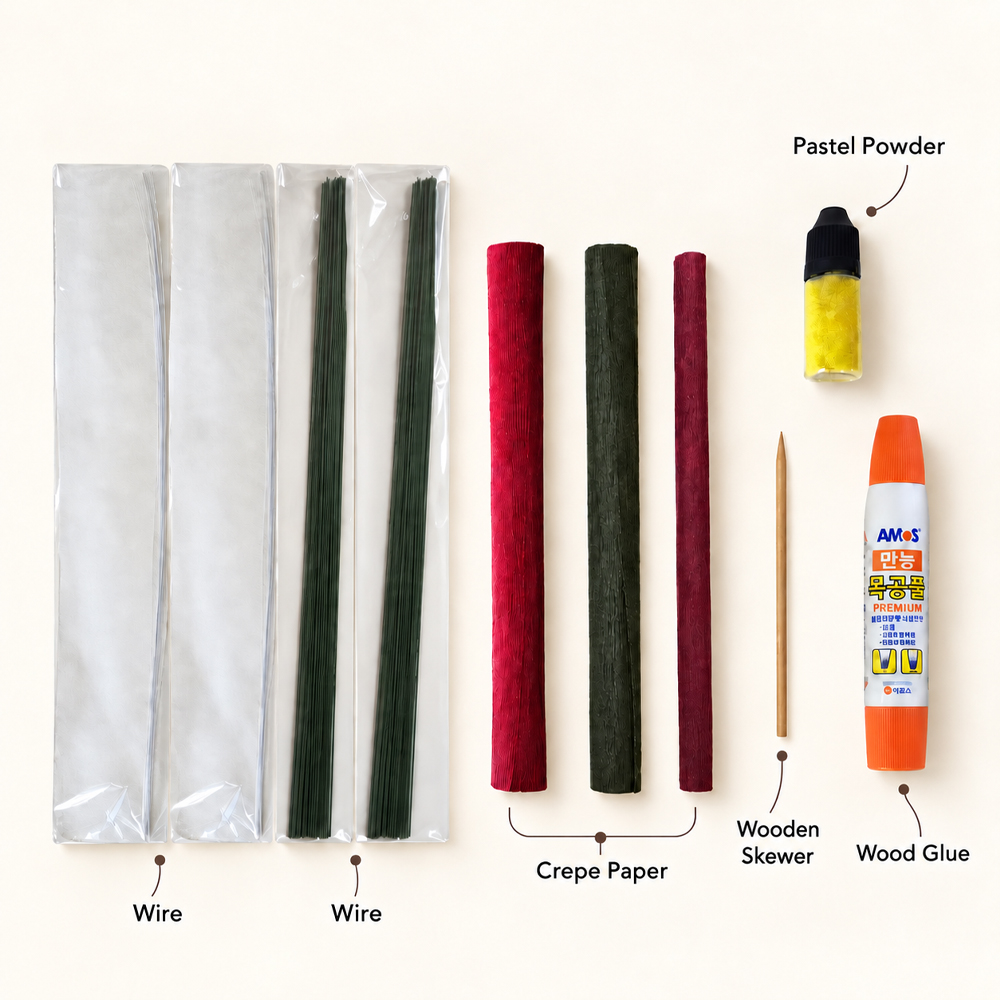
- Hibiscus flower pattern
- Scissors
- Hot glue gun
- 18-gauge green floral wire
- 23-gauge green floral wire
- 23-gauge white floral wire
- 27-gauge white floral wire
- 90 gsm red crepe paper
- 90 gsm burgundy crepe paper
- 90 gsm green crepe paper
- Yellow craft sand
- Wood glue
🌺 The Ultimate Showstopper! Make a Realistic Crepe Paper Hibiscus
Hibiscus petals are large and wide, so in some ways they’re actually easier to work with than flowers that require many tiny, delicate petals.
The stamen may look intricate because it has several small details, but if you follow my YouTube video and the step-by-step instructions below in order, you can complete it without too much difficulty. ✂️
For today’s tropical hibiscus flower, I used a rich, vivid red crepe paper.
Hibiscus flowers come in many beautiful colors, but personally, I think the classic red hibiscus is especially striking. ❤️
You could also try making your crepe paper hibiscus in a soft pink shade—I think it would look beautiful too. ^^
One of the most distinctive features of a hibiscus is the long red stamen extending from the center of the flower.
Since this is such an eye-catching detail, I designed the stamen to stand out as much as possible and become the focal point of this realistic paper flower. 🌺
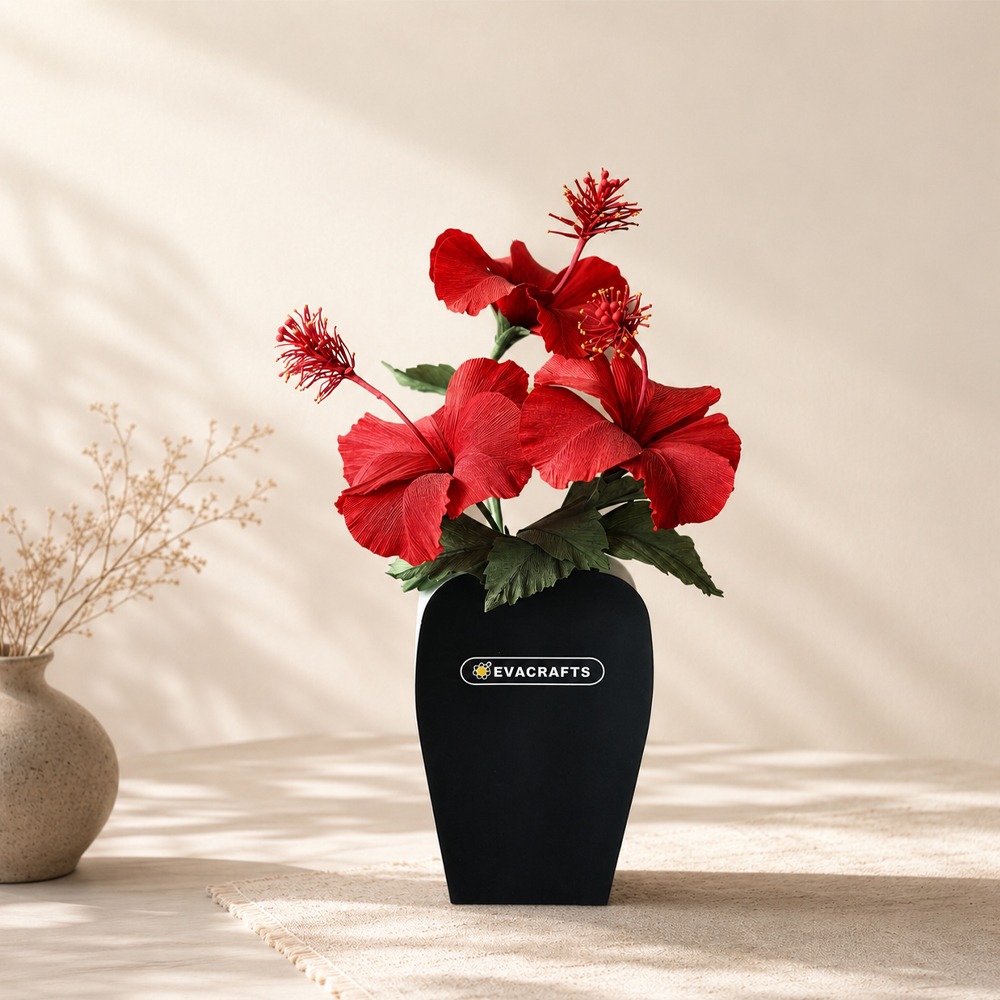
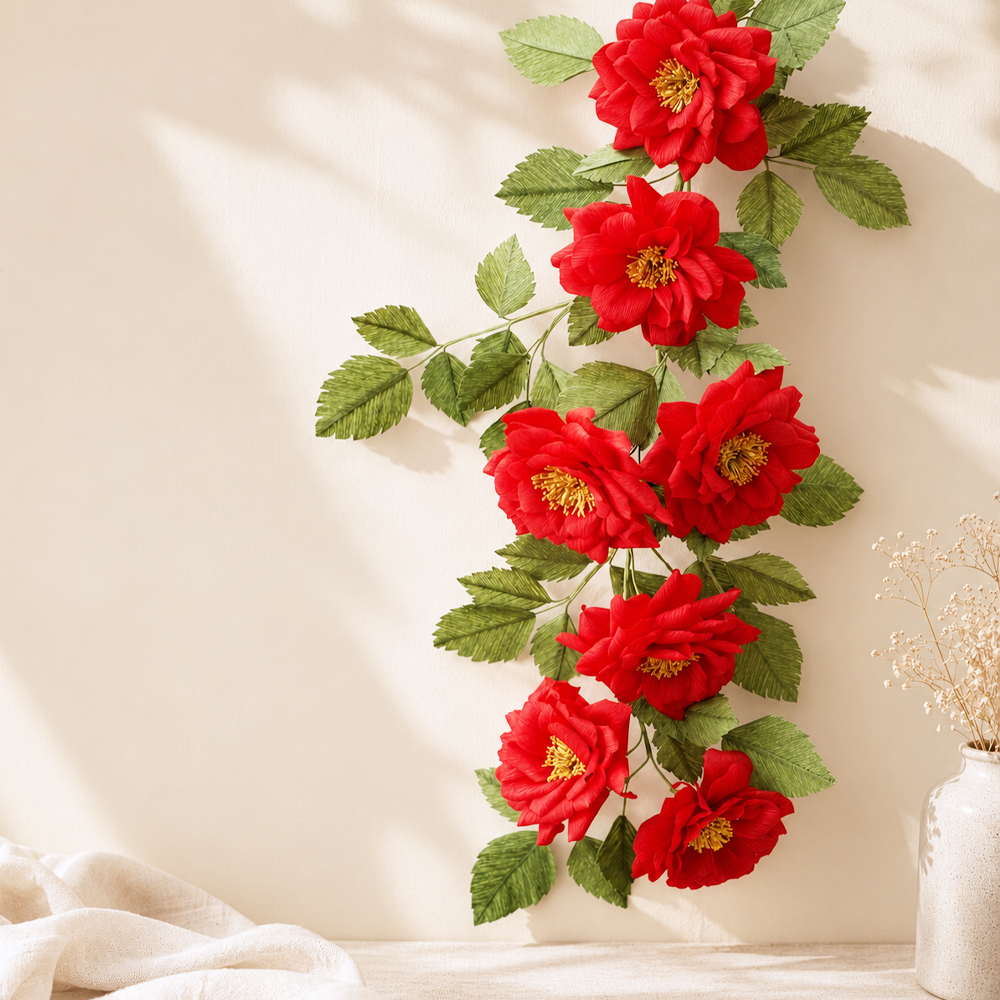
The finished arrangement has a bright, tropical feel, but by keeping the overall color palette to rich red and muted green, it also blends beautifully into home decor without looking too flashy. 🌺🌿
I used 90 gsm Italian crepe paper for this tropical hibiscus flower.
The colors are vivid and the texture is beautiful, which makes this type of crepe paper especially suitable for large flowers like hibiscus.
To create the pollen detail at the tips of the stamen, I used yellow colored craft sand. ✨
If you don’t have any, you can simply grind up some yellow pastel and use the powder instead.
Small details like this help make a crepe paper hibiscus look much more realistic and bring the whole flower to life.
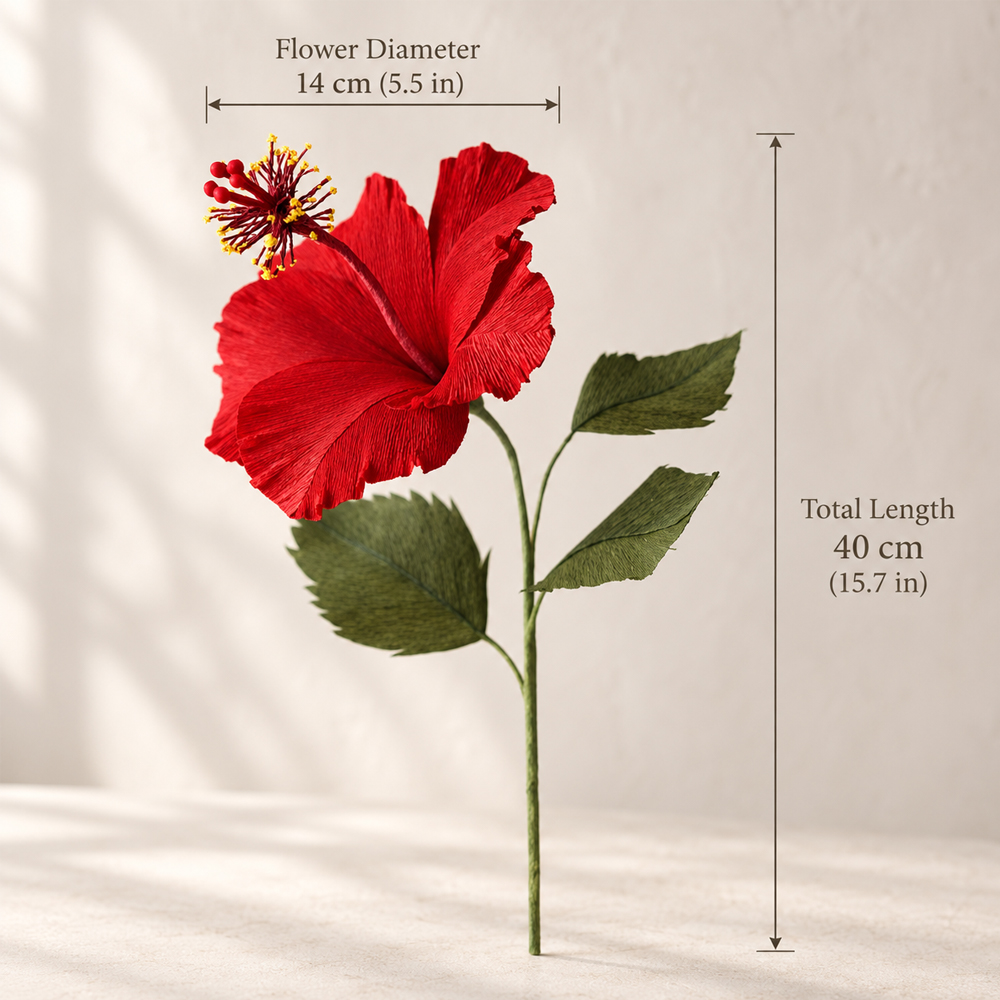
Each hibiscus flower is about 14 cm (5.5 in) in diameter, with an overall stem length of approximately 35–40 cm (14–16 in). 🌺
Because this crepe paper hibiscus is fairly large and has such a vivid color, even just one or two flowers can make a beautiful statement piece in your home. ✨
🌺 How to Make a Realistic Crepe Paper Hibiscus

STEP.1⬆️
Stack two pieces of red crepe paper and cut them together using the petal pattern.
STEP.2⬆️
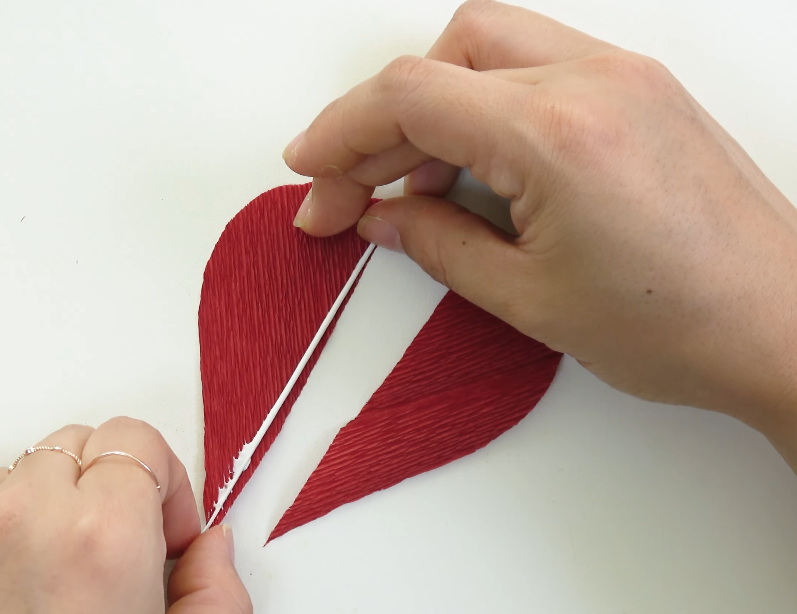
Place the two petal pieces so the crepe paper grain forms a V shape. Glue a piece of 23-gauge white floral wire along the edge of one petal piece, then cover it with the second piece and glue them together.
STEP.3⬆️
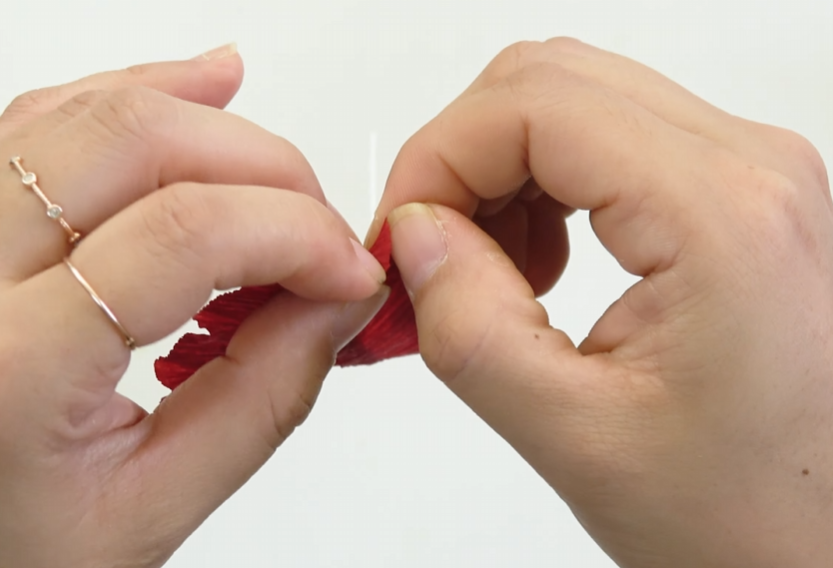
Gently twist the edges of the petal to create a soft, natural wave. 🌺
STEP.4⬆️
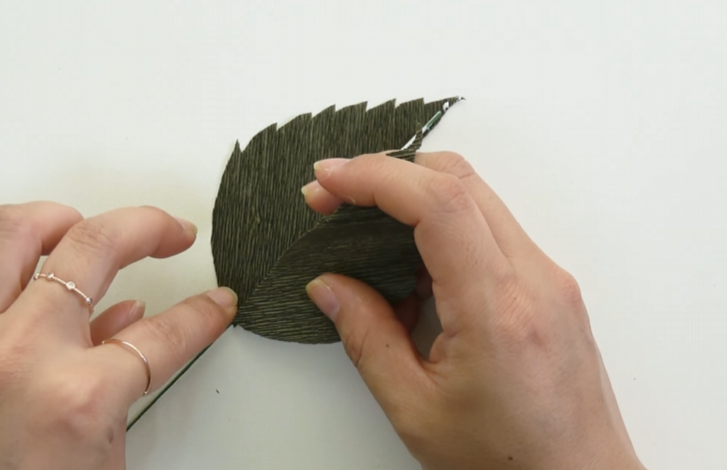
Place two leaf pieces so the crepe paper grain forms a V shape. Glue a piece of 23-gauge green
STEP.5⬆️
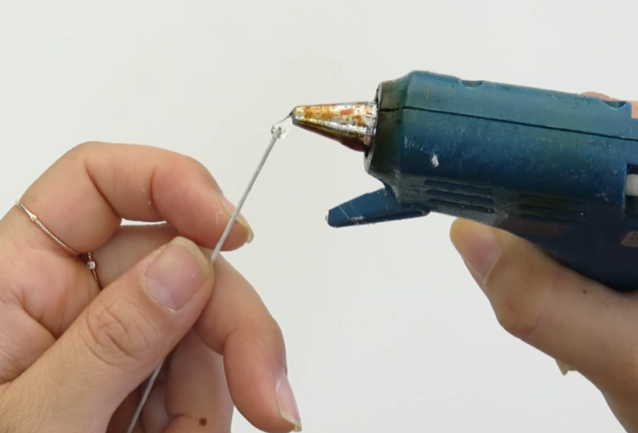
Using a hot glue gun, make a small round ball at the tip of a piece of 23-gauge white floral wire.

STEP.6⬆️
Cut a small circle from red crepe paper and wrap it around the glue ball.
STEP.7⬆️
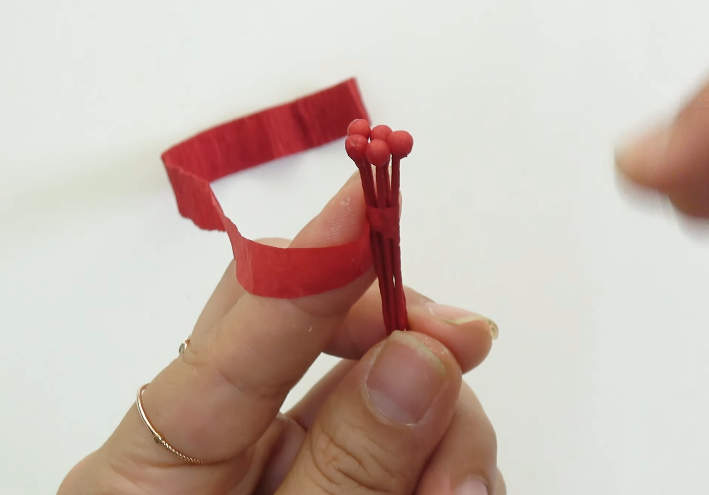
Make five of these pieces, then gather them together and secure them by wrapping crepe paper around the base.
STEP.8⬆️
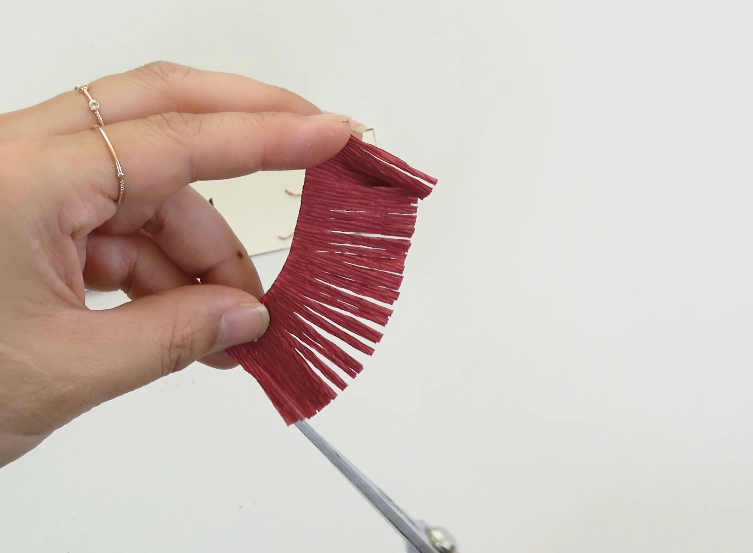
Cut the burgundy crepe paper using the stamen pattern, leaving about 1 cm (0.4 in) uncut at the bottom. Cut the upper section into very thin fringes. ✂️

STEP.9⬆️
Apply a small amount of wood glue to the tips of the fringes, then dip them into yellow craft sand to create the pollen detail.

STEP.10⬆️
Wrap and glue the finished stamens around the pistil you made earlier.
STEP.11⬆️
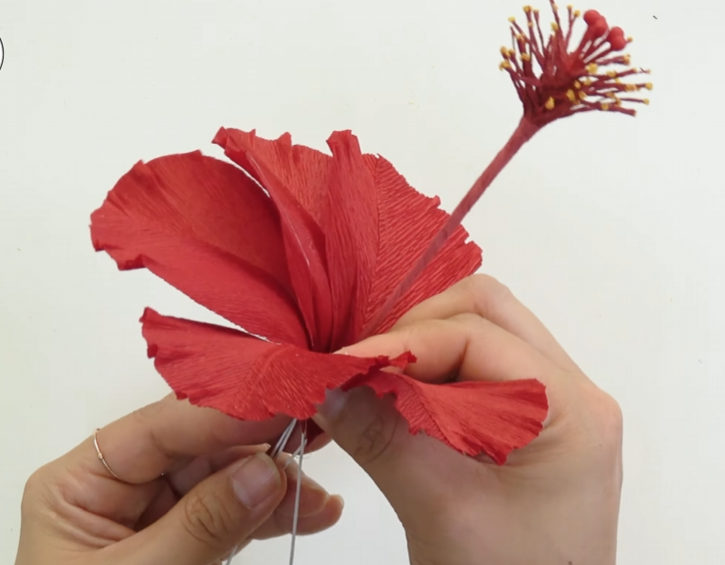
Measure about 9 cm (3.5 in) down from the top of the stamen, then attach the five red petals evenly around the stem. This is where your tropical hibiscus flower really begins to take shape. ❤️

STEP.12⬆️
Cut five sepals from green crepe paper using the sepal pattern, then glue them underneath the petals.
FINAL STEP💕
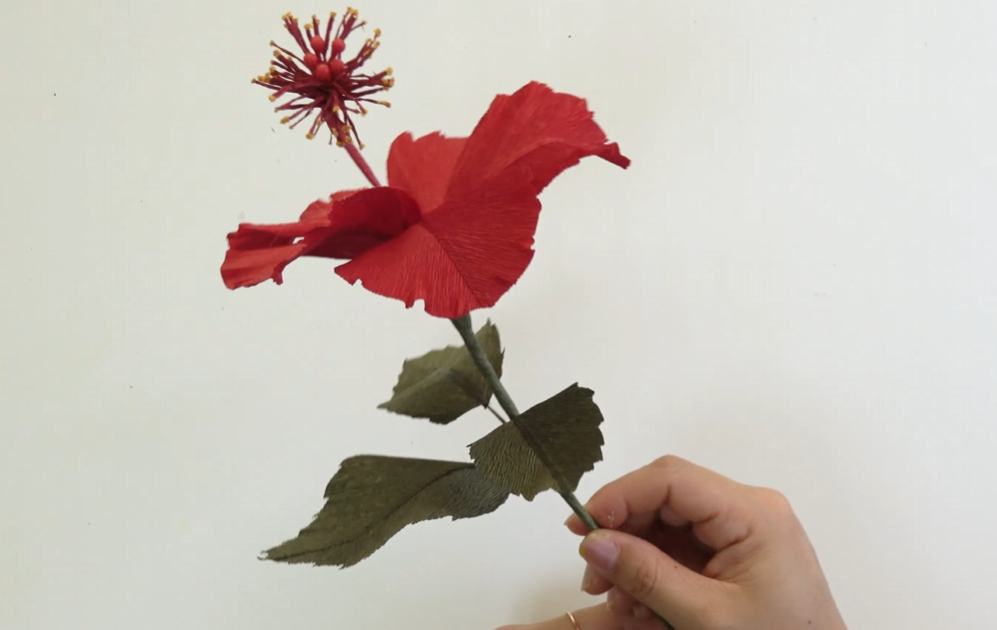
Finally, attach the prepared leaves to the flower stem and arrange them naturally. 🌿Your realistic crepe paper hibiscus is complete! 🌺
Eva’s Tip 🌺
When making the petals and leaves, be sure to check the direction of the crepe paper grain.
The natural ridges in the crepe paper help create the look of real petal and leaf veins, so keeping the grain in the correct direction makes your crepe paper hibiscus look much more natural and polished. 🌿
When shaping the wavy edges of the petals, twist them gently a little at a time. Try to hold and twist the paper with the soft part of your fingers rather than your fingernails so you don’t leave marks or accidentally tear the paper.
If a petal does tear slightly while you’re shaping it, don’t worry. Simply trim the damaged area into a soft curve with scissors, then twist that edge again so it blends in like a natural petal variation. ✂️
When attaching the petals, place them about 9–12 cm (3.5–4.7 in) below the top of the stamen.
This little bit of extra space helps the long stamen stand out beautifully, which is one of the most eye-catching features of a tropical hibiscus flower. ✨
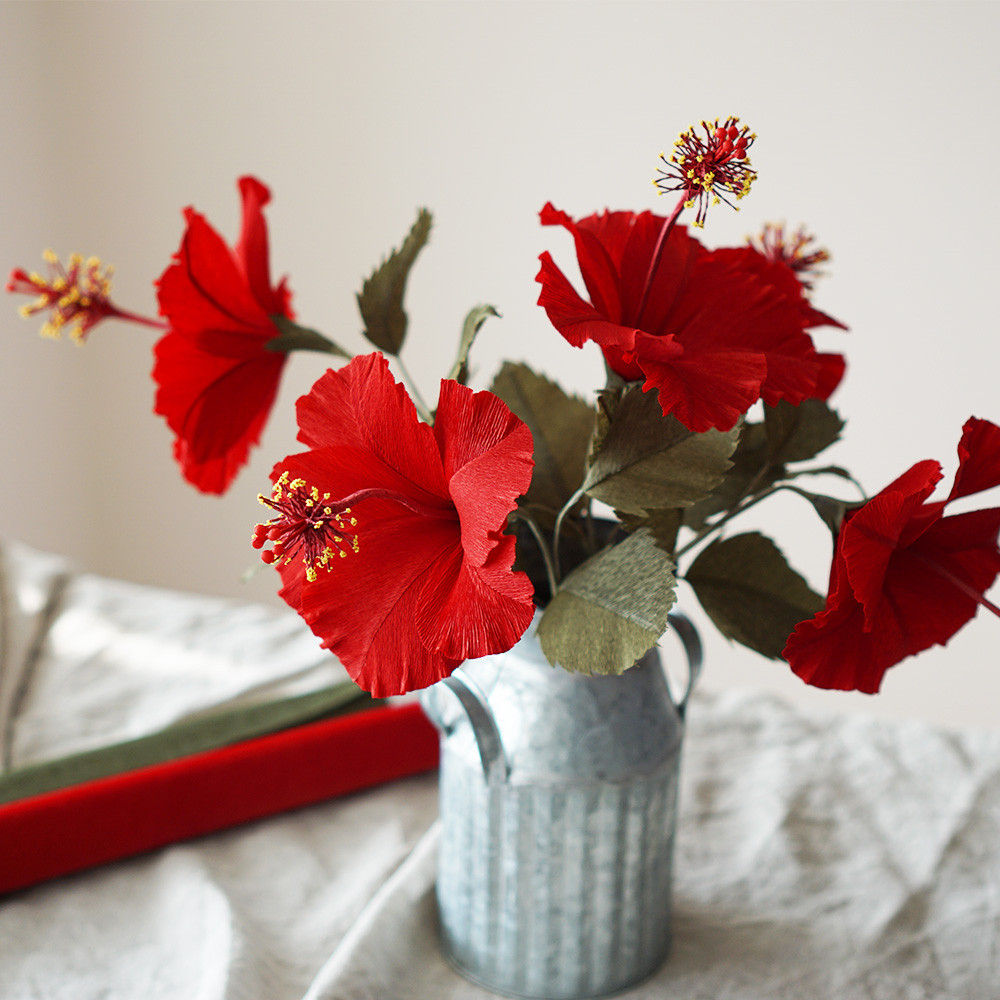
Red hibiscus flowers can create a completely different mood depending on the vase you choose. 🌺
Place them in a black vase for a more elegant and sophisticated look, in a silver metal vase for a unique vintage feel, or in a clear glass vase for a lighter and fresher atmosphere.
One of the best things about paper flowers is that they don’t need water or special care like fresh flowers do. They won’t wilt, and you can enjoy them for a long time, which makes them perfect for home decor. 🌿
If you’re looking for a creative hobby or something relaxing to make at home, try starting with just one crepe paper hibiscus. ^^
Rather than trying to finish several flowers at once, I recommend making one tropical hibiscus flower slowly at your own pace and enjoying the process. ✨
Purchasing the hibiscus pattern is a huge help in allowing me to keep creating and sharing these paper flower tutorials. 💛
If gathering all the materials one by one feels like too much, I also have a complete kit prepared with everything you need to make one crepe paper hibiscus flower.
So please don’t give up before you even start—give it a try and enjoy the process of creating your own beautiful tropical hibiscus flower. 🌺✨
Thanks for stopping by my little paper flower garden, my lovely bloom. 🌼
See you among the petals again!
Leave a Reply