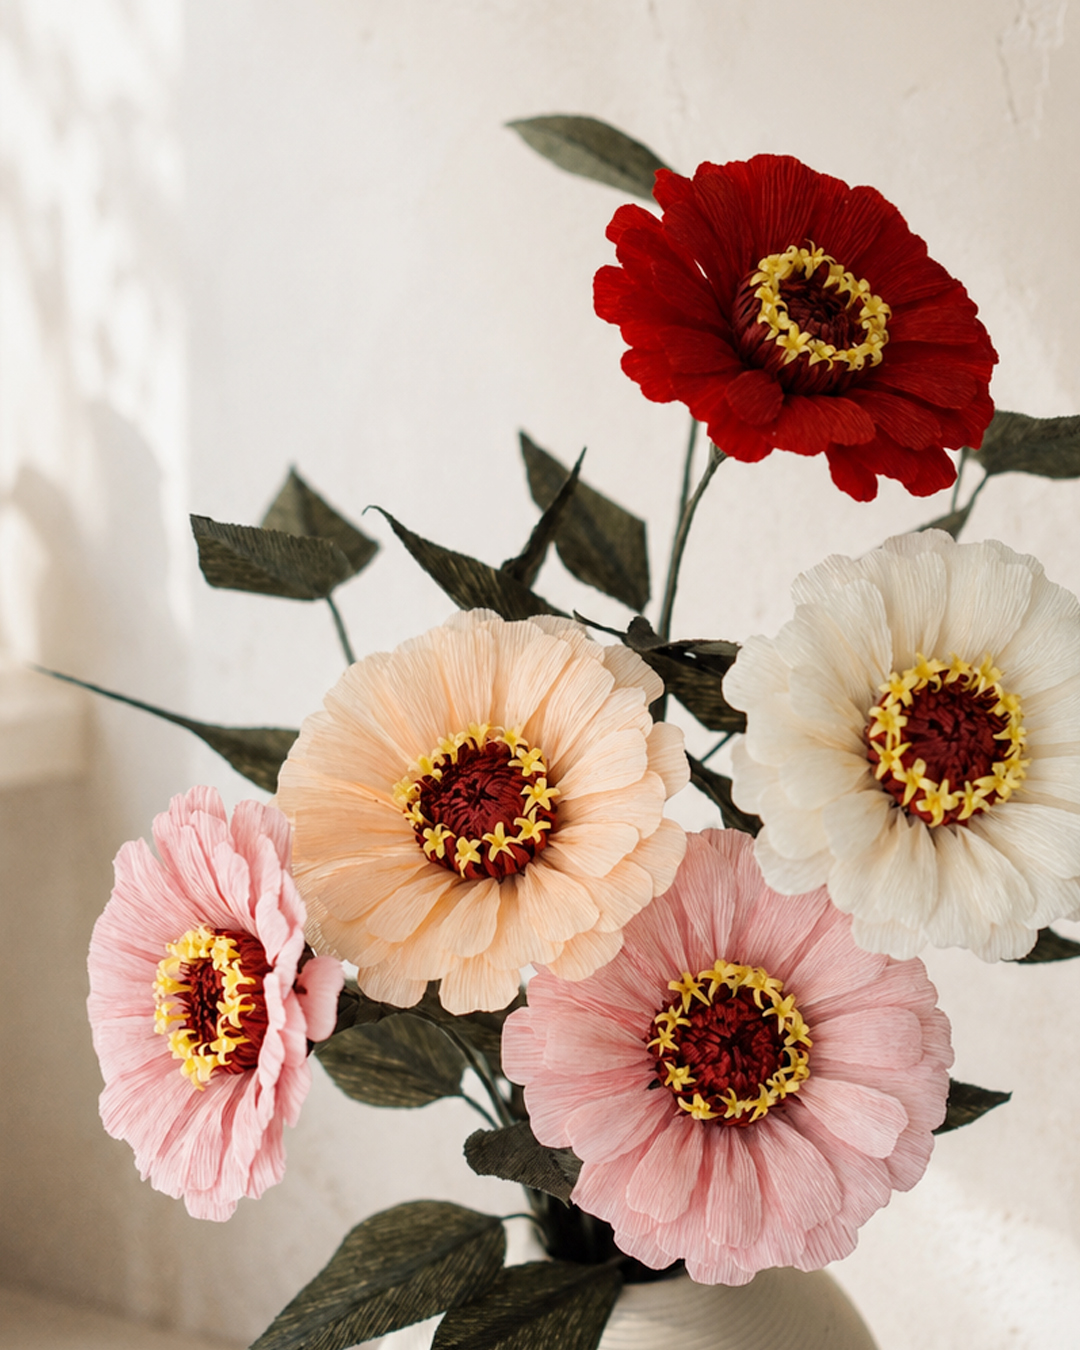
Hey, lovely bloom! Thanks for wandering into my little paper flower garden. 🌸
Today, we’re going to make beautiful crepe paper zinnias that anyone can create! 🌸
At first glance, they may look very detailed and realistic, so you might think they’re difficult to make. But with Eva’s YouTube video and step-by-step instructions, even beginners can follow along with confidence.
So don’t worry if it looks a little complicated at first. Just take your time and enjoy making it one step at a time. 🙂
Once you attach the very last petal and look at your finished zinnia, you may be surprised by how rewarding it feels to say, “I made this beautiful flower with my own hands!”
That little sense of accomplishment is one of the best parts of making paper flowers. 🌷
Difficulty: ★★★☆☆
Time Required: About 1–2 hours
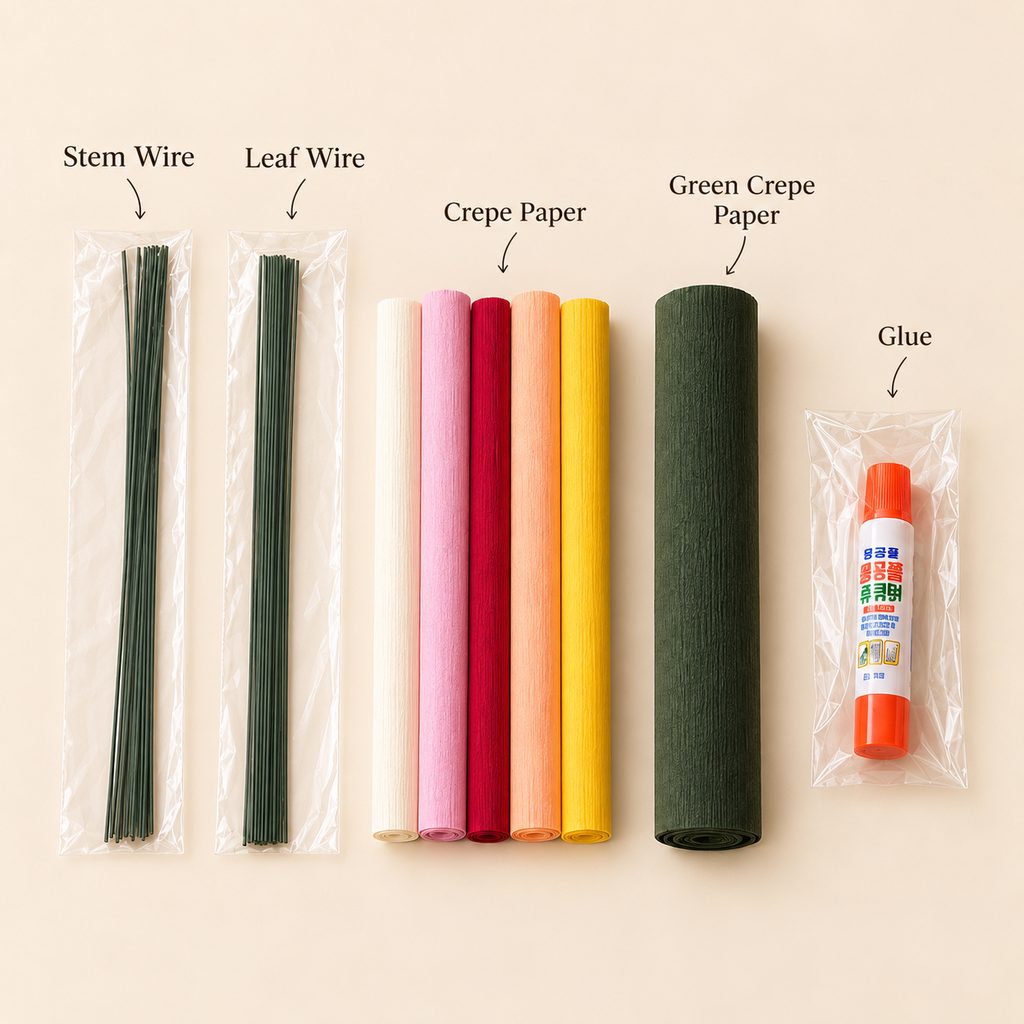
Materials
- Template
- No. 18 green floral wire
- No. 23 green floral wire
- 90 gsm burgundy crepe paper
- 90 gsm yellow crepe paper
- 90 gsm dark green crepe paper
- 90 gsm red crepe paper
- 90 gsm ivory crepe paper
- 90 gsm dusty pink crepe paper
- 90 gsm peach crepe paper
- PVA craft glue
- Wooden skewer
- Scissors
- Hot glue gun
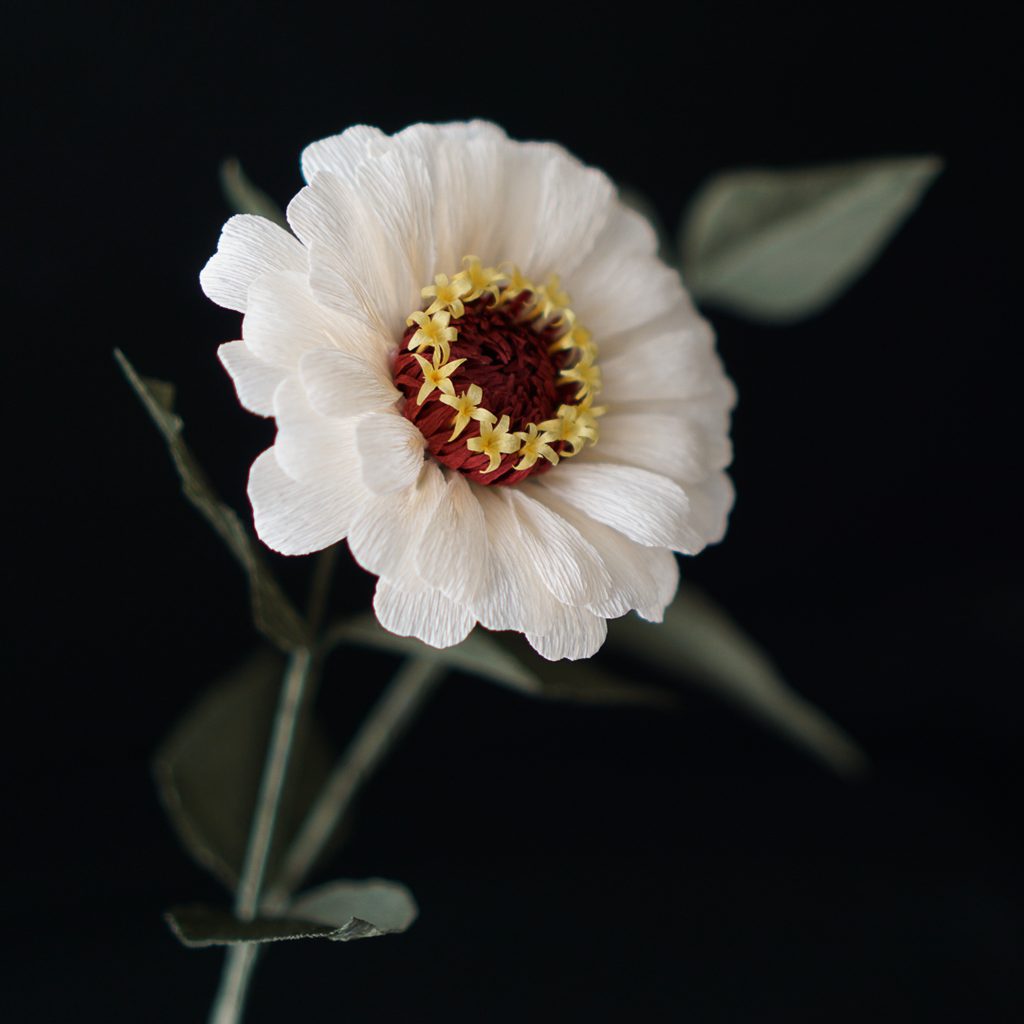
How to Make Crepe Paper Zinnias 🌸 | Realistic DIY Paper Flowers | A Beautiful Paper Craft Hobby
Zinnias may look a little difficult to make because of their unique flower centers, but they don’t actually require any special techniques. 🌸
As you repeat the process of cutting petals in the same shape, trimming the flower center pieces, and attaching them one by one, you’ll gradually see a realistic zinnia come to life.
And don’t worry if every petal doesn’t look exactly the same. Slight variations between the petals can actually make the finished flower look even more natural. 🙂
For the petals, I used 90 gsm Italian crepe paper in several different colors.
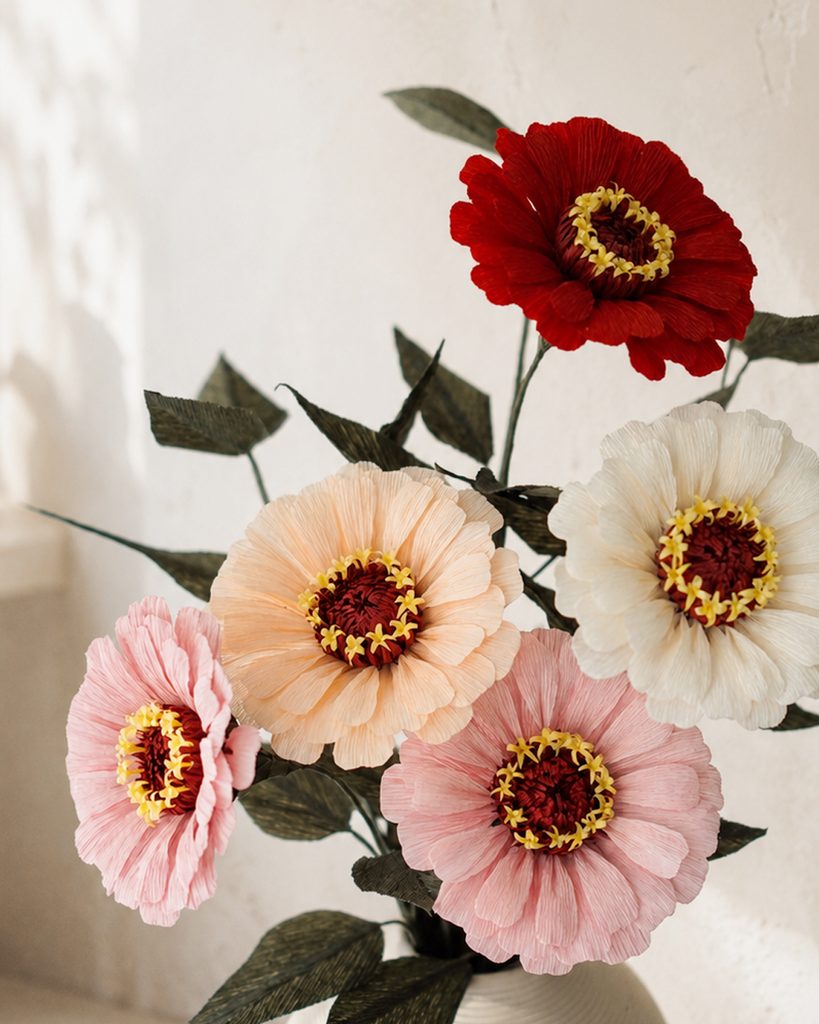
Real zinnias come in a wide variety of colors, so feel free to choose any colors you love. You can also make several flowers in different shades like I did. Even when you use the exact same pattern, changing the color can give each zinnia a completely different look.
For the leaves, I personally think dark green works better than light green with zinnias.
When it comes to PVA craft glue, I haven’t noticed a big difference between brands. The important thing is to use only a small amount. A little glue is usually enough to hold the paper securely, and using too much can cause the crepe paper to stretch, sag, or become discolored.

I based the size on real zinnia flowers, so it’s close to the size of the zinnias you’ll commonly see growing outdoors. :)😍
How to Make Crepe Paper Zinnias
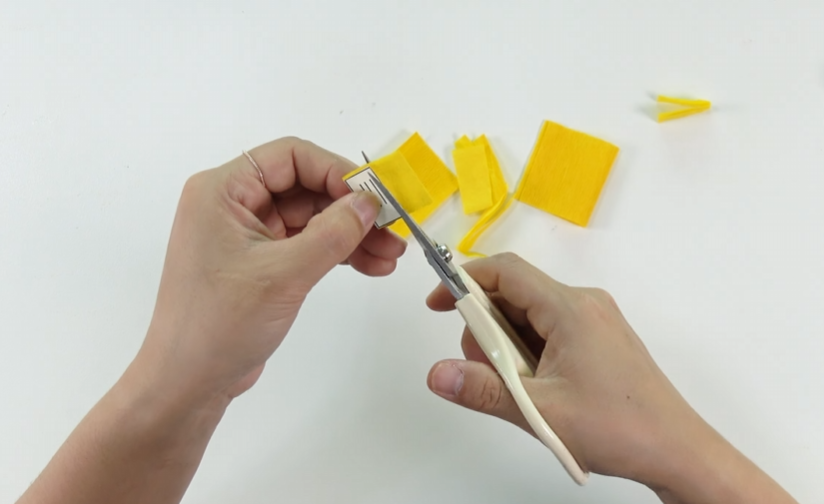
STEP.1⬆️
Stretch the yellow crepe paper, then cut it to match the small stamen template.

STEP.2⬆️
Cut the tip into five small pointed sections, then use a thin wooden skewer to gently curl and shape them.
Make about 10 pieces in the same way.😘
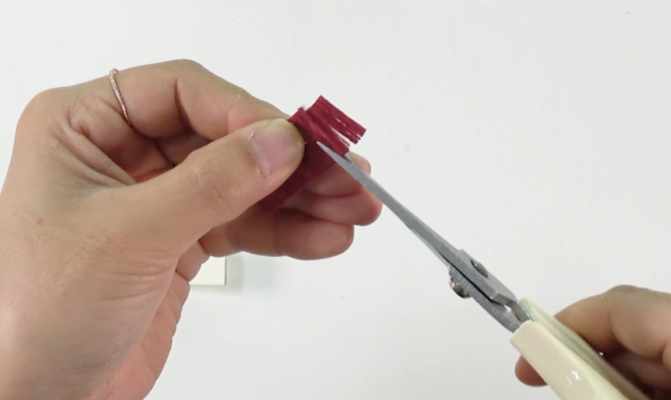
STEP.3⬆️
Cut the burgundy crepe paper to match the long stamen template, then make thin fringe cuts, leaving about 5 mm uncut at the bottom.
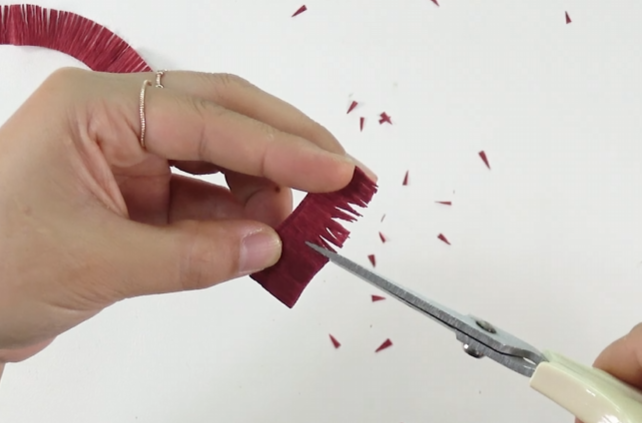
STEP.4⬆️
Cut the burgundy crepe paper to match the long stamen template, then leave about 5 mm uncut at the bottom and cut the upper part into thin, pointed fringes.
Make 3 pieces in the same way.

STEP.5⬆️
Wrap the finely cut stamen strip around No. 18 floral wire and glue it in place. Then attach 2 more pointed stamen pieces around it.
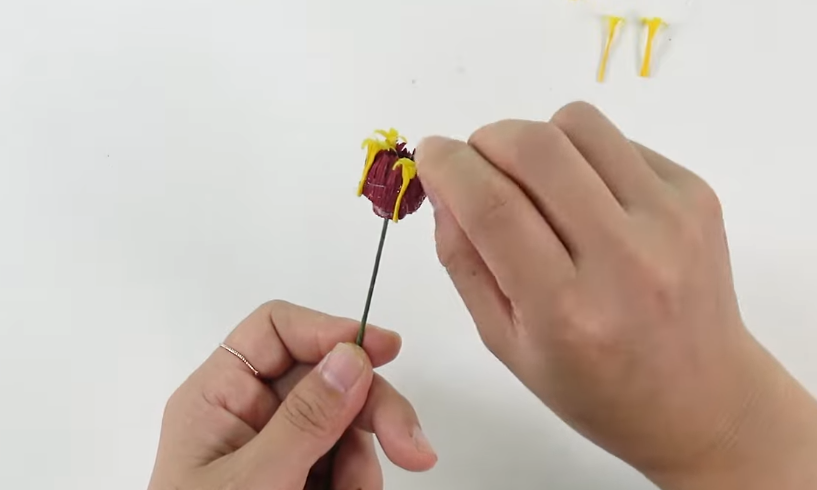
STEP.6⬆️
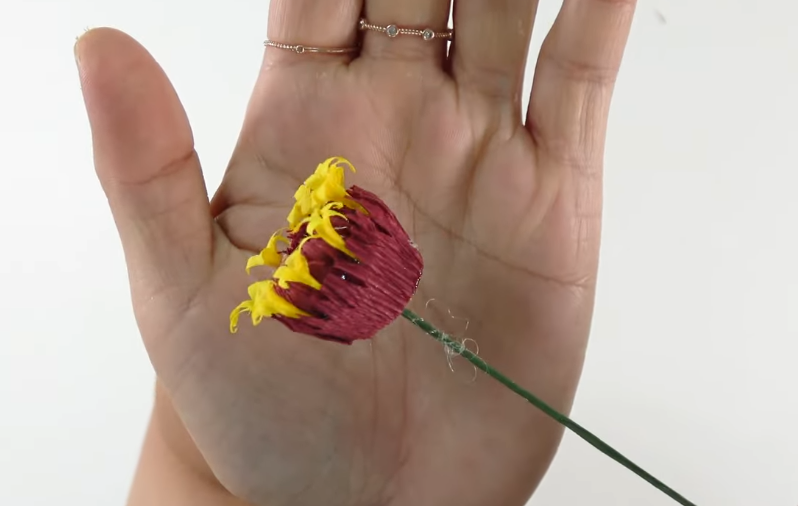
Attach the yellow stamens you prepared evenly around the edge of the burgundy center, using about 8 to 10 pieces.
STEP.7⬆️
Wrap and attach the last remaining burgundy pointed stamen piece around the center.😍
STEP.8⬆️
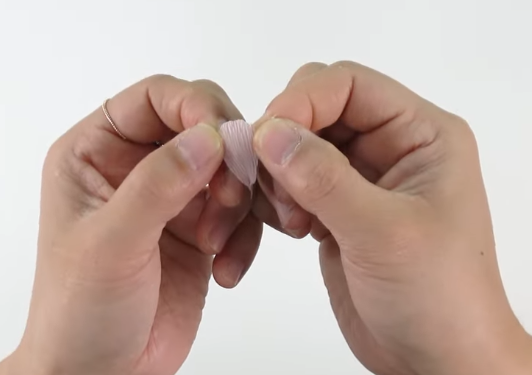
Cut the crepe paper for the petals using the template. Gather the bottom part together with a small amount of PVA craft glue, then gently stretch the top part slightly with your fingers.
STEP.9⬆️
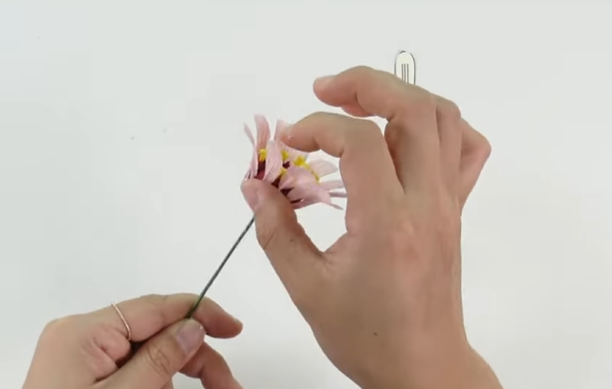
Attach all 12 petals around the flower center you made earlier.

STEP.10⬆️
Make 24 Petal B pieces, cutting them slightly larger than the first petals, then attach them around the flower.

STEP.11⬆️
Cut 2 pieces of green crepe paper using the sepal template, then gently round off the top edges.😊

STEP.12⬆️
Wrap and attach the 2 sepal pieces around the base of the flower you made.

STEP.13⬆️
Cut 2 pieces of green crepe paper using the leaf template. Flip one piece over and place them so the grain of the crepe paper forms a V shape.
Glue a piece of No. 23 floral wire along the edge of one half, then cover it with the other half of the leaf and glue them together.

STEP.14⬆️
Combine the stem, leaves, and flower together, and your crepe paper zinnia is complete! 🌸
Eva’s Tip 🌸
When attaching the petals, try not to place them one by one in the same direction. To keep the flower balanced, attach the first few petals at four evenly spaced points around the center. This gives you a good guide and makes the rest of the petals much easier to place.
For the second layer, simply attach each petal between the petals from the first layer. This helps create a fuller and more natural shape. 🙂
When gluing the leaves with PVA craft glue, be careful not to use too much. Too much glue can soak into the paper and cause discoloration. Apply only a small amount and press the pieces together firmly for a clean finish.
After attaching all the petals, you may notice that one or two petals stick out a little too far. Don’t try to remove them. Instead, carefully trim the edges little by little to match the surrounding petals and balance the overall shape.
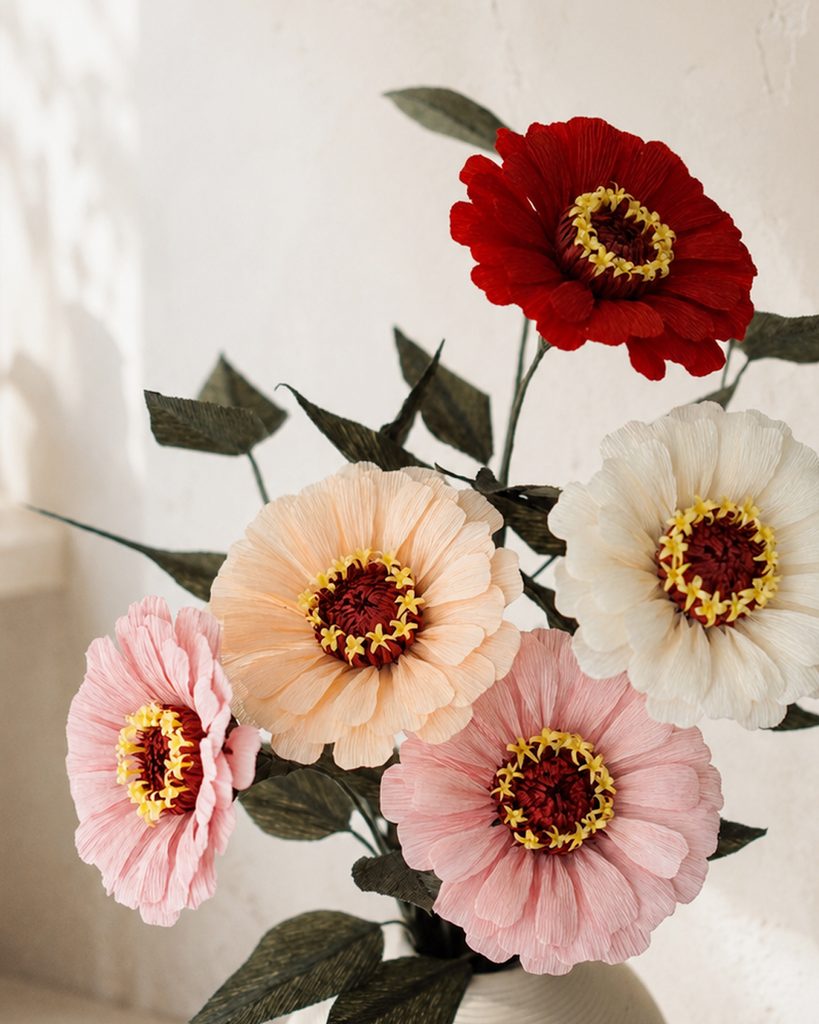
Here is the crepe paper zinnia we finished today! 🌸
Once your flowers are complete, try taking photos of them and sharing them regularly on social media. Over time, you’ll build your own little collection of creative memories, and looking back at your finished flowers can give you a wonderful sense of accomplishment and happiness. 🙂
If you download the template, it really helps support my work and allows me to keep sharing more paper flower tutorials with you!
And if gathering all the materials feels like too much work, I also have a Crepe Paper Zinnia Kit prepared for you. I’d be so happy if you checked it out. ^^
Try Making This Too 🌸
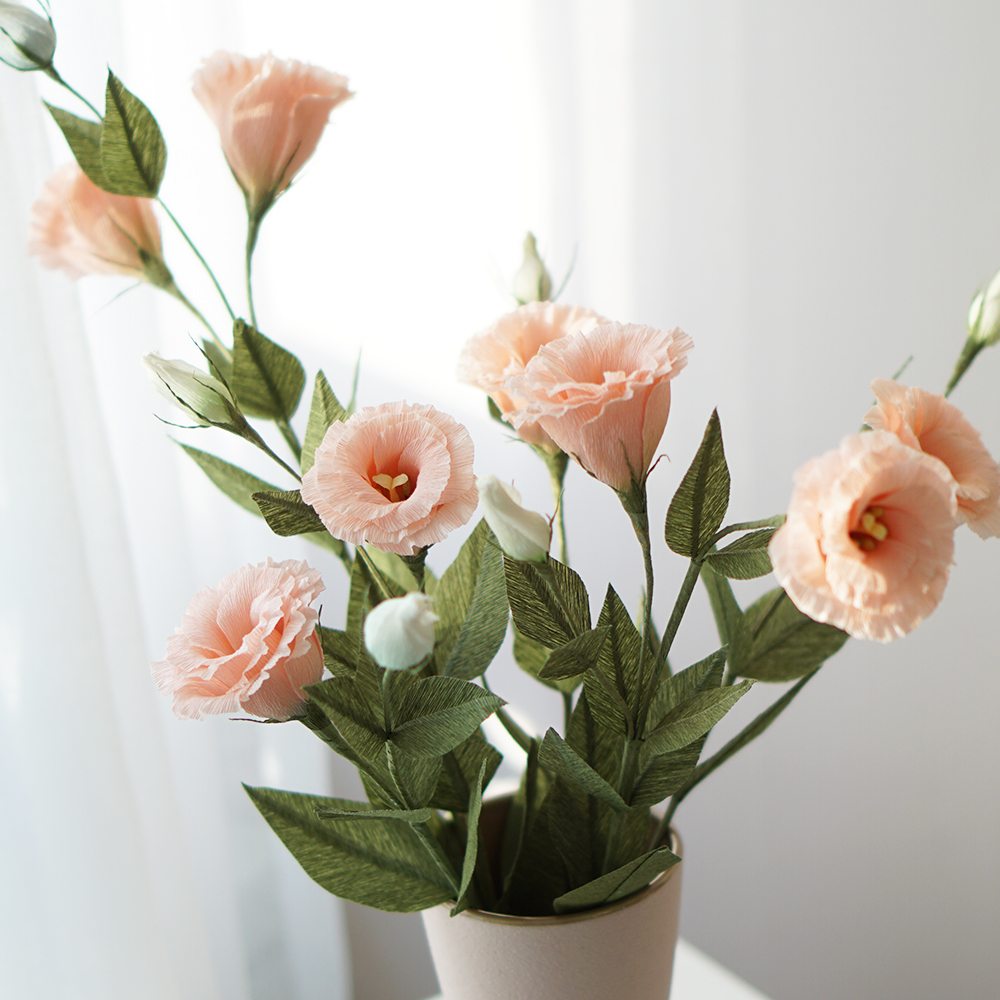
Can You Believe These Lisianthus Flowers Are Made of Paper?
Make realistic lisianthus flowers with crepe paper.
Leave a Reply